No worries about HJ the thread! The other questions are actually some I was going to ask.
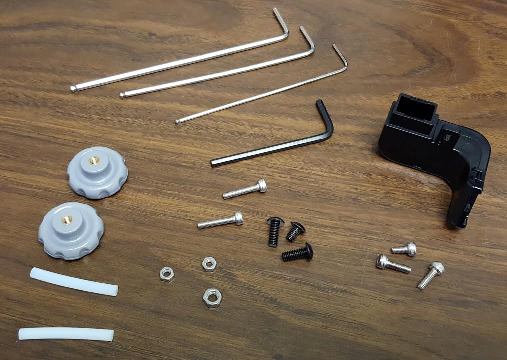
Like the spare parts that were included, the white tubes, etc.
After a few prints here is where I am at.
Without a doubt Simplify3D is TOTALLY worth it.
I tried ReplicatorG first. It’s ok. Has decent controls for manually controlling the machine. You can change the colors of the LED’s, etc so that’s a cool feature.
Then I tried MakerWare, I didn’t care for that.
I have 15 years experience in CNC machining and tool and die work so when I went to Simplify3D it felt more natural. Offers way more control of the printing process, adding supports, etc. Speeds, layers, everything.
I did order some glass beds for it. I have build fish tanks and reef sumps before and just didn’t want to deal with polishing the edges so they don’t cut me.
On the other hand using simplify3d I was able to adjust the raft size, infill and bed and nozzle temps for the raft so when I printed the glass clips yesterday they popped off WAY easier than any print before. On the stock blue bed.
So far I’ve printed some spool adapters (BTW it does work fine without them and haven’t used them yet.) An LS3 Chevy block, and currently I am printing a pendant. My girlfriend laughed when I printed an engine block and said I thought you were going to print useful things!
Right now the problem I am having is drooping plastic. On the engine block I think I can solve that with supports, but the glass clips had such a minimal overhang I thought they would be ok but they drooped also.
I am going to take some pics today to show you guys and maybe someone can offer some advice.
Thanks! So far I am having a BLAST!!