Go to homepage
14 / 17
Dec 2016

Hello all. I just purchased a Formbot TRex2 3D printer. I have been working with it all week trying to learn how to use it. On my third print, I had a small, very uncomplicated job. I was simply trying to print a rectangle 3"W x 8"L x 3/16"H to serve as a floor for a building model that I had 3D hubs print for me earlier. The edges did not come out square. From a side view, the printer made the edges at about a 45 degree angle, though this was not in the model. Any Idea what could cause this? I was using PLA at 230 degC.

  • created

    Nov '16
  • last reply

    Dec '16
  • 16

    replies

  • 15.0k

    views

  • 3

    users

Hi,

Can we get some better pictures, sorry but cant really see the edge. Did you tried to print a normal cube to see how the edges are look like for that?

Also please share the STL file also to check.

Regards,

Tamas

Hello Tamas, thanks for responding. Yes below are some better pictures of the corners. No I didn’t print a test cube, that might be a good thing to do huh? I have made some test prints that have come out very nice. This one in particular however needed square edges.

I attached the stl file that I made from Sketchup. I created the g-code from Cura. I guess I expected the machine to print square. I am using PLA at

230 degC and 50mm/sec, .0.2 Layer height. My bed is heated to 57 DegC.
tan_bldg_floor_1.stl 1 (684 Bytes)

Hi Frank!

The stl file looks fine, its just a simple rectangle no errors in it.

Was the print stick well to the print surface at all corners(bed leveling)? As this looks like the corners lifted /curled up during print and this caused the issue, so check the bed level again, and watch it during print if its lift up or not.

I would suggest to print a smaller test cube, to check how the printer prints walls.

Here is 20mm cube to test you can scale it up from 20mm to 40mm http://www.thingiverse.com/thing:1366547 79

Its a ringing test also so it will show mechanical resonance near the holes if there is any on your printer.

Here is also a good troubleshoot guide for print errors:

https://www.simplify3d.com/support/print-quality-troubleshooting/ 132

I would also lower the print temperature to 200-210C for PLA the 230 looks way too much. Bed can 70C and in Cura you can set it to print a brim(platform adhesion part, usually by default its print 20 lines around, in the expert setting reduce it to 6)

Regards,

Tamas

I can’t quite see exactly the problem with the edges from the pics. I do see is a ton of wobble and ringing artifacts. Usually that means belts are not right enough, the print head may not be secure enough, or something else is being allowed to move around when it shouldn’t. You can also try slowing down the acceleration to 300 and jerk to 1 and see if that helps.

If you are using Cura btw, you may have the “Make overhangs printable” option turned on which would round off edges.

Please read the original post once again. He just wanted print a rectangle shape plate for the house model witch was printed by somebody else already from 3D hubs(yes its quality quite poor but we are only interested on the current problem).

T.

Tamas, again thanks for your help. Yes I did see the base material adhered well, I don’t think that was the problem. I have since communicated with formbot. I was using the high temperature with the PLA because I was having trouble getting it to stick to the bed. Formbot directed me to move the nozzle closer to the bed. I did that and was able to lower the extruder temperature to 210 successfully last night. I’m already using the brim setting in Cura. I’ll try the test cube. Again thanks for your time and attention. I would like to work toward becoming a hub for 3D hubs.

Yes I made the model for the building, but didn’t do the print. I left the model without floors intending to make them myself. I purchased a formbot t-Rex 2 printer kit and tried to make one of the floors the other night. It will suffice for my model but I expected the edges to come out square.

was trying to find out how to fix that.

13 days later

Tamas;

I have been trying to print the test cube you referred to. I get about 70% complete, and find the base material seems to raise the cube up into the printing path and the extruder will knock the cube off of the bed. I have the bed temperature set at 64 degC which is about what the troubleshooting guide recommends for PLA. I’ve tried the test at 65 degC and 68 degC. Same result. How can I prevent the base material from warping and lifting?

Hi,

Make sure the print surface is super clean, use alcohol or acetone and wipe it to really clean. Make sure the first layer height is correct, to get the best adhesion you need to push the a filament into the bed a little. You can increase the bed temperature also to 75-80degC it will help with adhesion.Also to cooling is critical with small prints and PLA. Make sure the print cooling fan(s) are not on full speed in the beginning of the print so they should switch on around 0.4-0.5mm Z heights (it can be configured in the slicer).

Check also extruder, that its not extruding too much plastic. Just order the printer to extrude 100mm filament mark with a pen the filament and check if its really moved 100mm. You can tweak this setting also with FLOW value in the slicer.

There is also an option called Z-HOP in the slicer witch will raise the print head during movement so it will not collide with the print even there are some raised edges.

T:

Hi Tamas, I am interested in your suggestions, I need some clarification. I am using Cura software I think the settings are different from your’s. I see a setting for flow in %. I have mine set at 100% There is a printing speed setting that I did lower from 50mm/s to 40mm/s. Is that too slow is that what you mean by extruding too much? Since it prints slower it will leave more plastic no? My printing temperature is set at 210 for PLA. I had quality set to 0.3, I’ve changed it to 0.2. For cooling I’m set at “minimal layer time of 5 sec”. I am using a bed temperature of 64DEGC. I have retraction set to combing off which is supposed to mean it retracts over holes. I doubled the size of the model I was concerned at the time I was having a problem with the print slipping after a couple of hours of printing. I think we’ve fixed that problem. I took some screen shots of my settings. Would you mind looking them over?

My plan is to clean the bed as you suggest and then lower the nozzle a little (That was Formbot’s suggestion) I was also going to raise the speed up to 50mm/s. That should decrease extrusion no? I like the bed temp of 64 DEGC. It seemed at one point I had raised it to 68 and the initial llayer showed more warping. I got the impression it was too hot. Any help you can give I would surely appreciate.

Ugh, I was going to print tonight and the mechanical end stop switch fell apart. I guess that will give me time to ponder and collect some information.

Hi Frank!

The extruded filament is adjusted with the speed automatically, so it will not make a difference in the quantity of the amount extruded per movement if you change the speed.

By calibrating your extruder I mean this:

https://www.youtube.com/watch?v=YUPfBJz3I6Y 21

or

https://www.youtube.com/watch?v=w_Wb0i0-Qvo 10

The program the guy uses in the second video is pronterface: http://koti.kapsi.fi/~kliment/printrun/ 5

download the latest for your OS. Connect the printer with a USB to the PC start the program and set the correct COM port your printer electronics serial port is recognized at and port speed(usually 115k or 250k) on the top left and hit connect.

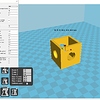
After checking the extruded length, you have the option configure this in Cura in the File - Machine settings page where you can enter the new Extruder steps value into (top-left corner) E-steps per 1mm filament box.

This will be your new 100%-flow value. The flow values percent is modifying this value basically so you don’t have to change this step/mm value setting just decrease on increase the FLOW in the Cura setting page.

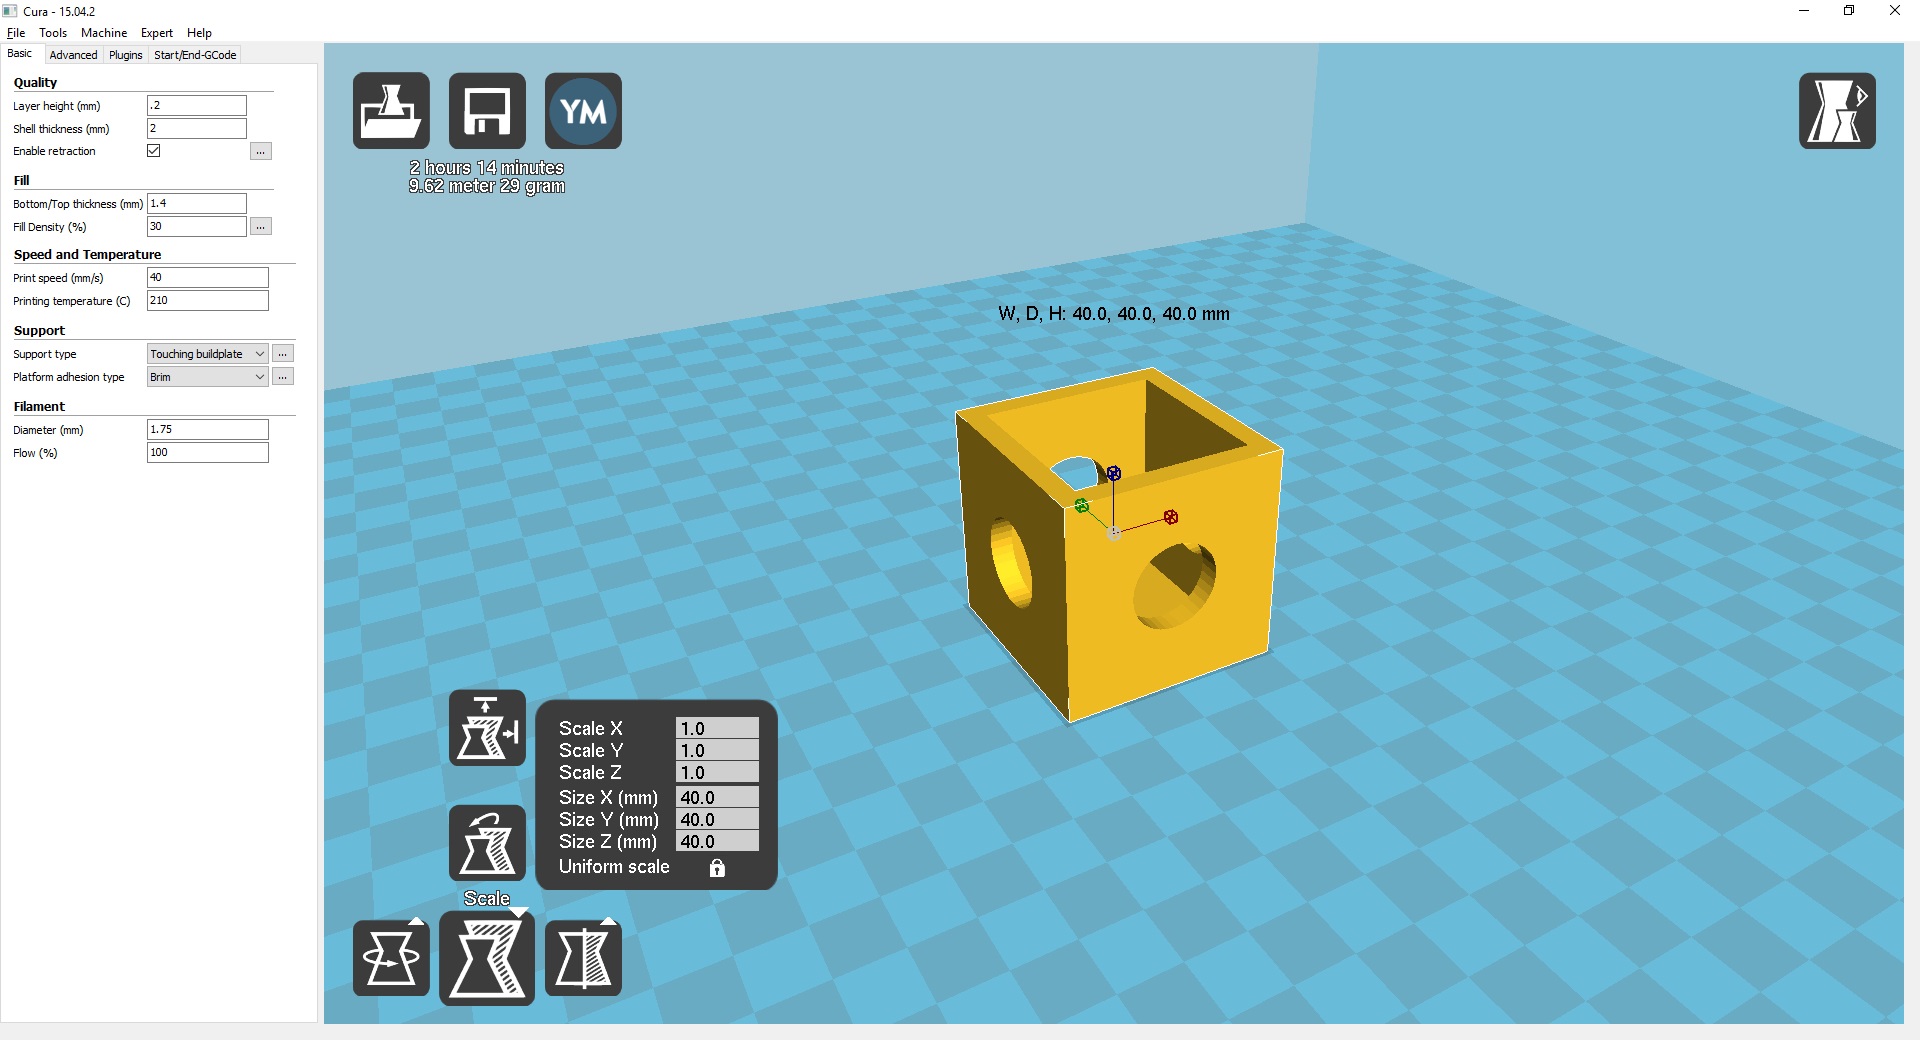
Regarding your print settings:

You missed the advanced tab and uploaded the basic tab twice, no problem.

I suggest:

Layer height: 0.2

Shell thickness: its the multiply of the nozzle diameter so for a 0.4 nozzle 1.2 if you have 0.5 nozzle 1 or 1.5.

Bottom top thickens: 1mm should be enough.

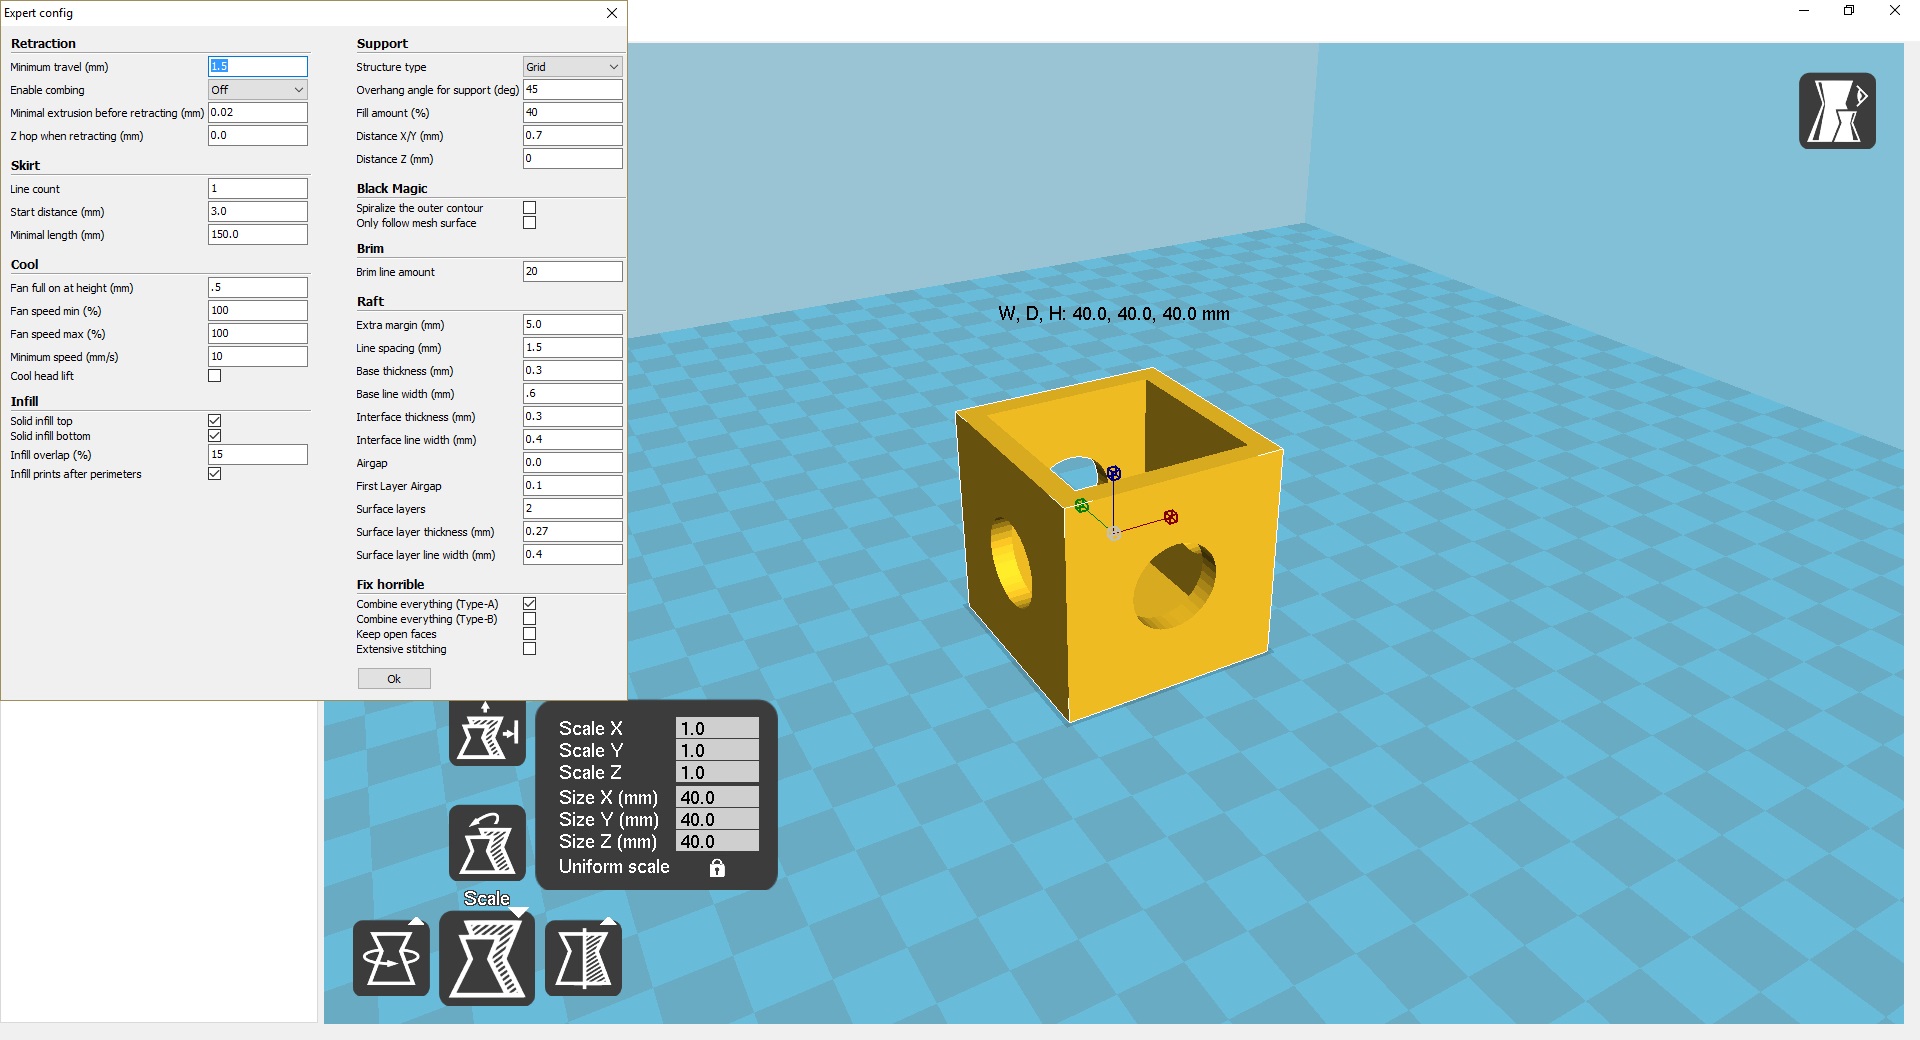
On the expert setting:

Enable combing set it to ALL

Z-hop: set it 0.1 or 0.2 so this will raise the head when moving the print head to prevent collision with printed object.

Brim line amount: 6 should be enough no need for 20 lines.

The rest should be fine for now.

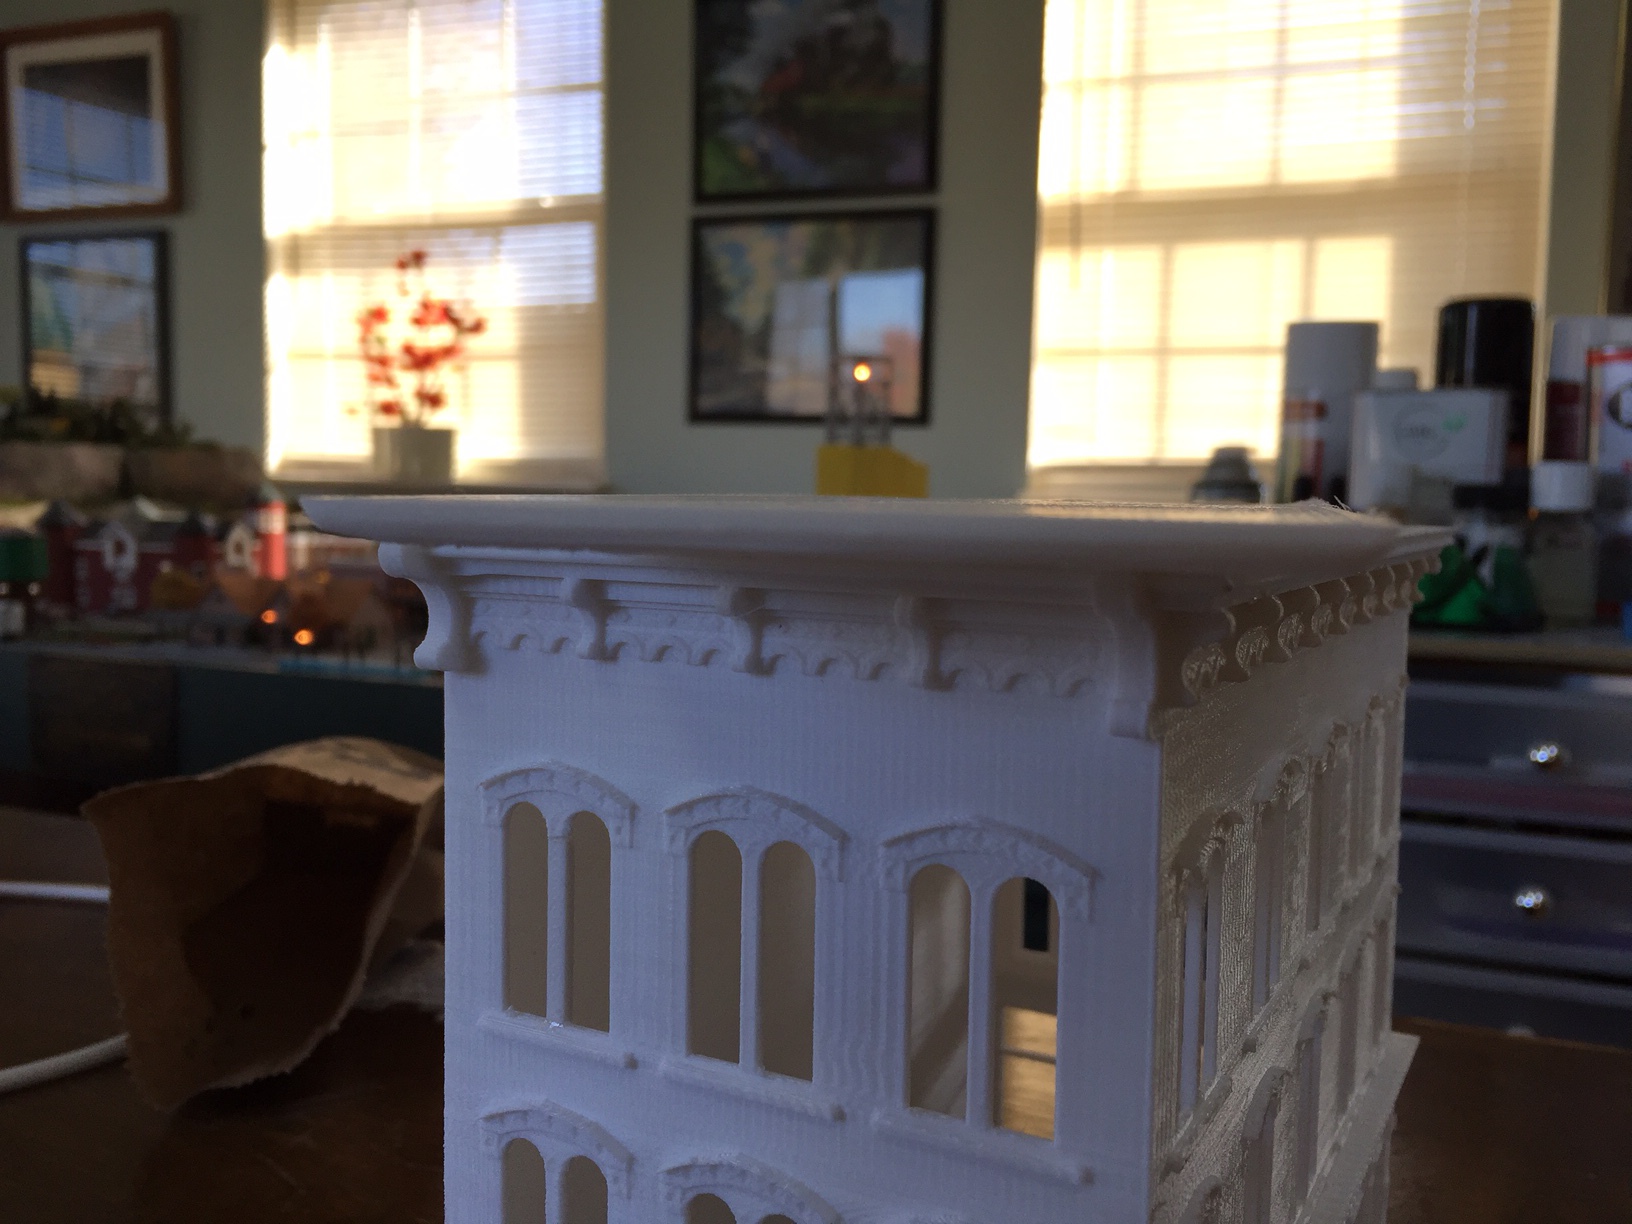
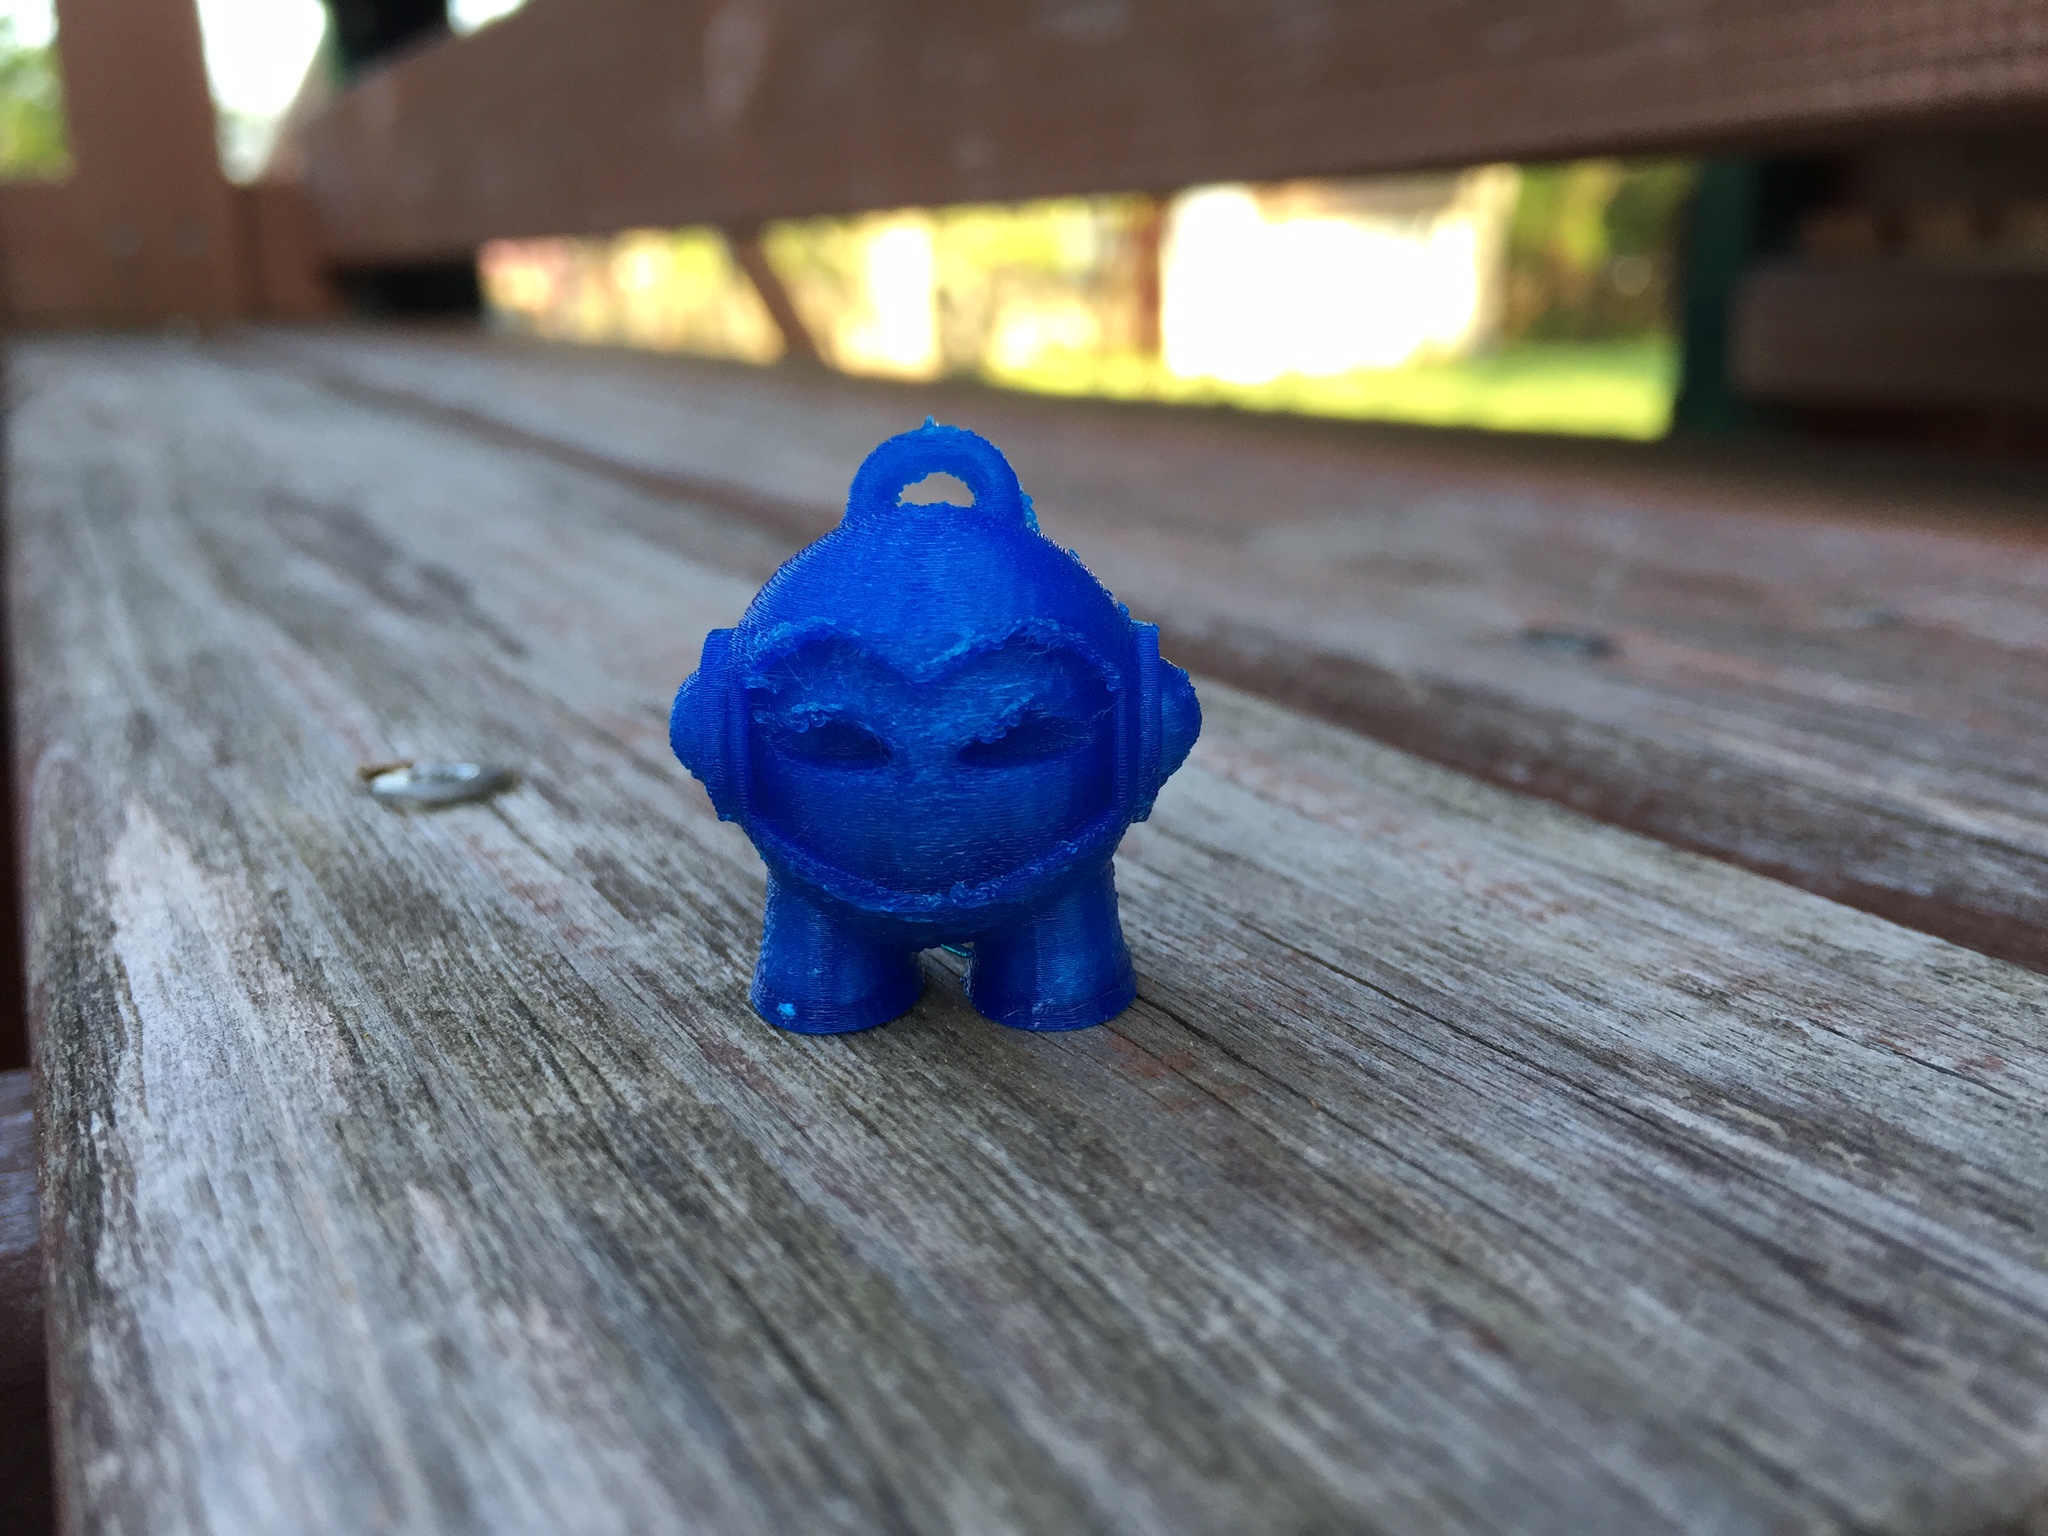
I would also suggest to use a different type/manufacture filament to check if it makes better adhesion.

Regards,

Tamas

Hi,

Got your mail, I will make reply to you, and we will continue there.

Have a great day!

T.