
Im gona build it, i think i learn alot but dont have to start from nothing. It sound fun and if something things are not straight or dont look ok i can machine it with perfect precision here. I love building stuff so i have a wood and metalshop with old but accurate machines. A big thx for answering about firmware!
Get on youtube and find thomas sanladerer’s channel. He covers printer basic and the firmware and software tool chain you will use.
Welcome to the fun, frustrating world of 3D printing. There’s a lot to take in, so don’t worry.
Building your own 3D printer is a great way to get started, since you know what everything does. You won’t treat it like an Epson that you’re afraid to open up. When building a printer, make sure everything is square. It is absolutely important that the three axes are perpendicular.
You’re more than likely going to need the Arduino software. Go ahead and grab that, and read up about how Arduino works. The controller board that comes with your printer is more than likely going to be Arduino compatible, and this is the software you need to use to get the firmware onto the board.
You’ll probably start with Marlin firmware. It’s a big series of files but not to worry, the only one you really need to deal with is Configuration.h. All the settings for dimensions, temperatures, end stops etc are in there.
You’ll want to have a functional understanding of G-Code. G-Code is the language of CNC machines. It looks a lot harder than it is, and a complete reference can be found on the Reprap wiki (google 'g code reprap" ). This will help you set up your before print and after print routines, makes it a bit easier to calibrate the machine, and will eventually allow you to pull off some cool printer fu by directly editing part files.
I recommend Tech2C’s youtube channel. In addition to his fun Oz accent, he’s got some great information on calibration, upgrades, different filaments, and even building your own printer from scratch.
Thingiverse is a good resource for objects to print. You’ll probably want to start out downloading STL files rather than designing your own models. There you can find parts to help calibrate and test your printer.
You will need a slicer. That turns an STL model into G-Code your printer can read. I have experience with three: Slic3r, Cura, and Simplify3D. Slic3r is free, and it gives you a lot of options for how to set the printer up, but it can be difficult to dial in if you’re new. Cura is made by Ultimaker and released to anyone who wants it for free. It’s my go-to slicer as it’s simple to use and has some neat “magic” features, but it can be difficult to customize and it’s a little schizophrenic when doing things with a lot of bolt holes. Simplify3D is the best on the market, but it costs $150.
Good luck, have fun, and enjoy the process of drinking from a fire hose!
Sturdy and Reliable But you have to Calibrate runs on Merlin with a All in one board and electronic Motor tuning worth what you payed for it Limited to PLA and ABS but you can use PETG and HIPS I warn you not to get a Nozzle smaller then 0.035 thicker more viscus plastics and low Temp plastics (if you intend to cast part’s) will burn and Jam the Nozzle. Also throw out that Aluminum hot end and Use a Block, Cartridge Heater and Brass Barrel. Pain to set up but if you get a Jam it is easy to clear.
I thought all nozzles where made from brass. I guess i will make a new one as soon as i can measure the other one. I think it will arrive tomorrow but then its work and probably no time to even look at it.
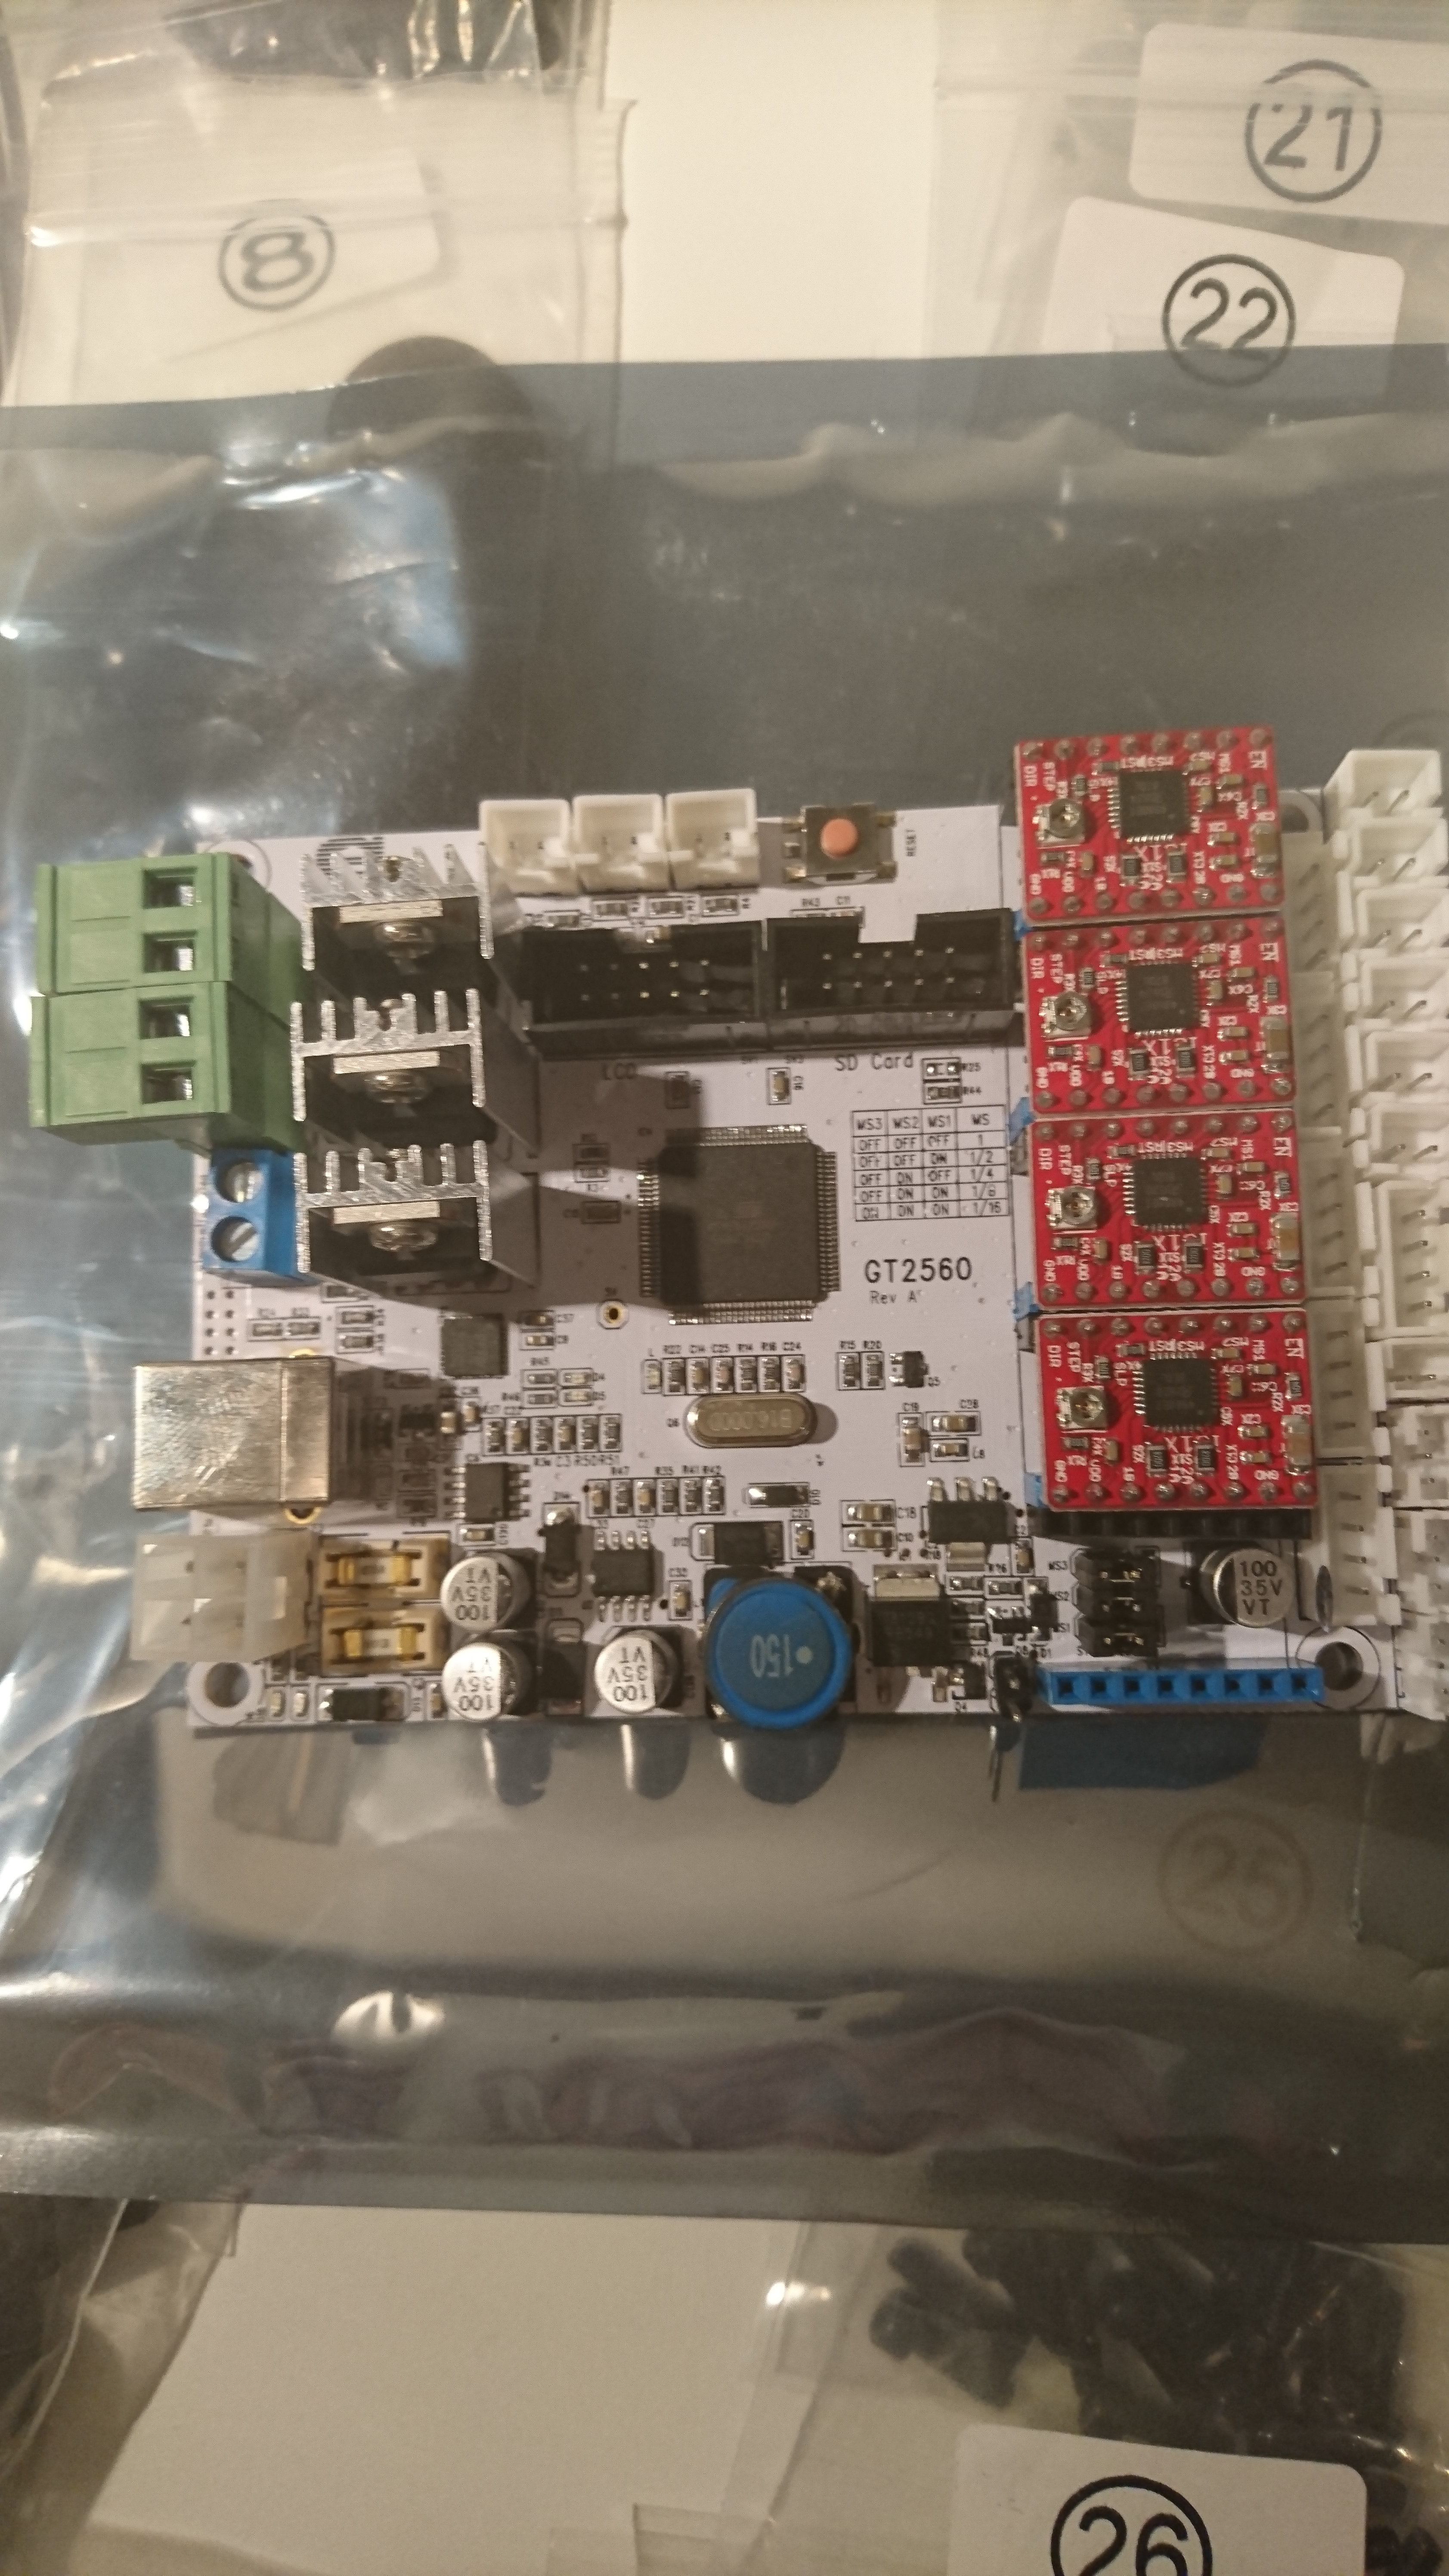

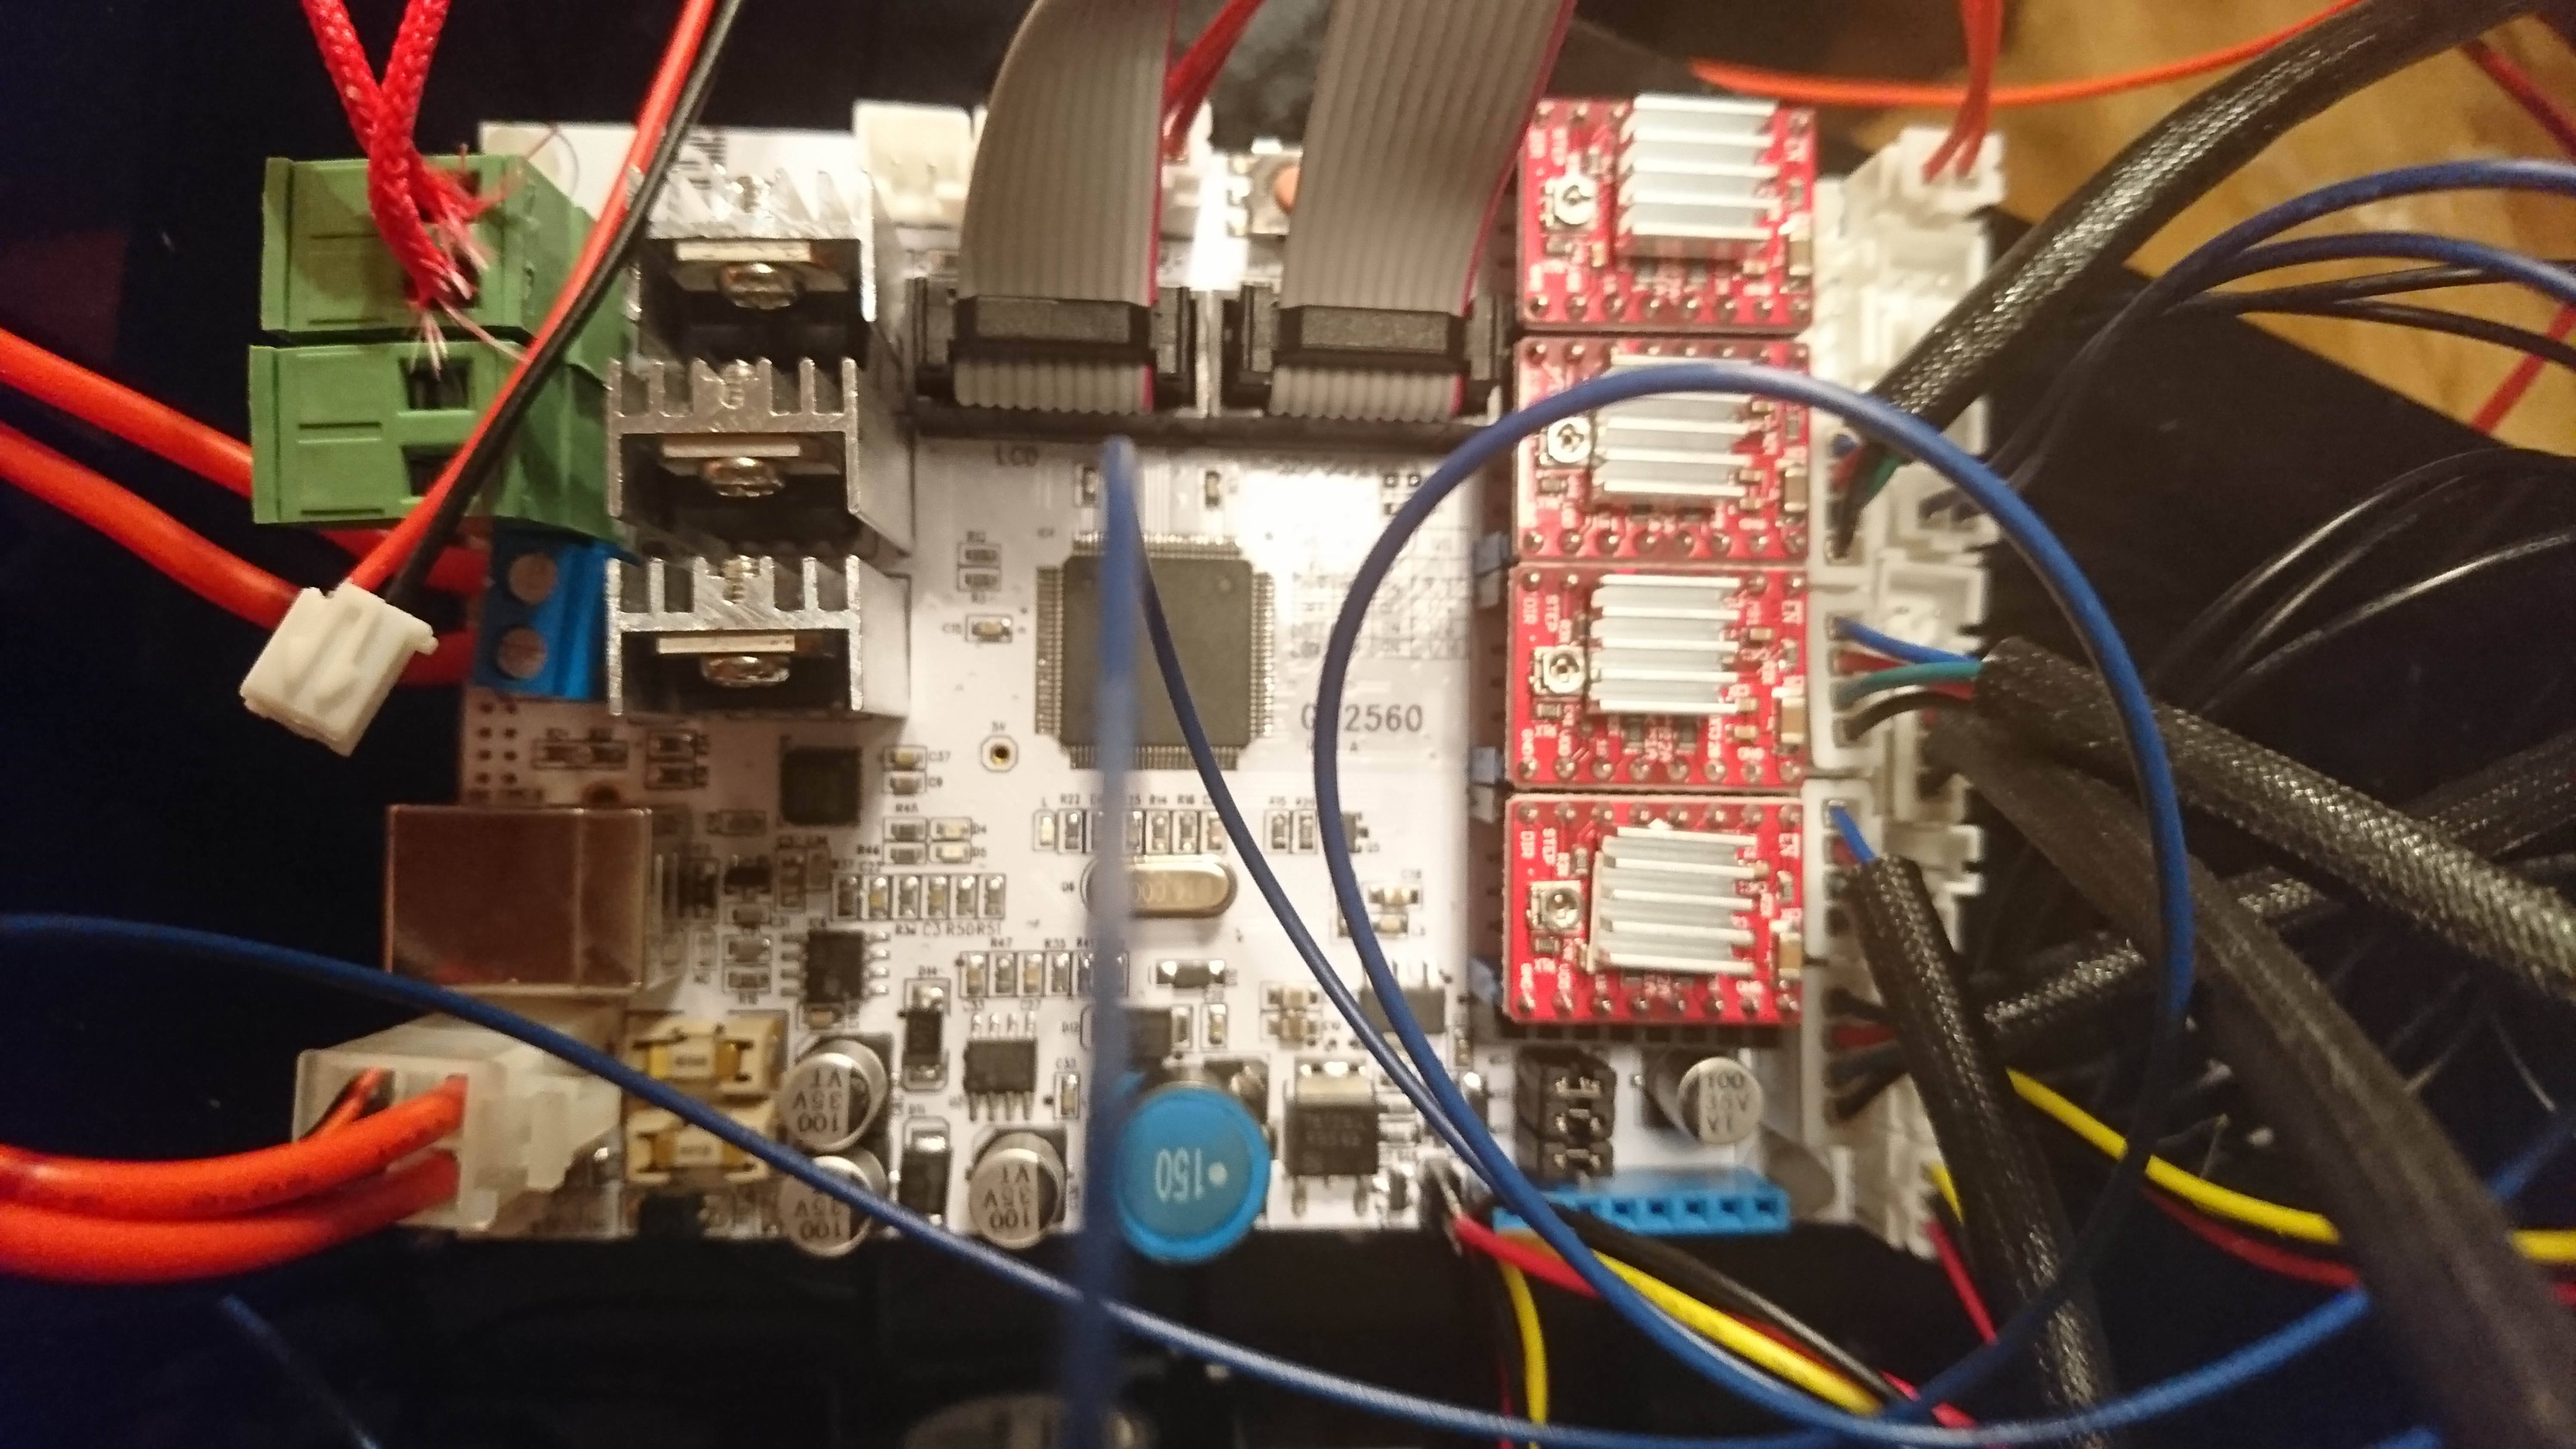
As expected that’s a GT2560 board in case you were wondering! There, I saved you about an hour of internet rummaging 
As a rough guide it took me about 4 hours to assemble my first printer but that may be because I was very familiar with the design due to the amount of research I did beforehand… but it shouldn’t take you too long!
One of the first things you may want to print are some self centering Z couplers.
If you go onto my 3Dhubs page or look me up as Acrimonious Mirth on Thingiverse you’ll see both parts I’ve designed for the same printer build as well as collections of mine that include the Z coupler and printed spares and stuff. You may find those useful 
Also the wires going to your X carriage… wrap those in spiral wrap or even electrical tape to keep them tidy and stop them rubbing on the frame as you use the machine. Also get a decent sized fan and search “MOAB GT2560” and your fan size which should get some results for fan mounts that clip onto your motherboard. Keeps things nice and cool!
I hope this isn’t too overwhelming, but we’re always here if you need any help! Having been where you are though, my Thingiverse may help you a lot
I will check them out after the build is done the parts for z axel. I will have 15 minutes here and there with kids home so might take a couple of days. Probably i will post here and give a shout if (when) i get stuck.
Hi again. Its built. Wires everywhere still but eill sort that out after i find what i did wrong… There are a lot of images on gt2560 but whatever i look its the wrong connections. I dont know where rhe steppermotors are supposed to be. Took it by chance and so also with everything else. The z axel is up down or back and forth? And what is the other axels? Guess i sleept on that math lesson… I got a faul also on display. Says error mintemp. Hope you could find the time for this.