Go to homepage
11 / 16
Jun 2016

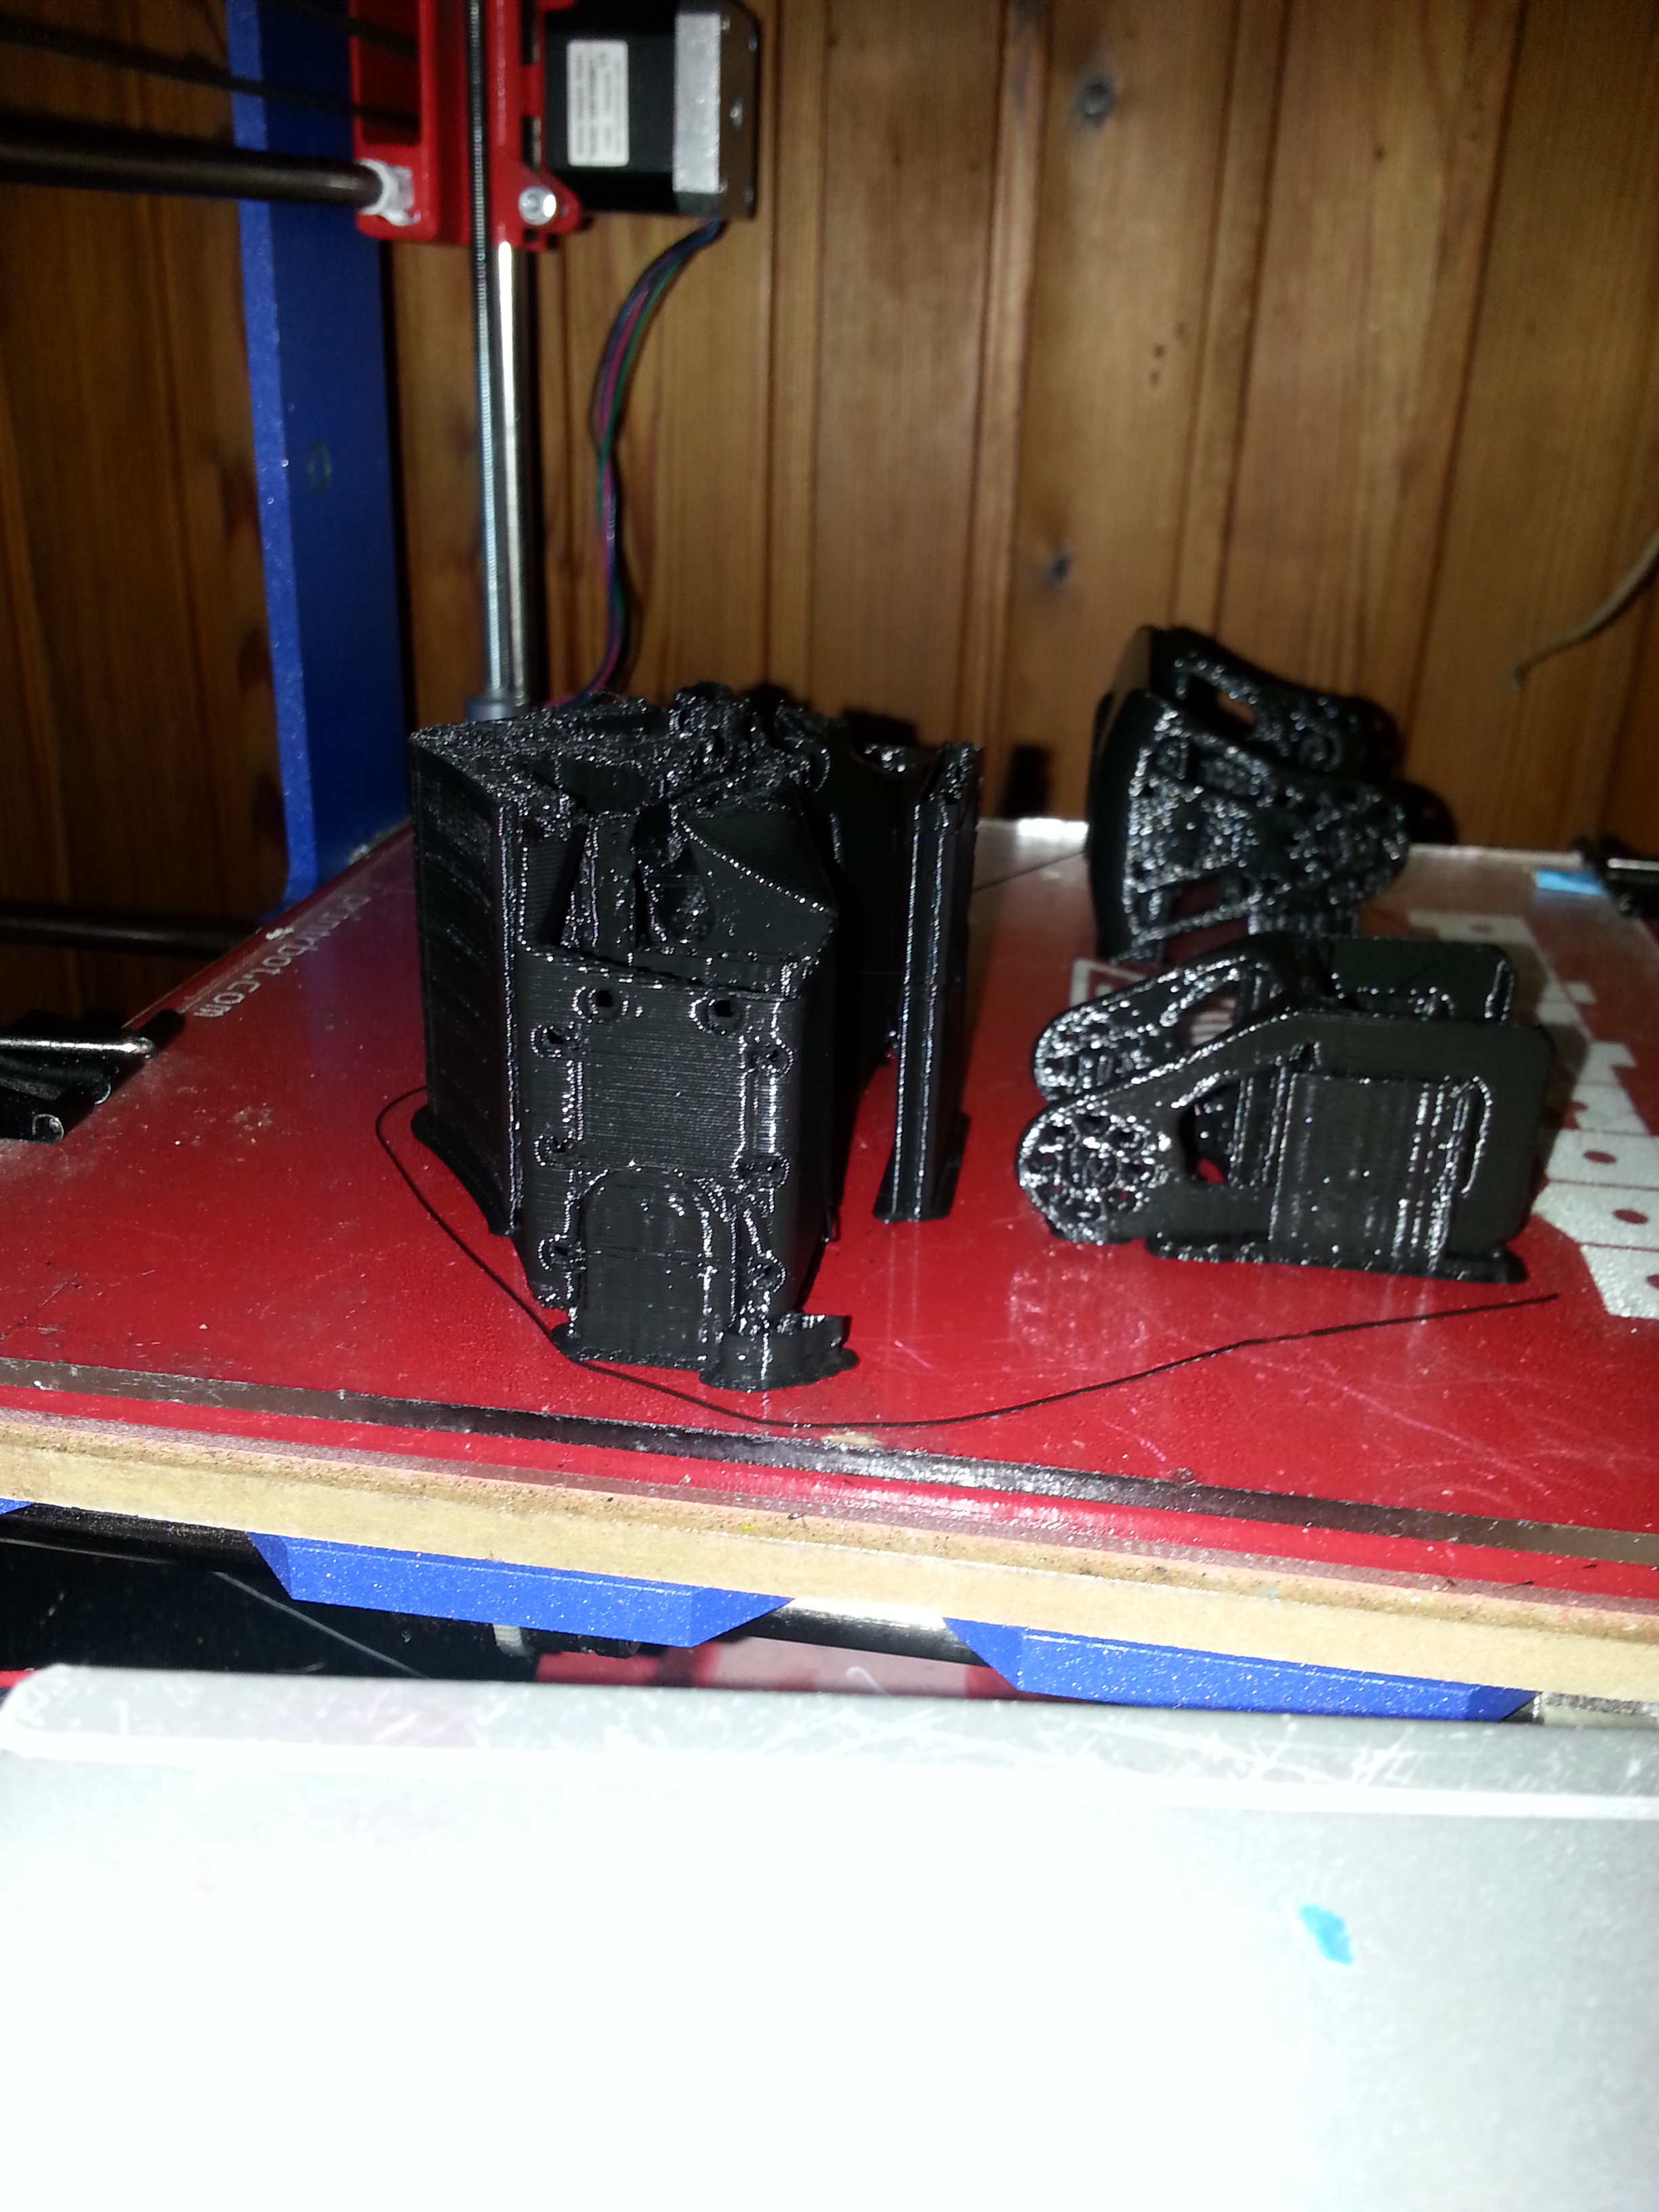
We’ve all experienced it at some point. Your prints just randomly stopping, your extruder getting clogged mid way, or anything else, the result is the same: when you come back to your printer all you see is half a print.

This happened to me this morning so I decided to make a quick post on how to make the best of the situation.

Step one

  • Measure the height your print managed to achieve.

The height measured was 44.2mm, in this case I am using a layer height of .32mm with a first layer height of also .32mm.

  • Subtract the first layer height from the total height, then divide the answer by your normal layer height

(44.2 - 0.32)/0.32=137.125

Of course, this value needs to be a whole number, and is a result of the tolerance of our measurement. this is why we did this calculation!

  • round the answer down to the nearest number

in this case 137. (This is (+1) is the number of layers)

  • multiply that by the layer height, add the first layer height

(137*0.32)+0.32=44.16. This is the height achieved, as far as the Gcode is concerned.

Step two

Edit your Gcode. In this case, I am using RepetierHost, but you may use any program to edit your code.

  • Search for the line of code indicating the Z-value. Add a Z before the calculated height

In my case, I need to search for Z44.16

Capture3.PNG

  • click to select the end of the previous line of code

Capture4.PNG

  • Then scroll up and, while pressing shift, click on the end of your start Gcode (all the descriptive code)

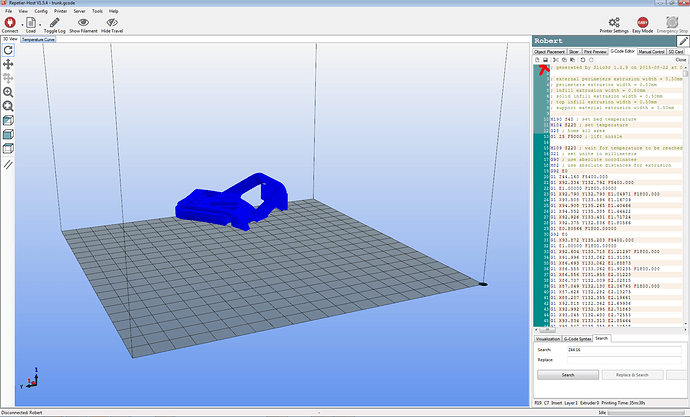
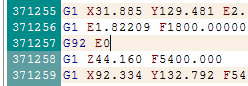
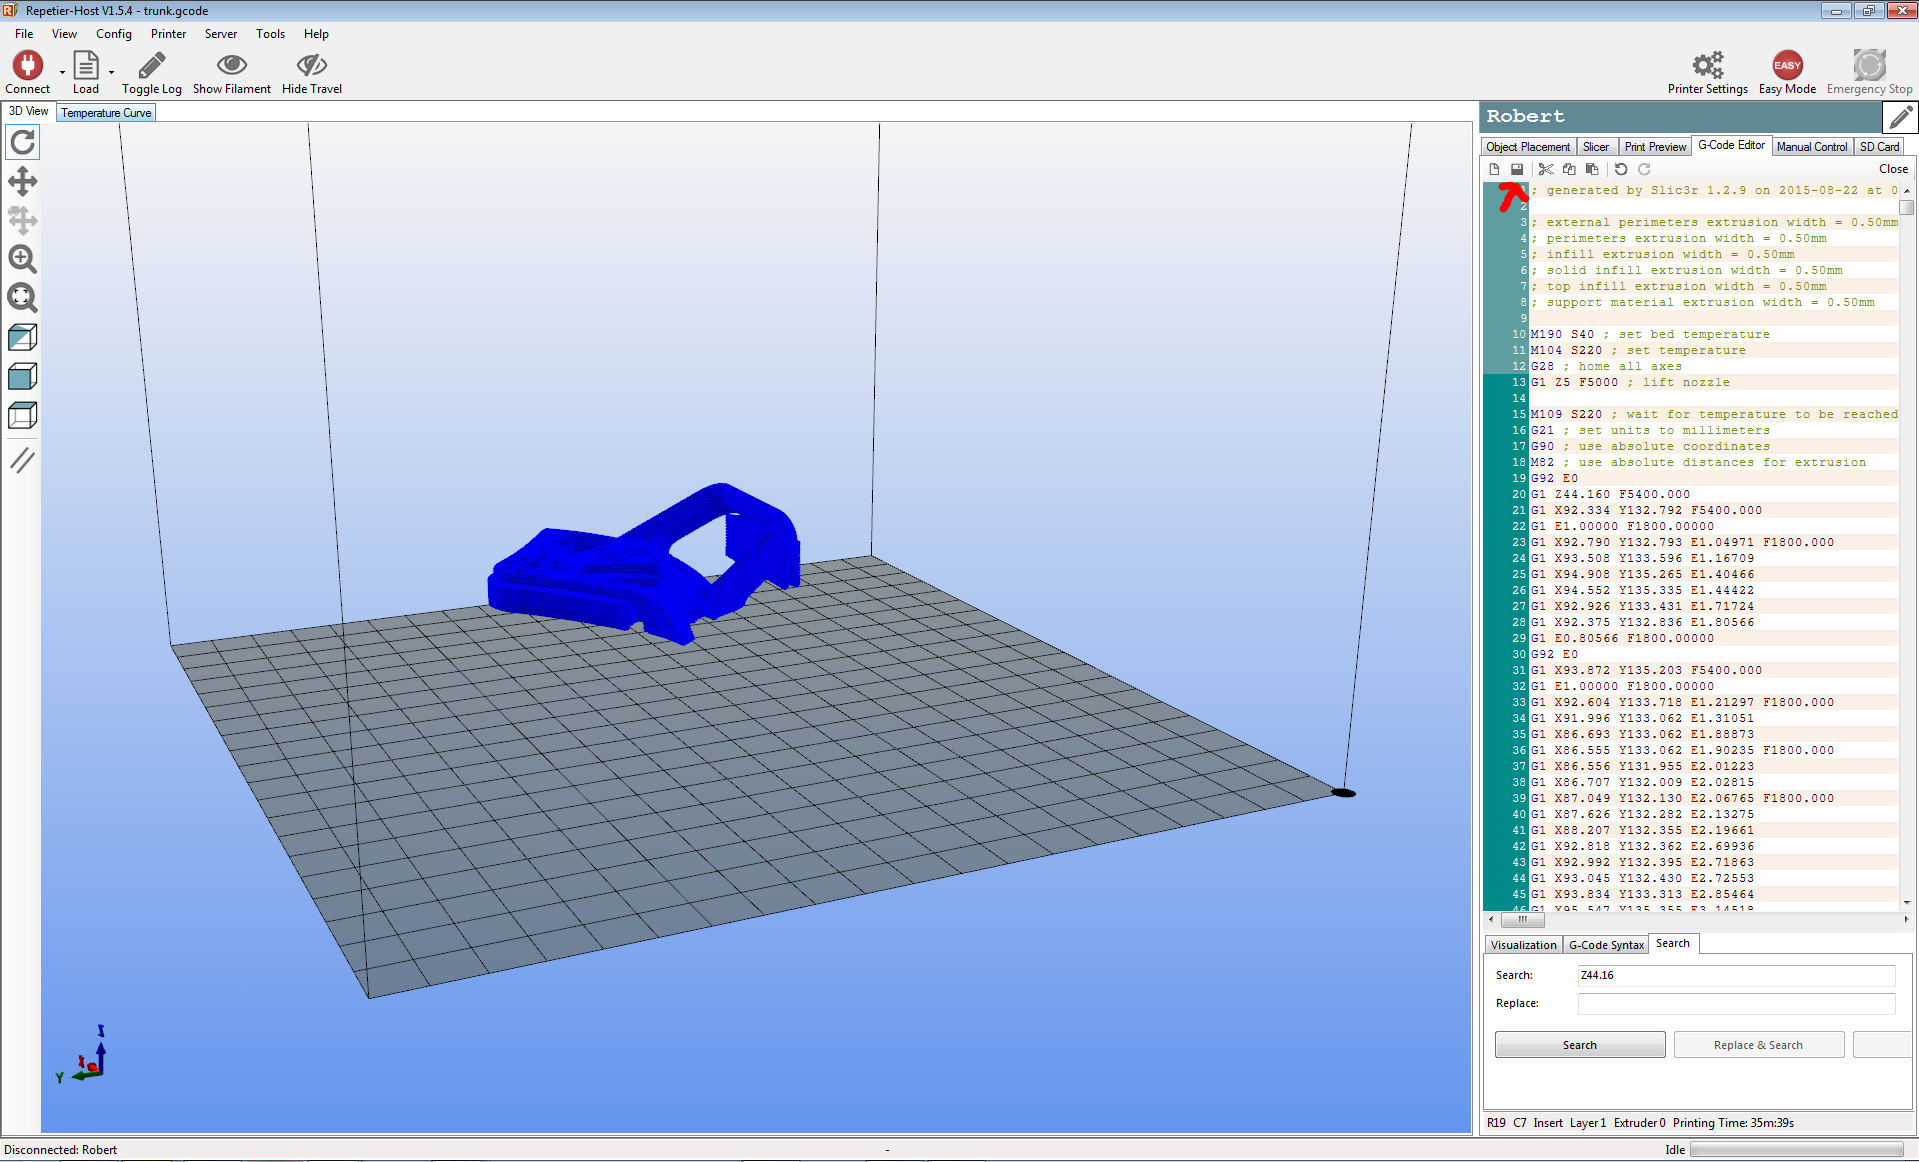
  • Delete the selection. You are now left with what you need to continue printing. Save it.

Step three

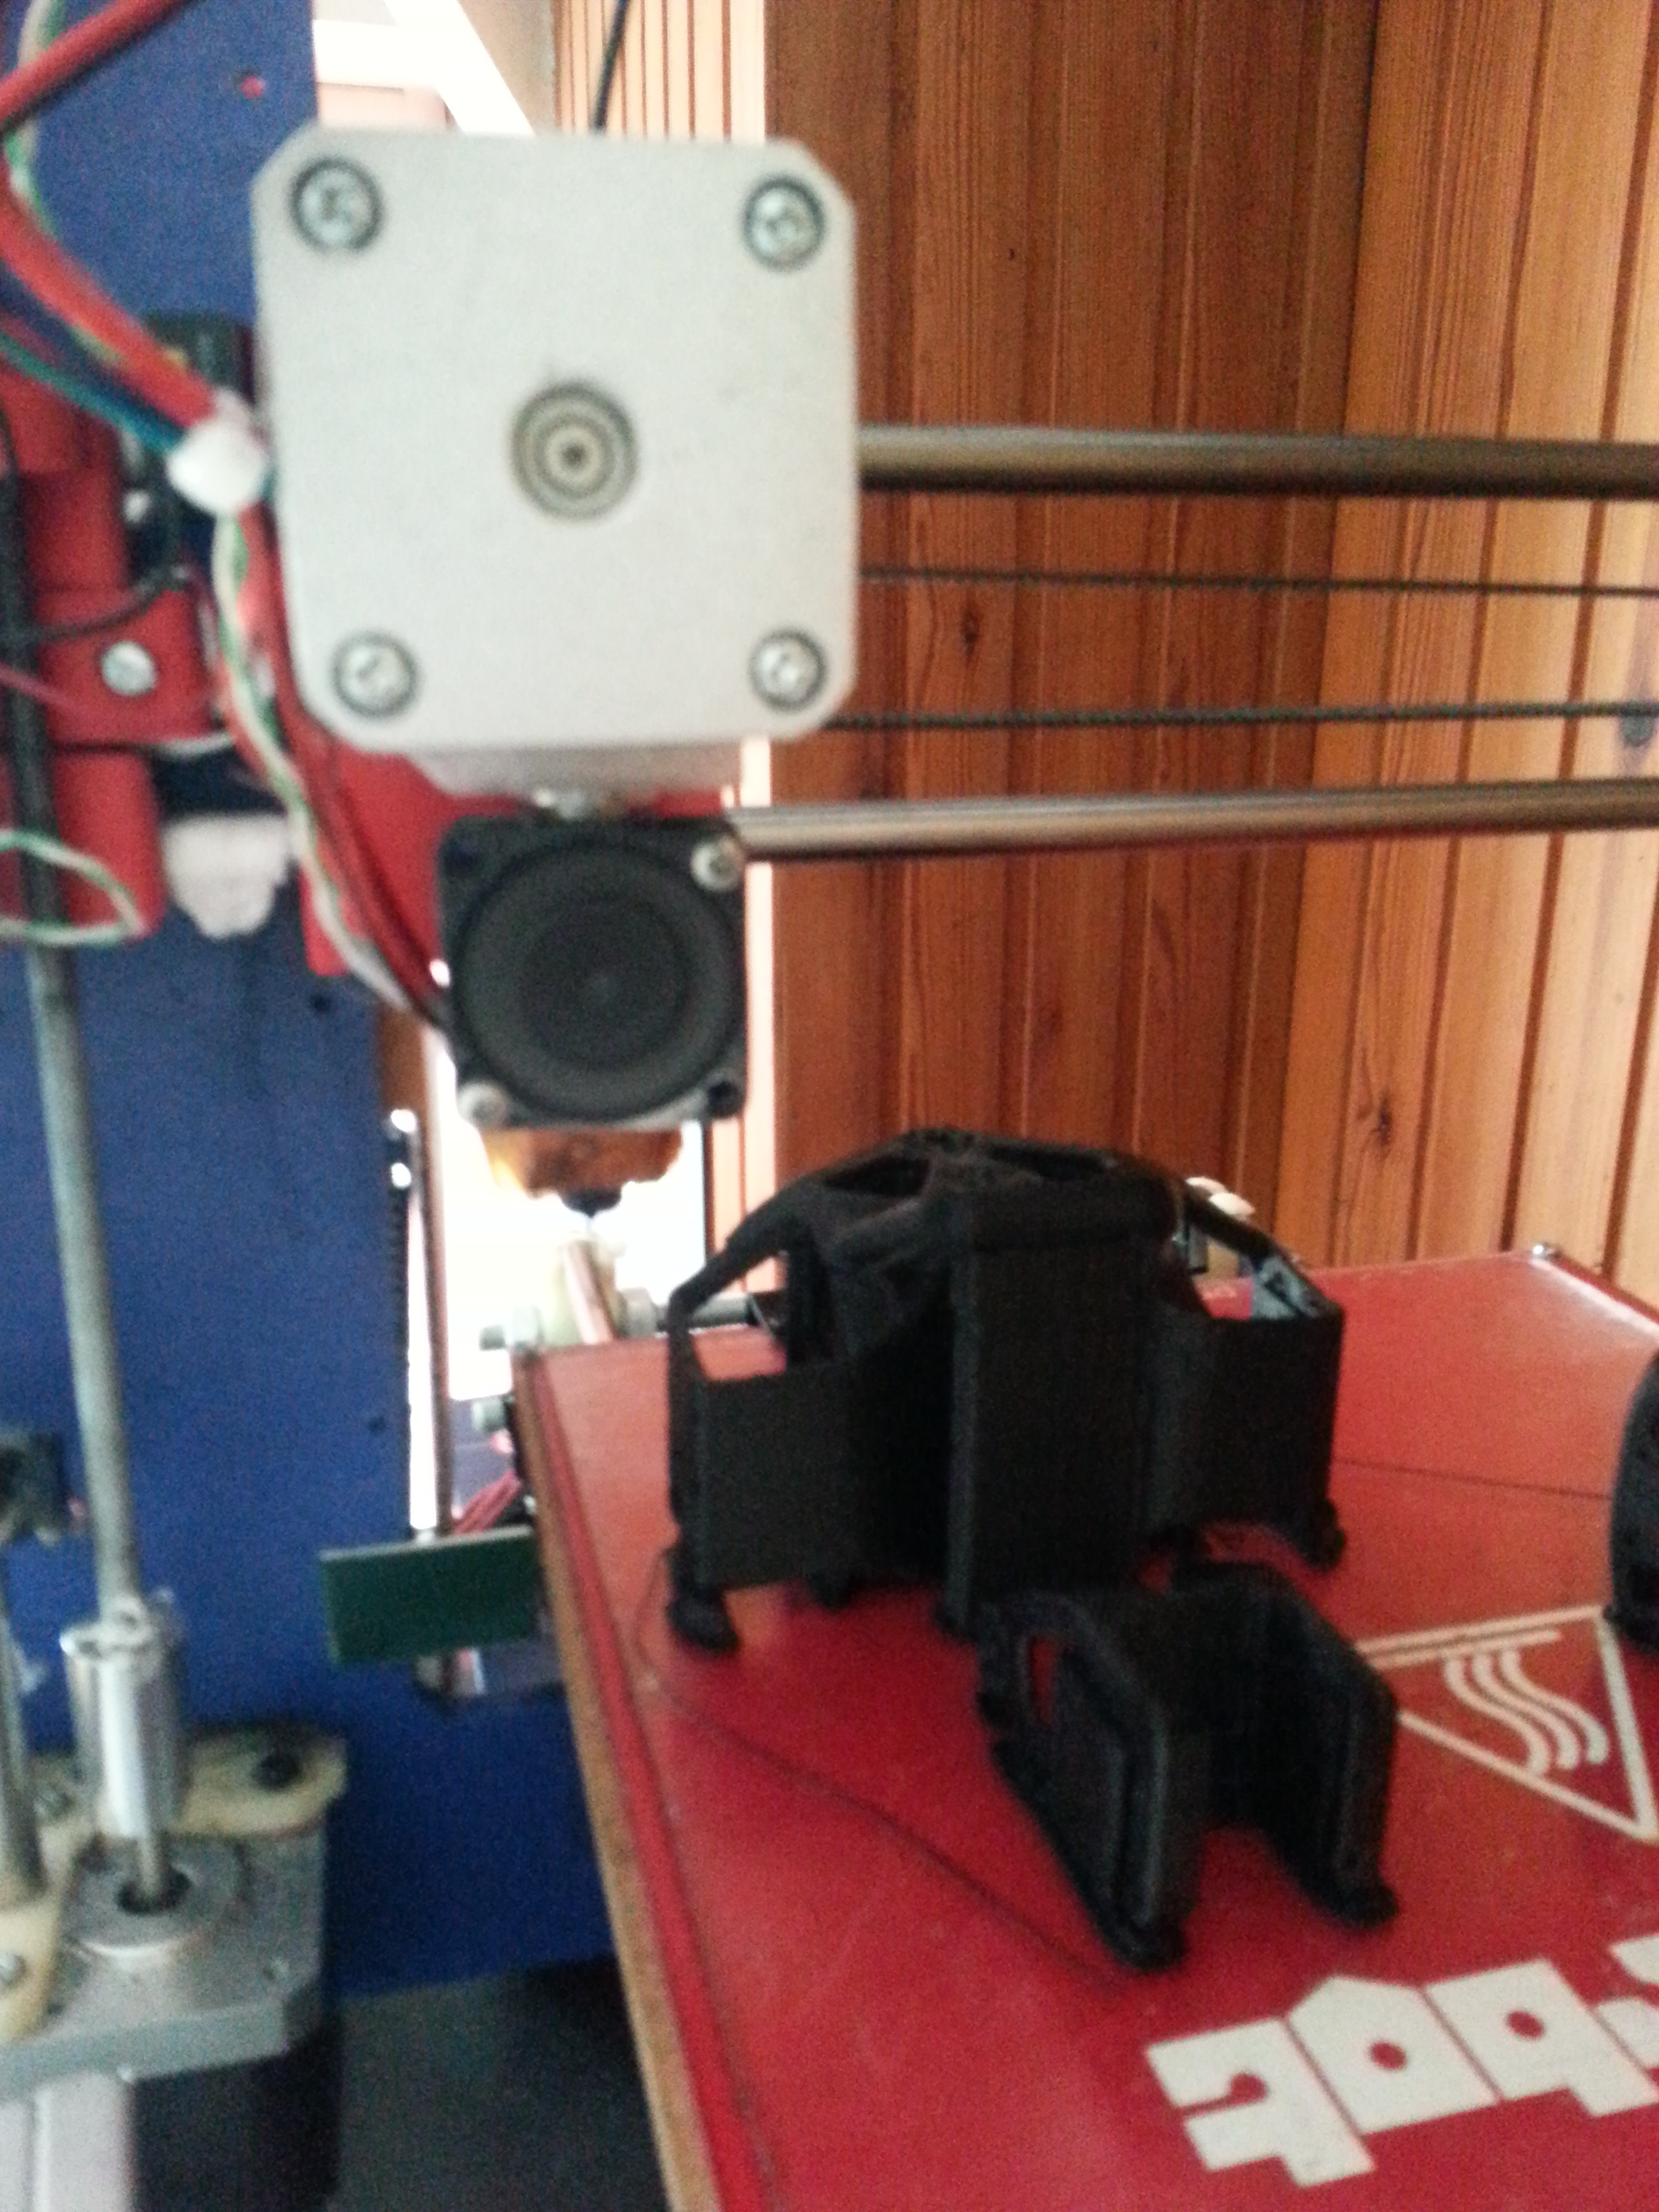
Start your printer with the saved Gcode file. Finish your print.

I tend to only use this for things I print for myself, nothing for clients, as there is usually a noticeable seam where the print failed. Anyway, I hope this will be of help as I keep seeing failed prints.

Happy printing!

  • created

    Aug '15
  • last reply

    Sep '18
  • 15

    replies

  • 30.9k

    views

  • 15

    users

Nice trick and good explanation. I’m printing the same files at this moment, the ‘Poppy’ robot.

Nice one, Thought this was not possible.

Heroooo!!! :slight_smile:

I started doing this a few months ago on my Makerbot when I switched to Simplify 3d and it’s has saved my sanity on a few occasions. One thing that I found on my machine that I would add… I have to edit the start-up procedure for my printer so that there is a pause between the x,y,z homing, and the Z axis moving to it’s extent. If I don put a 10 second pause in there, the carriage moves to the start position before the piece is clear of the head.

Thanks for the measuring procedure! very helpful.

My approach is slightly easier I think.

When your print stops give the command M114.

This gives your exact z- height.

Look for this number in the g- code.

When you found it delete everything before this.

Load the code and start printing.

8 days later
8 months later
2 months later
1 year later
3 months later
9 months later

I use to cut and restart unfinished cnc jobs a lot when working as a machinist. the only difference here is having to know how to get the layer height it left off on.
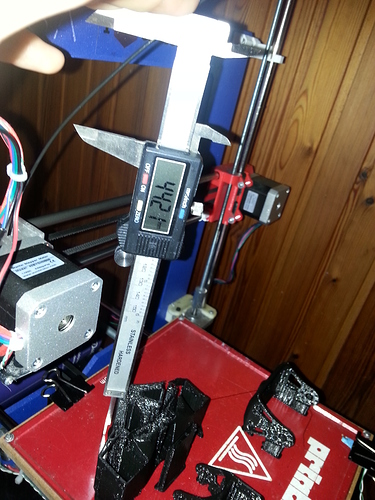
i tried this and i had a problem with one dimension being off about 1mm. i only had 5 layers left…
so results may vary. its also good to know my printers repeatability on the Y axis sucks.
I’ll have to get better switches for the endstops.