I’m using Flashprint slicer. Here are my settings:
Base Print Speed: 50mm/s
Travel Speed: 60
Minimum Speed: 5
First Layer Maximum Speed: 20
First Layer Maximum Travel Speed: 70
Retraction Length: 1.8mm
Retraction Speed: 30mm/s
Layer Height: 0.18mm
First Layer Height: 0.27mm
Infill
Solid Speed: 65%
Sparse Speed: 65%
Fill Density: 15%
Additions
Enable Pre-extrusion: Yes
Margin: 5.0mm
Advanced
Extrusion Ratio: 109%
Path Width: 0.40mm
Path Precision: 0.10mm
Also, what height should the nozzle be from the bed? I am wondering if this could be an issue as it starts off printing good on the raft, but a few mins later is when it seems to clog and it looks as if it may be too close to the previous layer when it starts to slow down and begin clogging.
I had a few minutes before I leave to head off to work and decided to try the other white filament I had from flashforge. I tried the same test print as before (the benchy boat). The first layer goes on pretty good with the exception of the first oozing filament that gets knocked off the first trace around the raft. I noticed that when the nozzle moved across the raft to reposition to start the 2nd layer, it made a small indention in the top of each line of the rafts first layer. I leveled the bed manually using a folded over piece of white printer paper. It appears I may have the nozzle too low to the bed and maybe that’s causing my clogging issue as it keeps dragging into the already printed layers?
I’d slow a little to 40mm/s or slower for small parts. Stick with a 0.2 layer height for now.
Reduce the extrusion ratio to about 95% for PLA.
Thank you so much for the recommendations! I’m leaving for work now, but I’ll get those changed when I get home this afternoon and see what it looks like.
I have a couple rolls of solutech here that work at normal temps and just the one that will clog at normal temps. I like hatchbox. I’ve never had any problems with them. I think with solutech they have faulty rolls and you don’t know what your going to get.
Odd, I have had pretty good luck with Solutech but I don’t use a lot of it.
Wirlybird, what is your go to brand? I know janjan said they like Hatchbox the best.
I have always had decent results from Hatcbox.
I also use a lot of eSun PLA+
After staying over at work, I finally made it home to try to print again.
I installed a new 0.4mm nozzle, new PTFE tube and got the extruder back together. I then re-leveled the bed again manually just to make sure it was even all across the entire bed (I use a sheet of printer paper folded over, so it’s the equivalent of two sheets and I adjust the nozzle to where it gives some resistance to the paper underneath).
I made the flashprint changes as recommended and the only noticeable difference that I saw was the speed was slower while it printed. The raft seemed to print really well, but then as it started on the actual boat (benchy) part, that’s when it seemed like the nozzle was too low. It seemed to be still be extruding PLA at that point so I let it go. It ended up clogging up again.
I think the nozzle may be too low still or there is some type of height setting that needs to be adjusted. Since I haven’t successfully printed any one print start to finish yet, I’m unsure how low the nozzle really should be doing a normal print. My guess is because it’s printing so low into the previous layer that it’s restricting the flow of filament enough and backing it up and in turn feeding the same rate of filament in and causing it to bunch up below the stepper motor for the filament feed.
I’ve unclogged it again. Do you have any suggestions other than try to re-level the bed a little higher and try it again?
I cleared the jam again and re-leveled the bed using three sheets of printer paper to increase the nozzle distance a little more. I am still having the same issue as before. The raft prints good, then as it starts building off of that, it seems to be printing too low and then the filament extrusion slows down and stops all together, causing a clogged extruder. I’m about to pull out the last couple of hairs I have on my head! 
First, do away with the raft. Generally unnecessary.
Level with a single sheet and just a slight feel of the nozzle on the paper.
ONLY level with the nozzle directly over the leveling screw you are working with at that time. Anywhere else is a waste of time and will not work out well.
Some people like to bring the bed up to temp for the material type so PLA preheat the bed to 50 or so then level. No need to heat the nozzle.
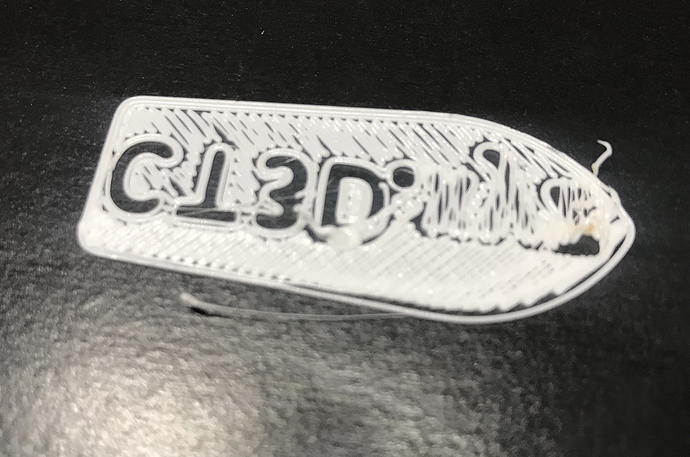
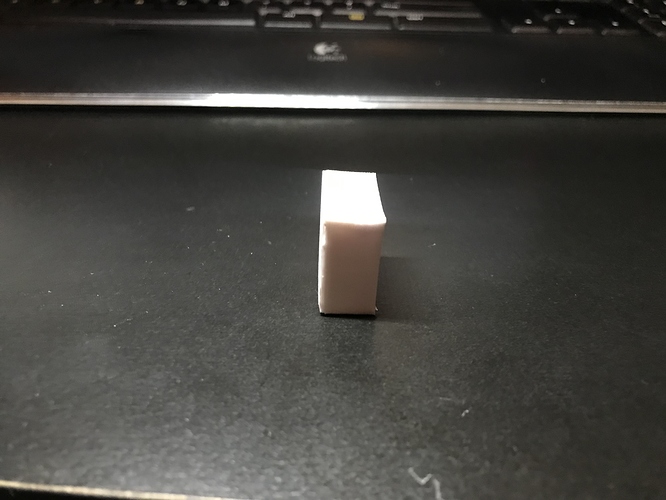
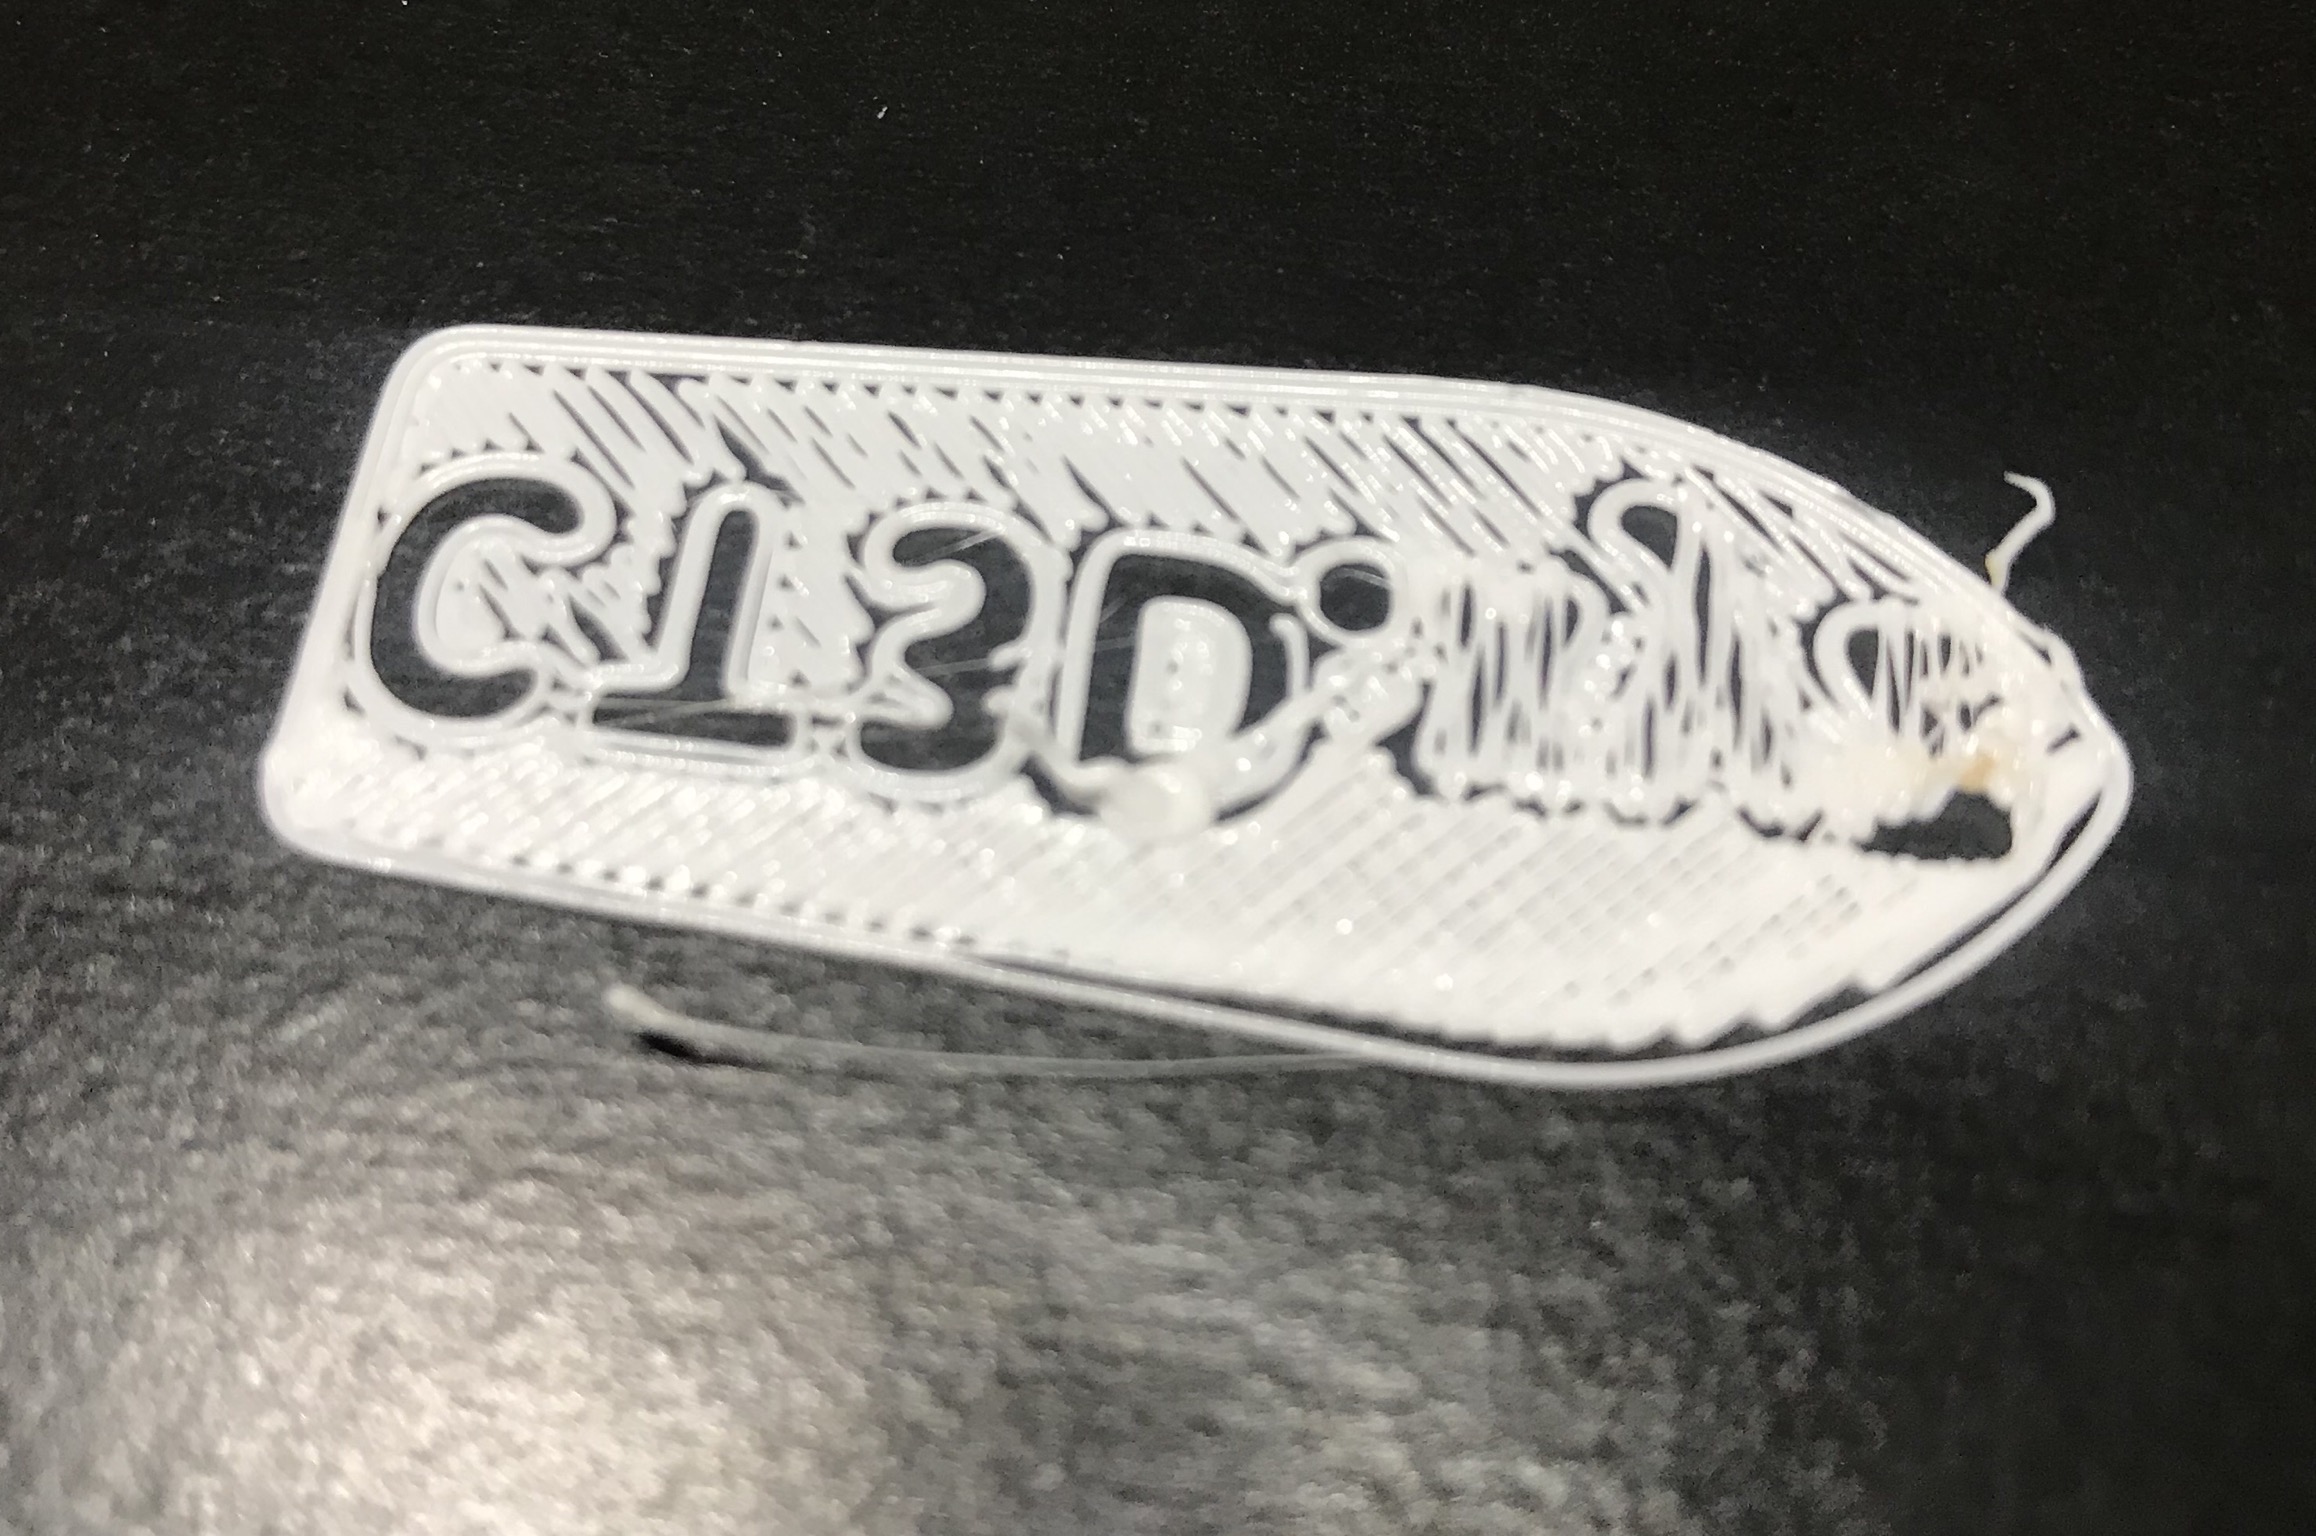
Wirly, The FF finder doesn’t have a heated bed. I had read that it was better to use a raft because of this. I just tested the same print again without a raft and it started doing the same thing again. Luckily I was able to stop the print before it completely clogged the extruder again. I’ve tried attaching a picture of the print without the raft to show what it looks like.
I didn’t realize on the heated bed.
First thing the picture tells me is the gap from bed to nozzle is too much.
You want to see that each extrusion is getting slightly squished to create a more solid layer.
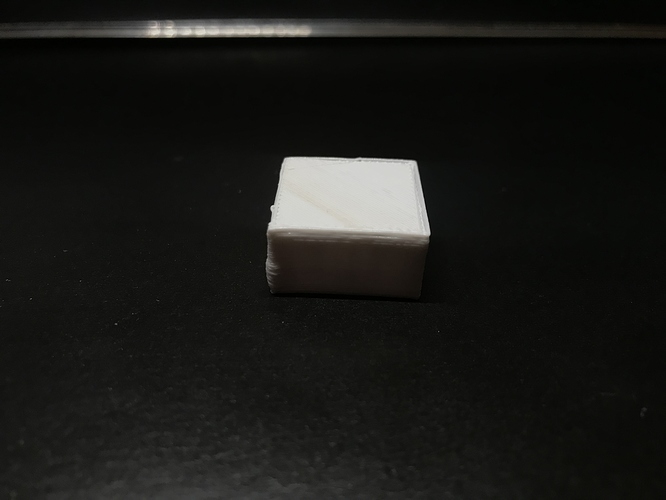
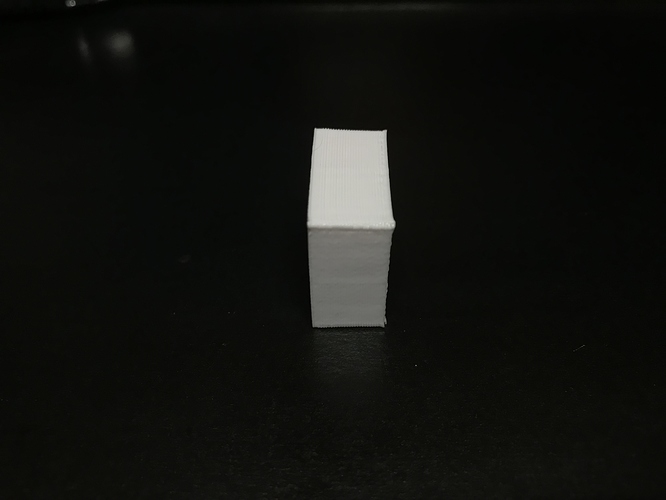
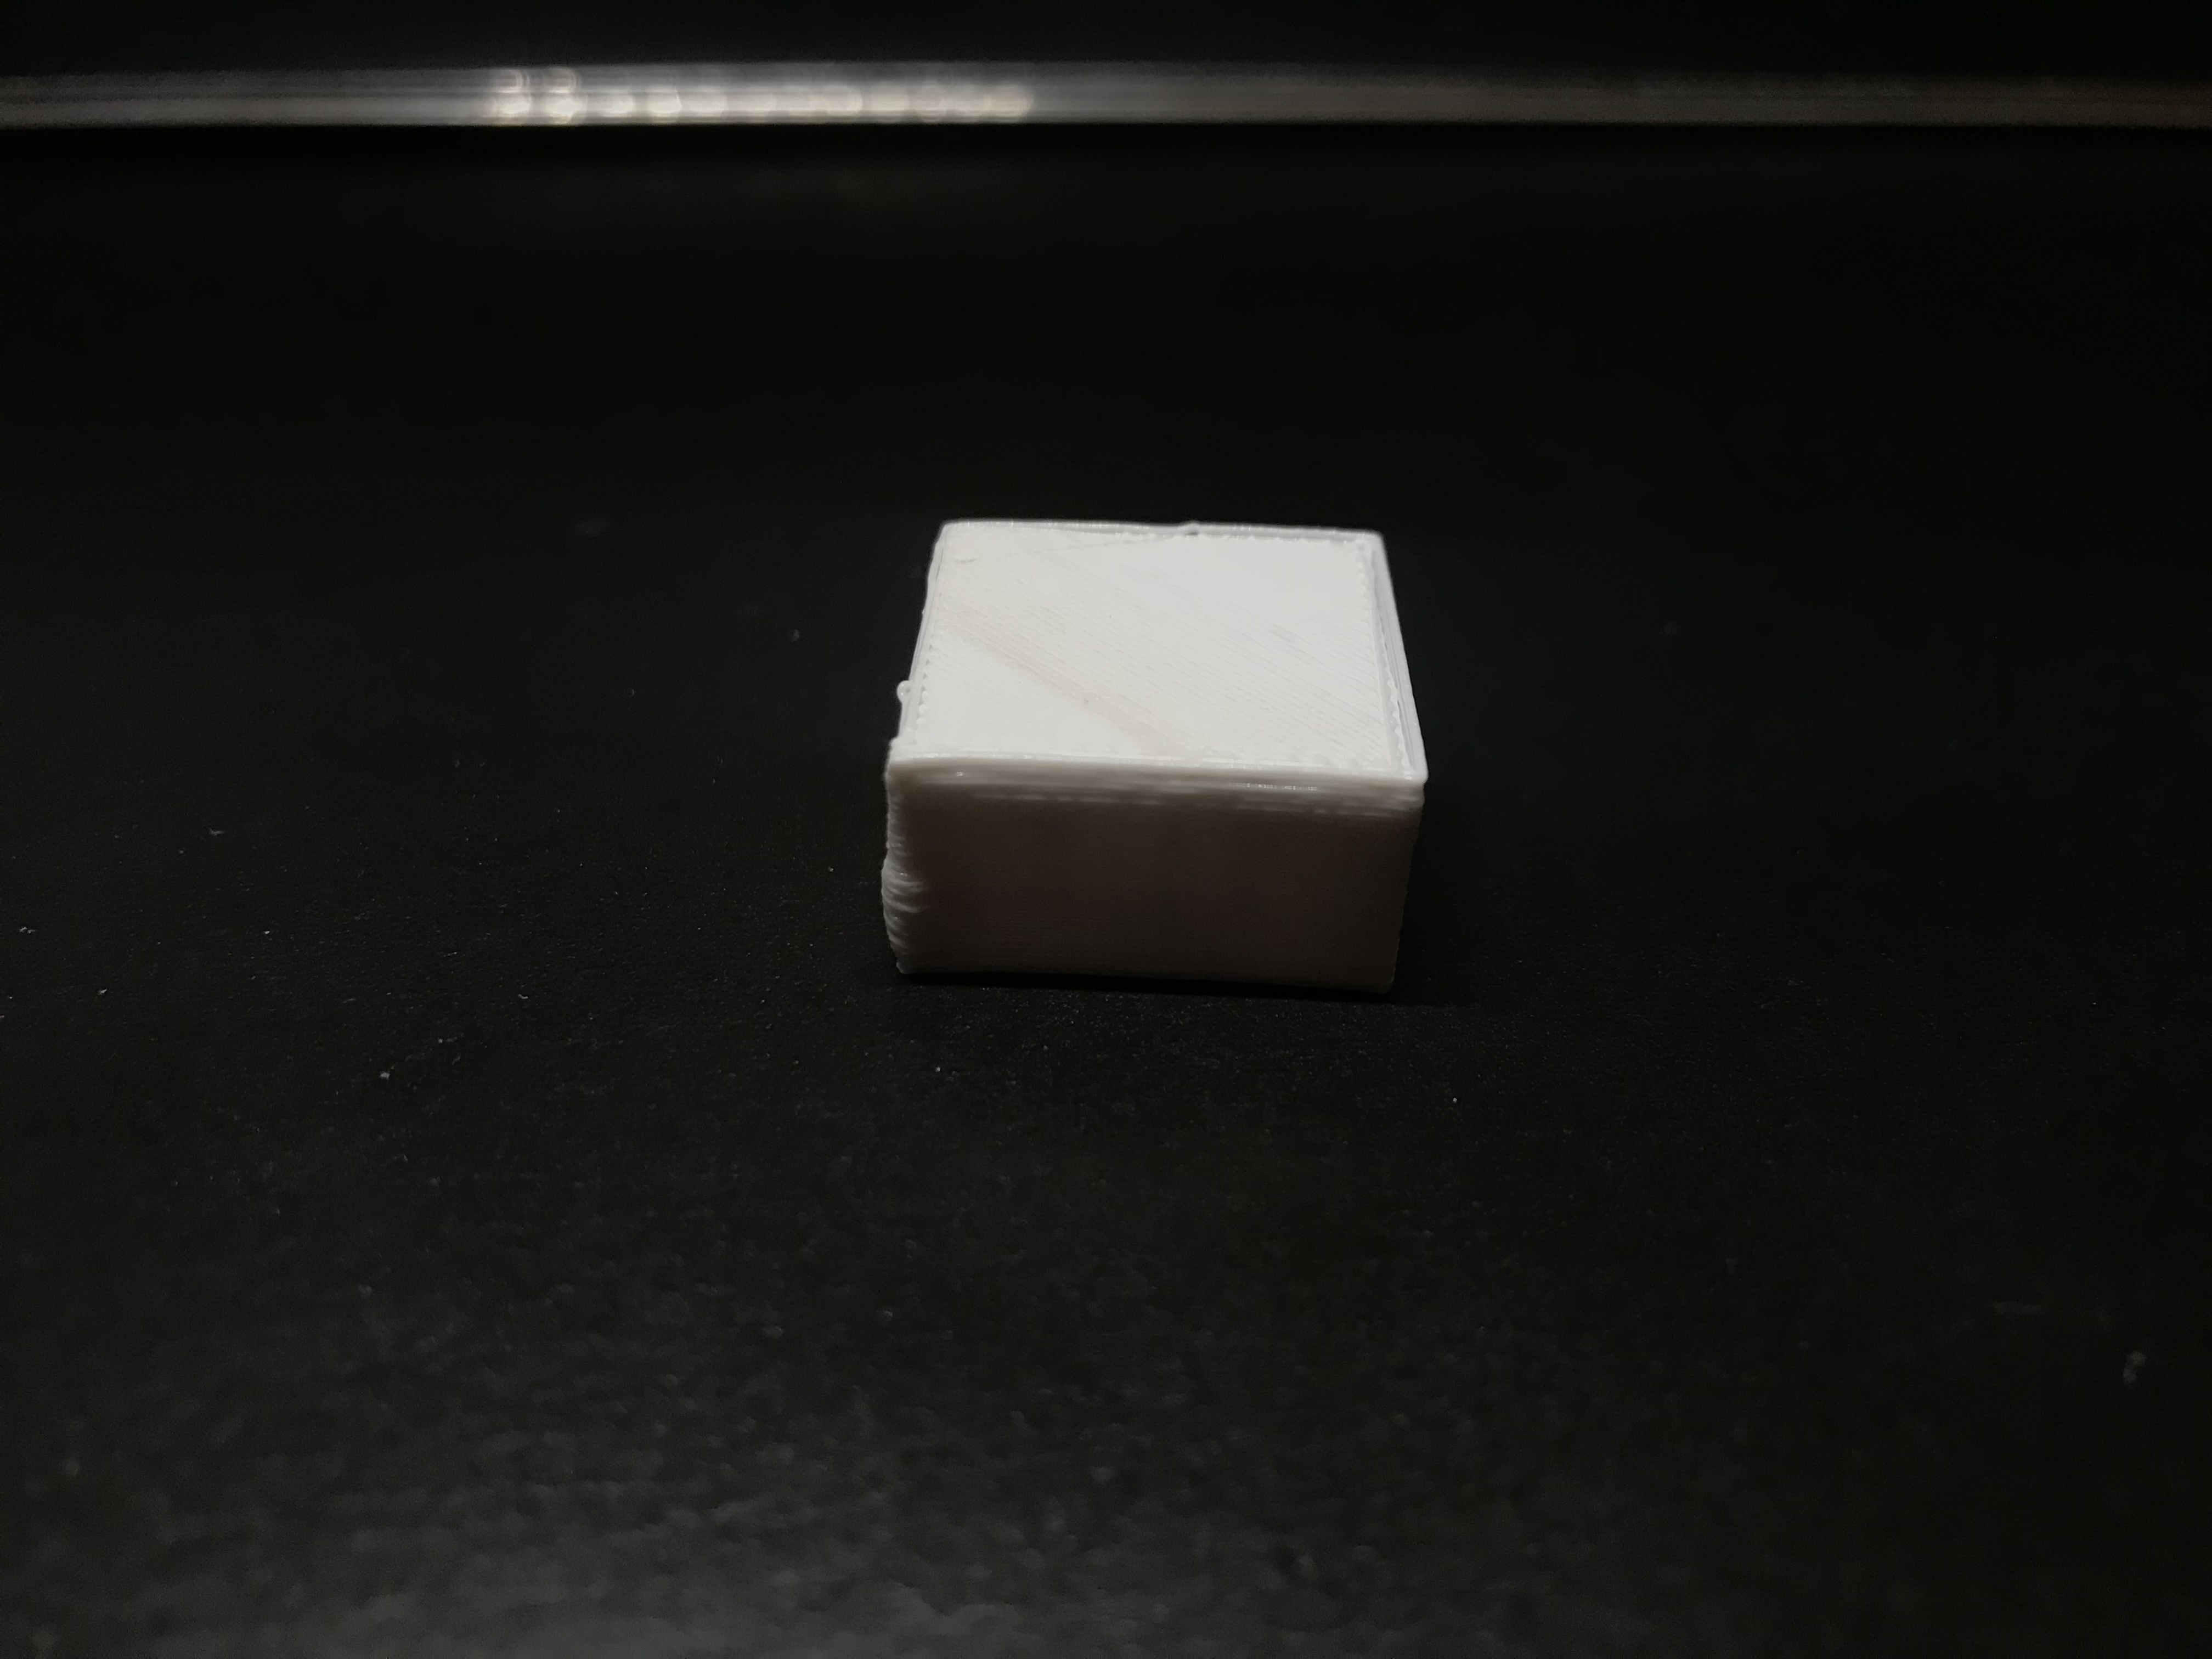
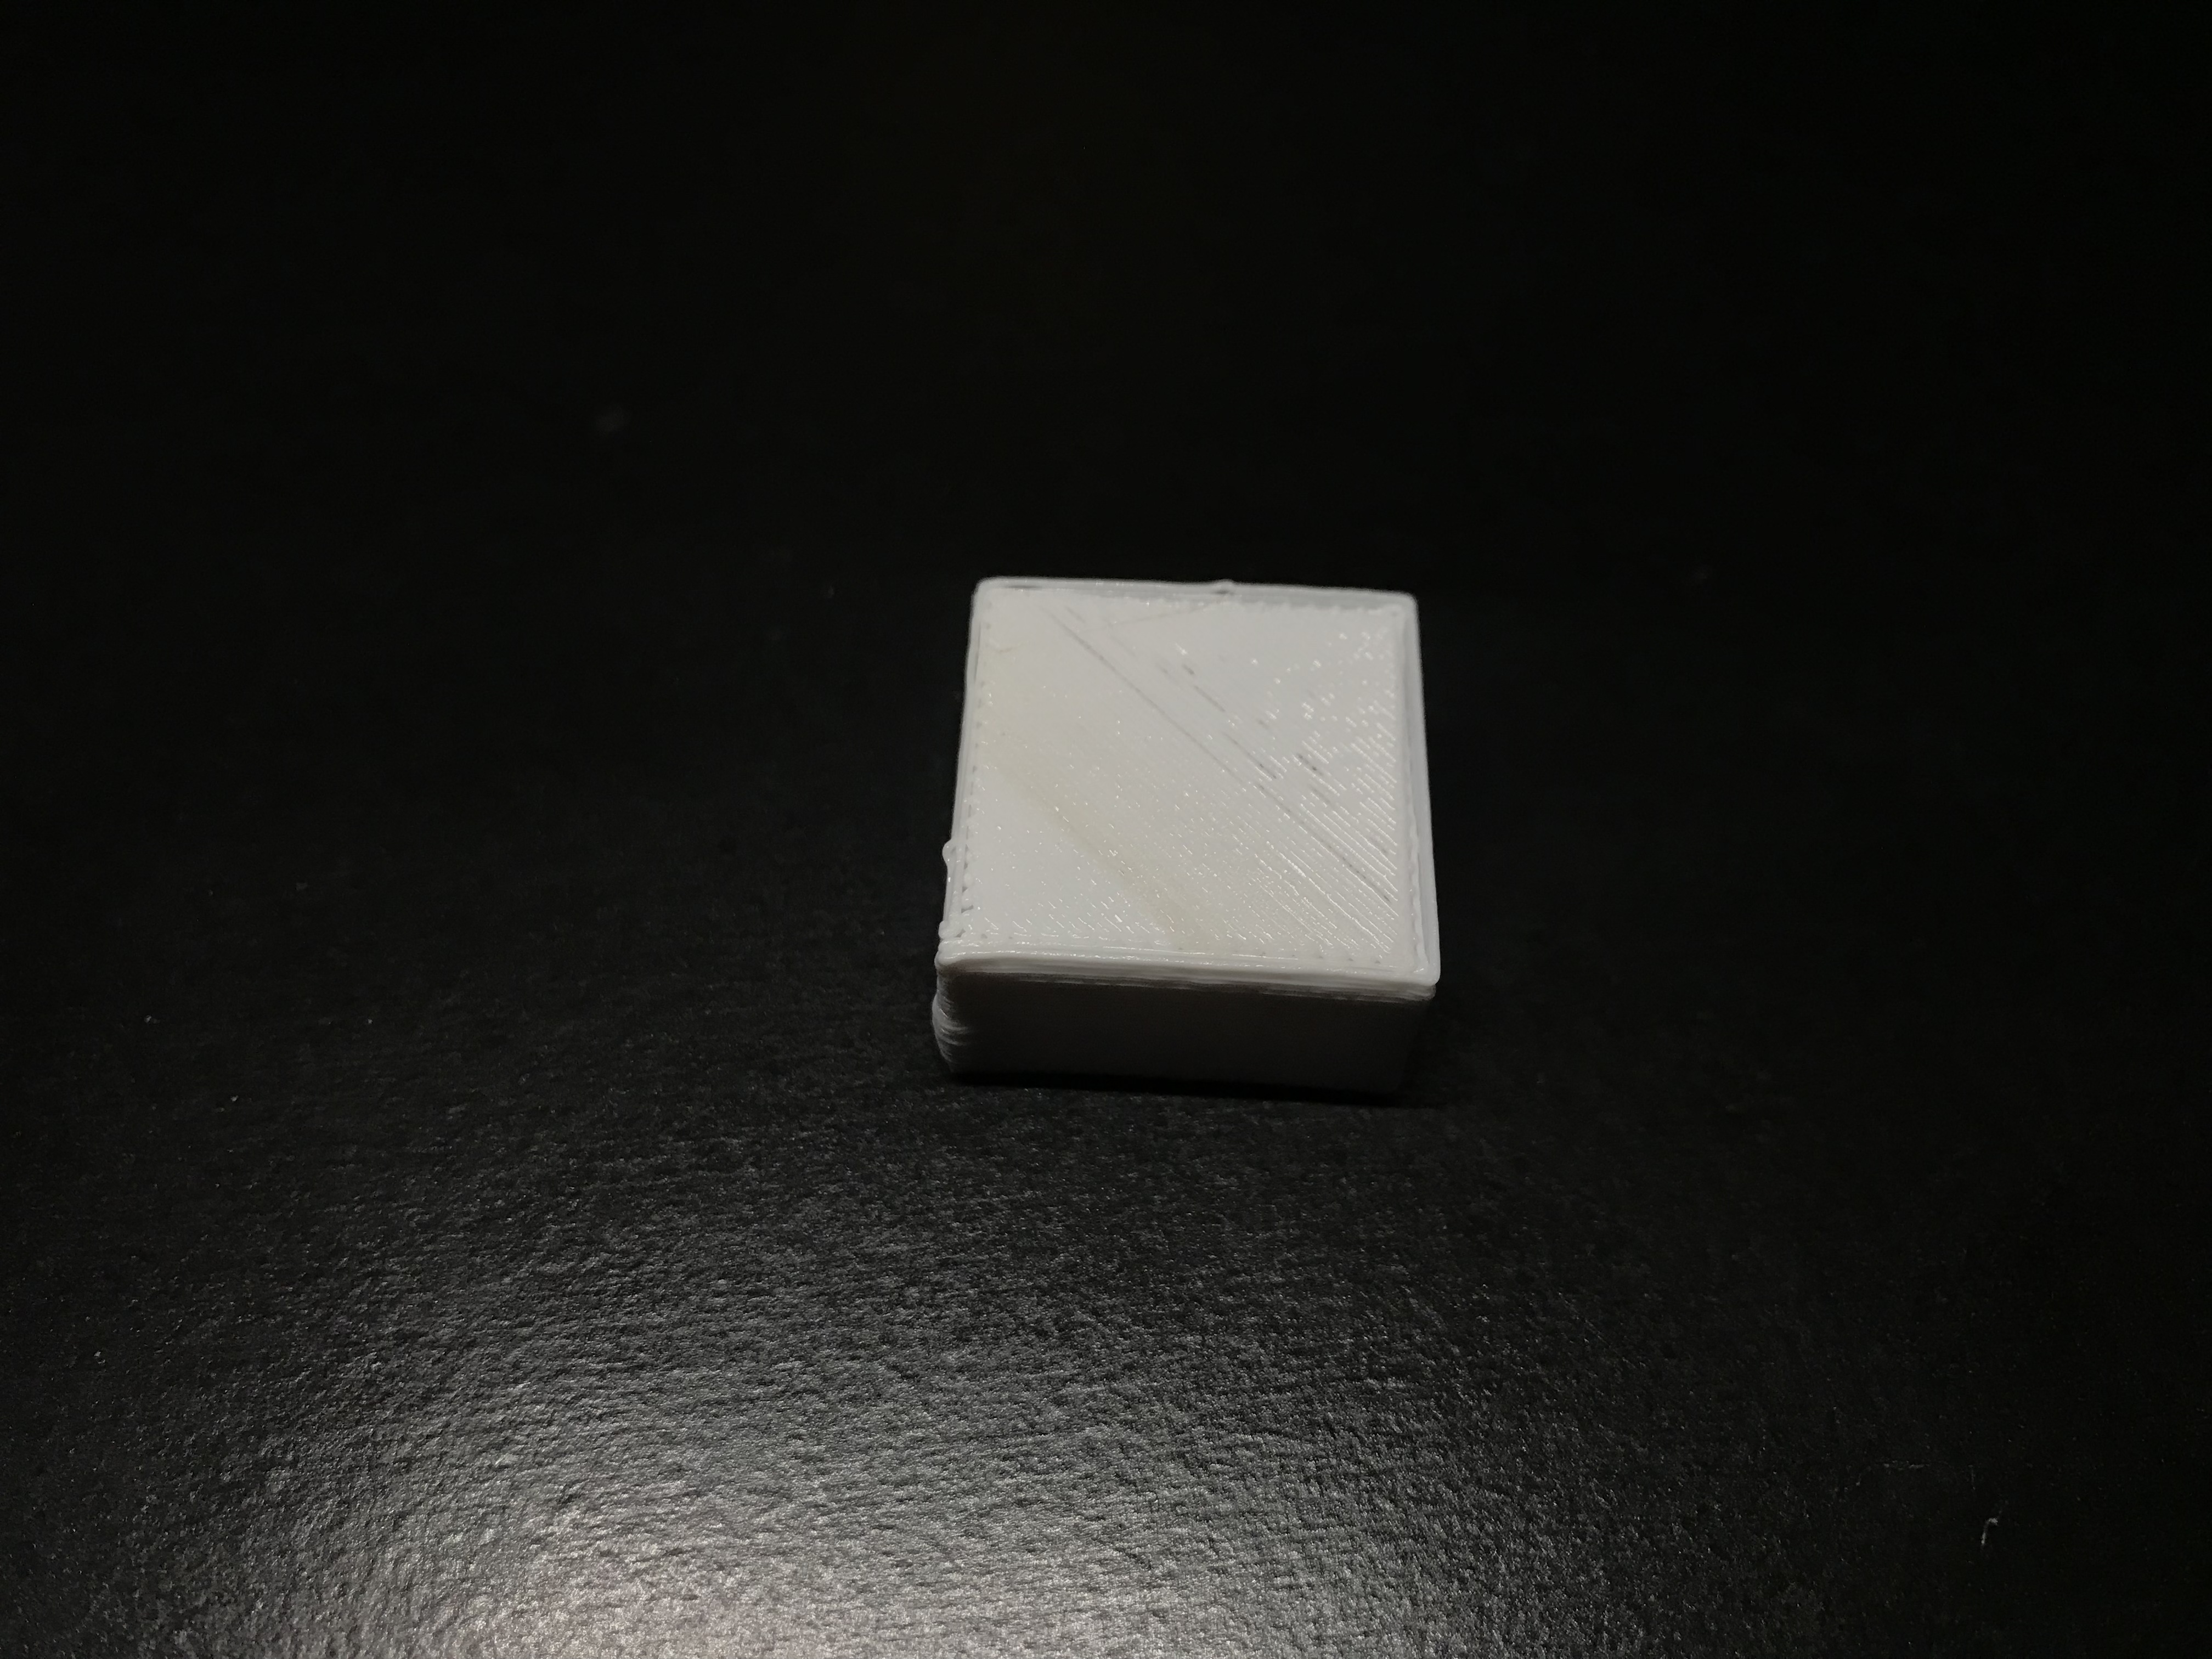
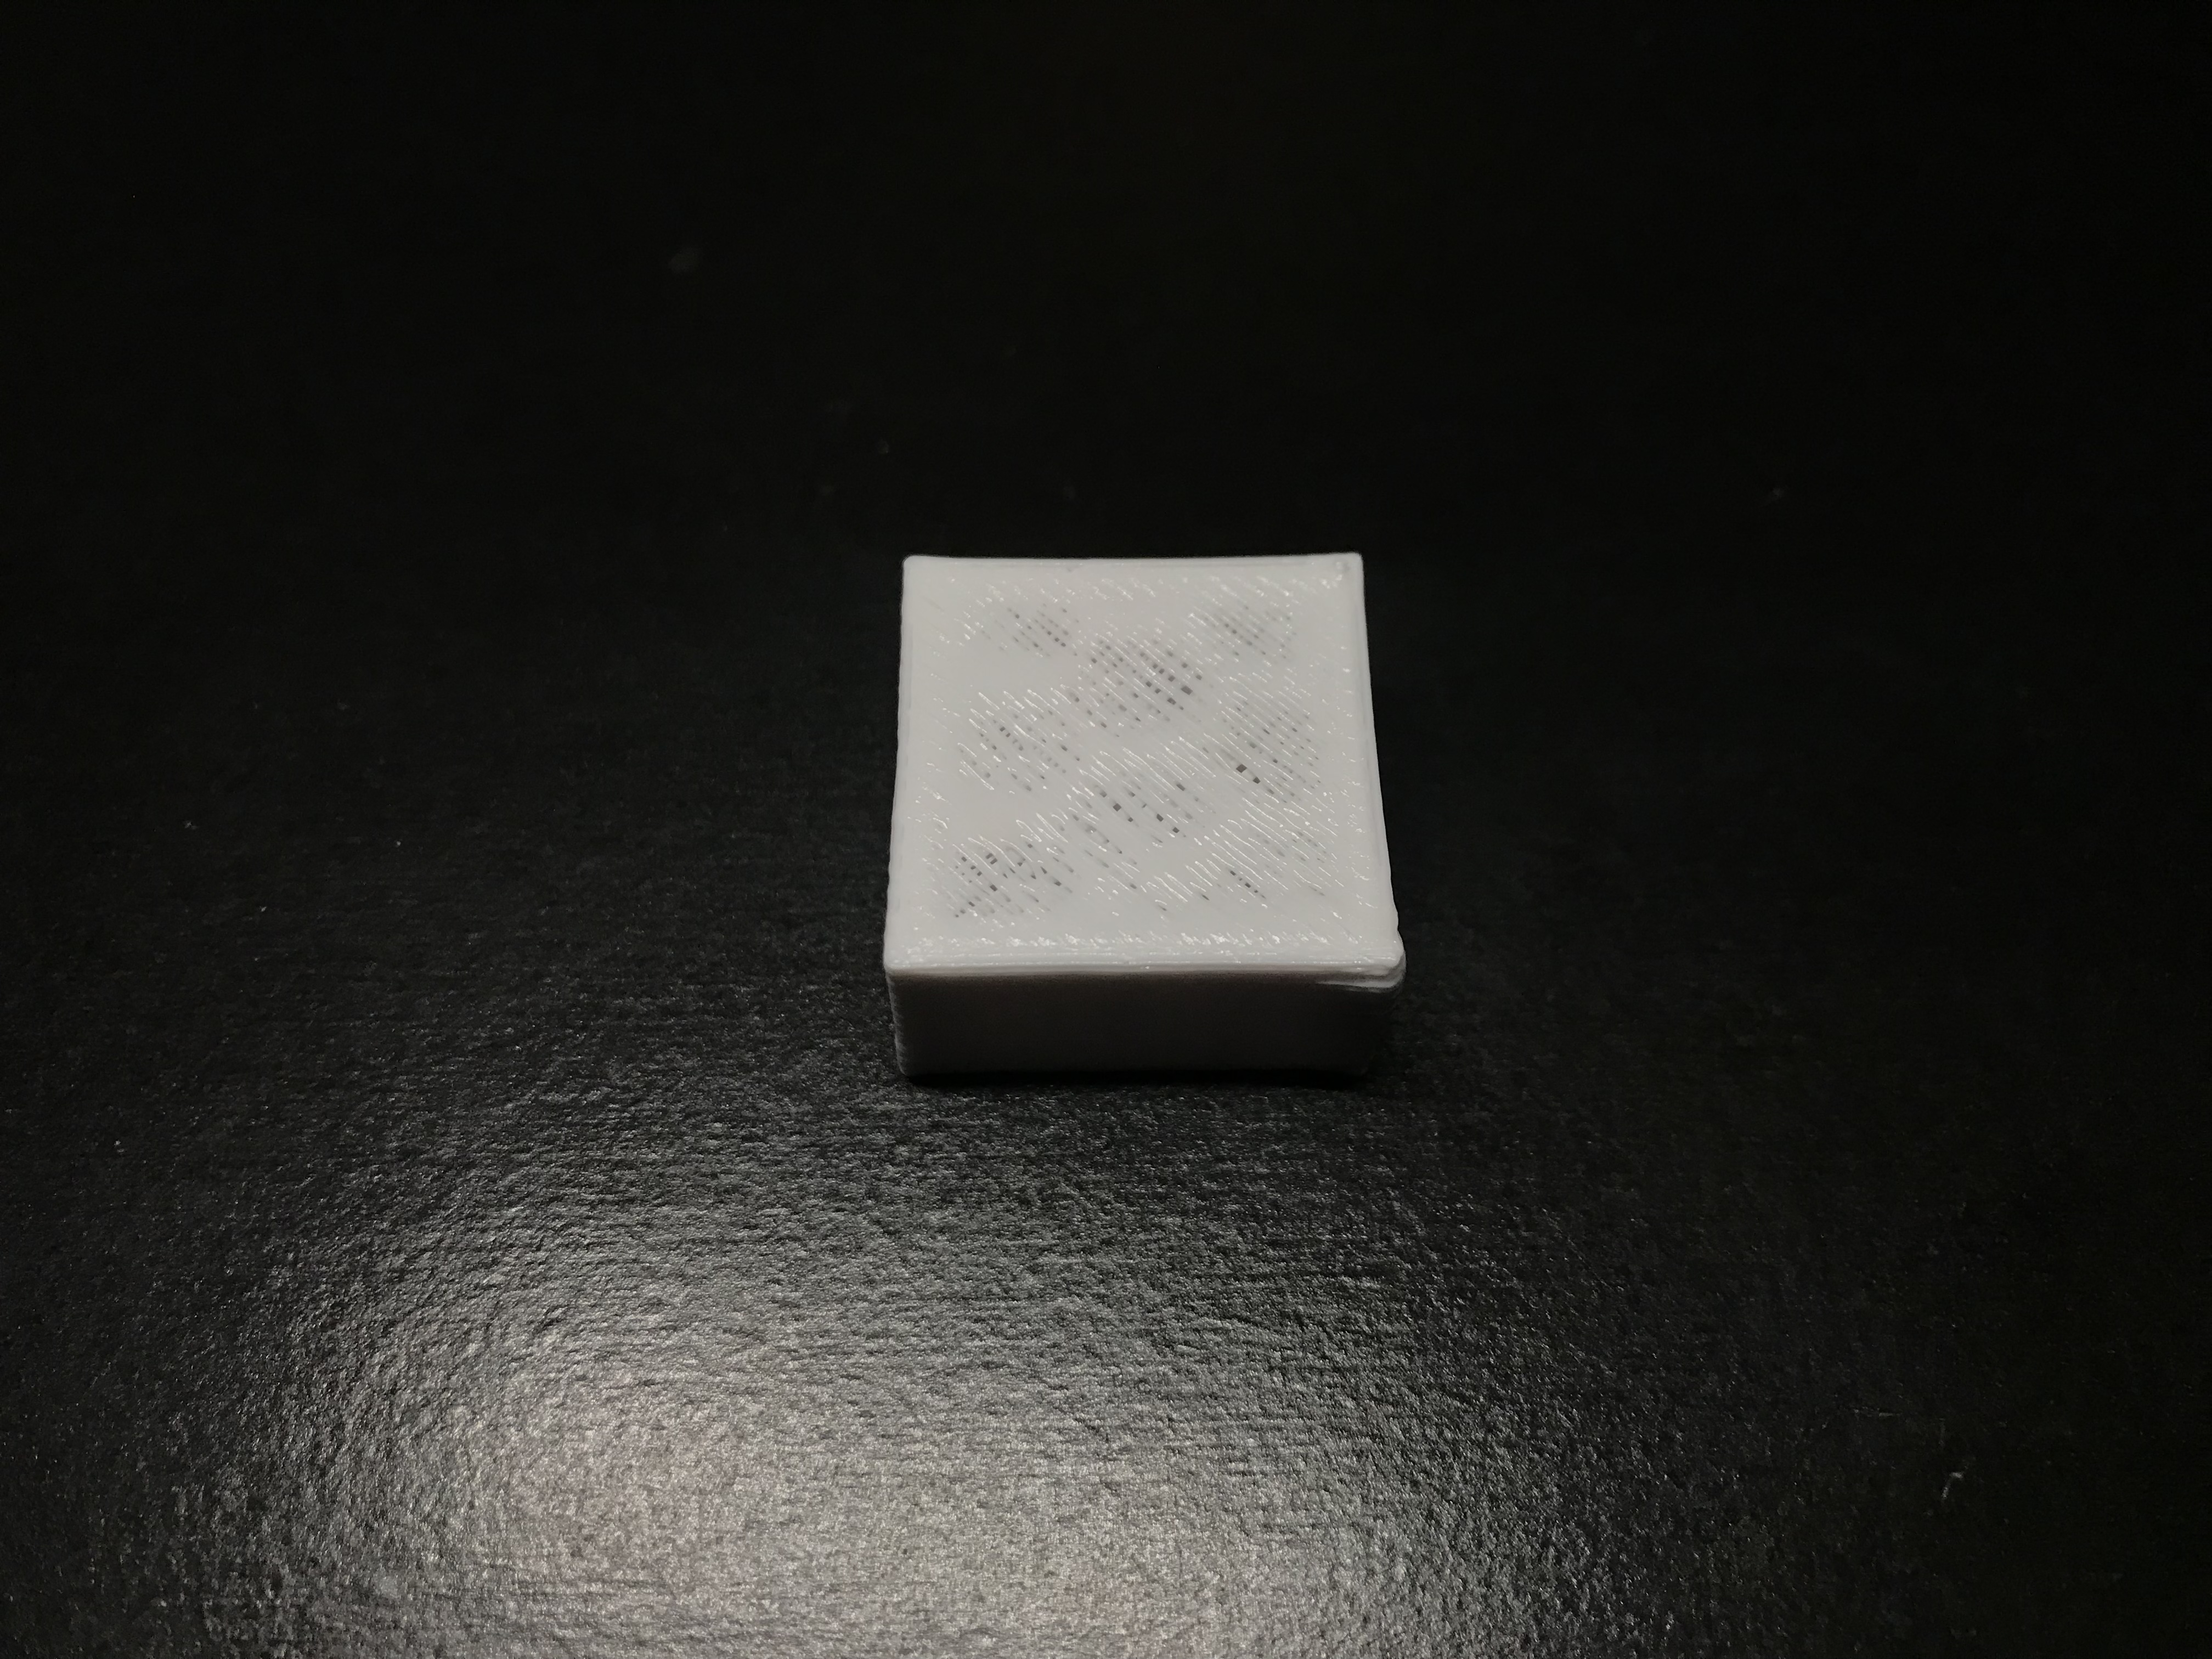
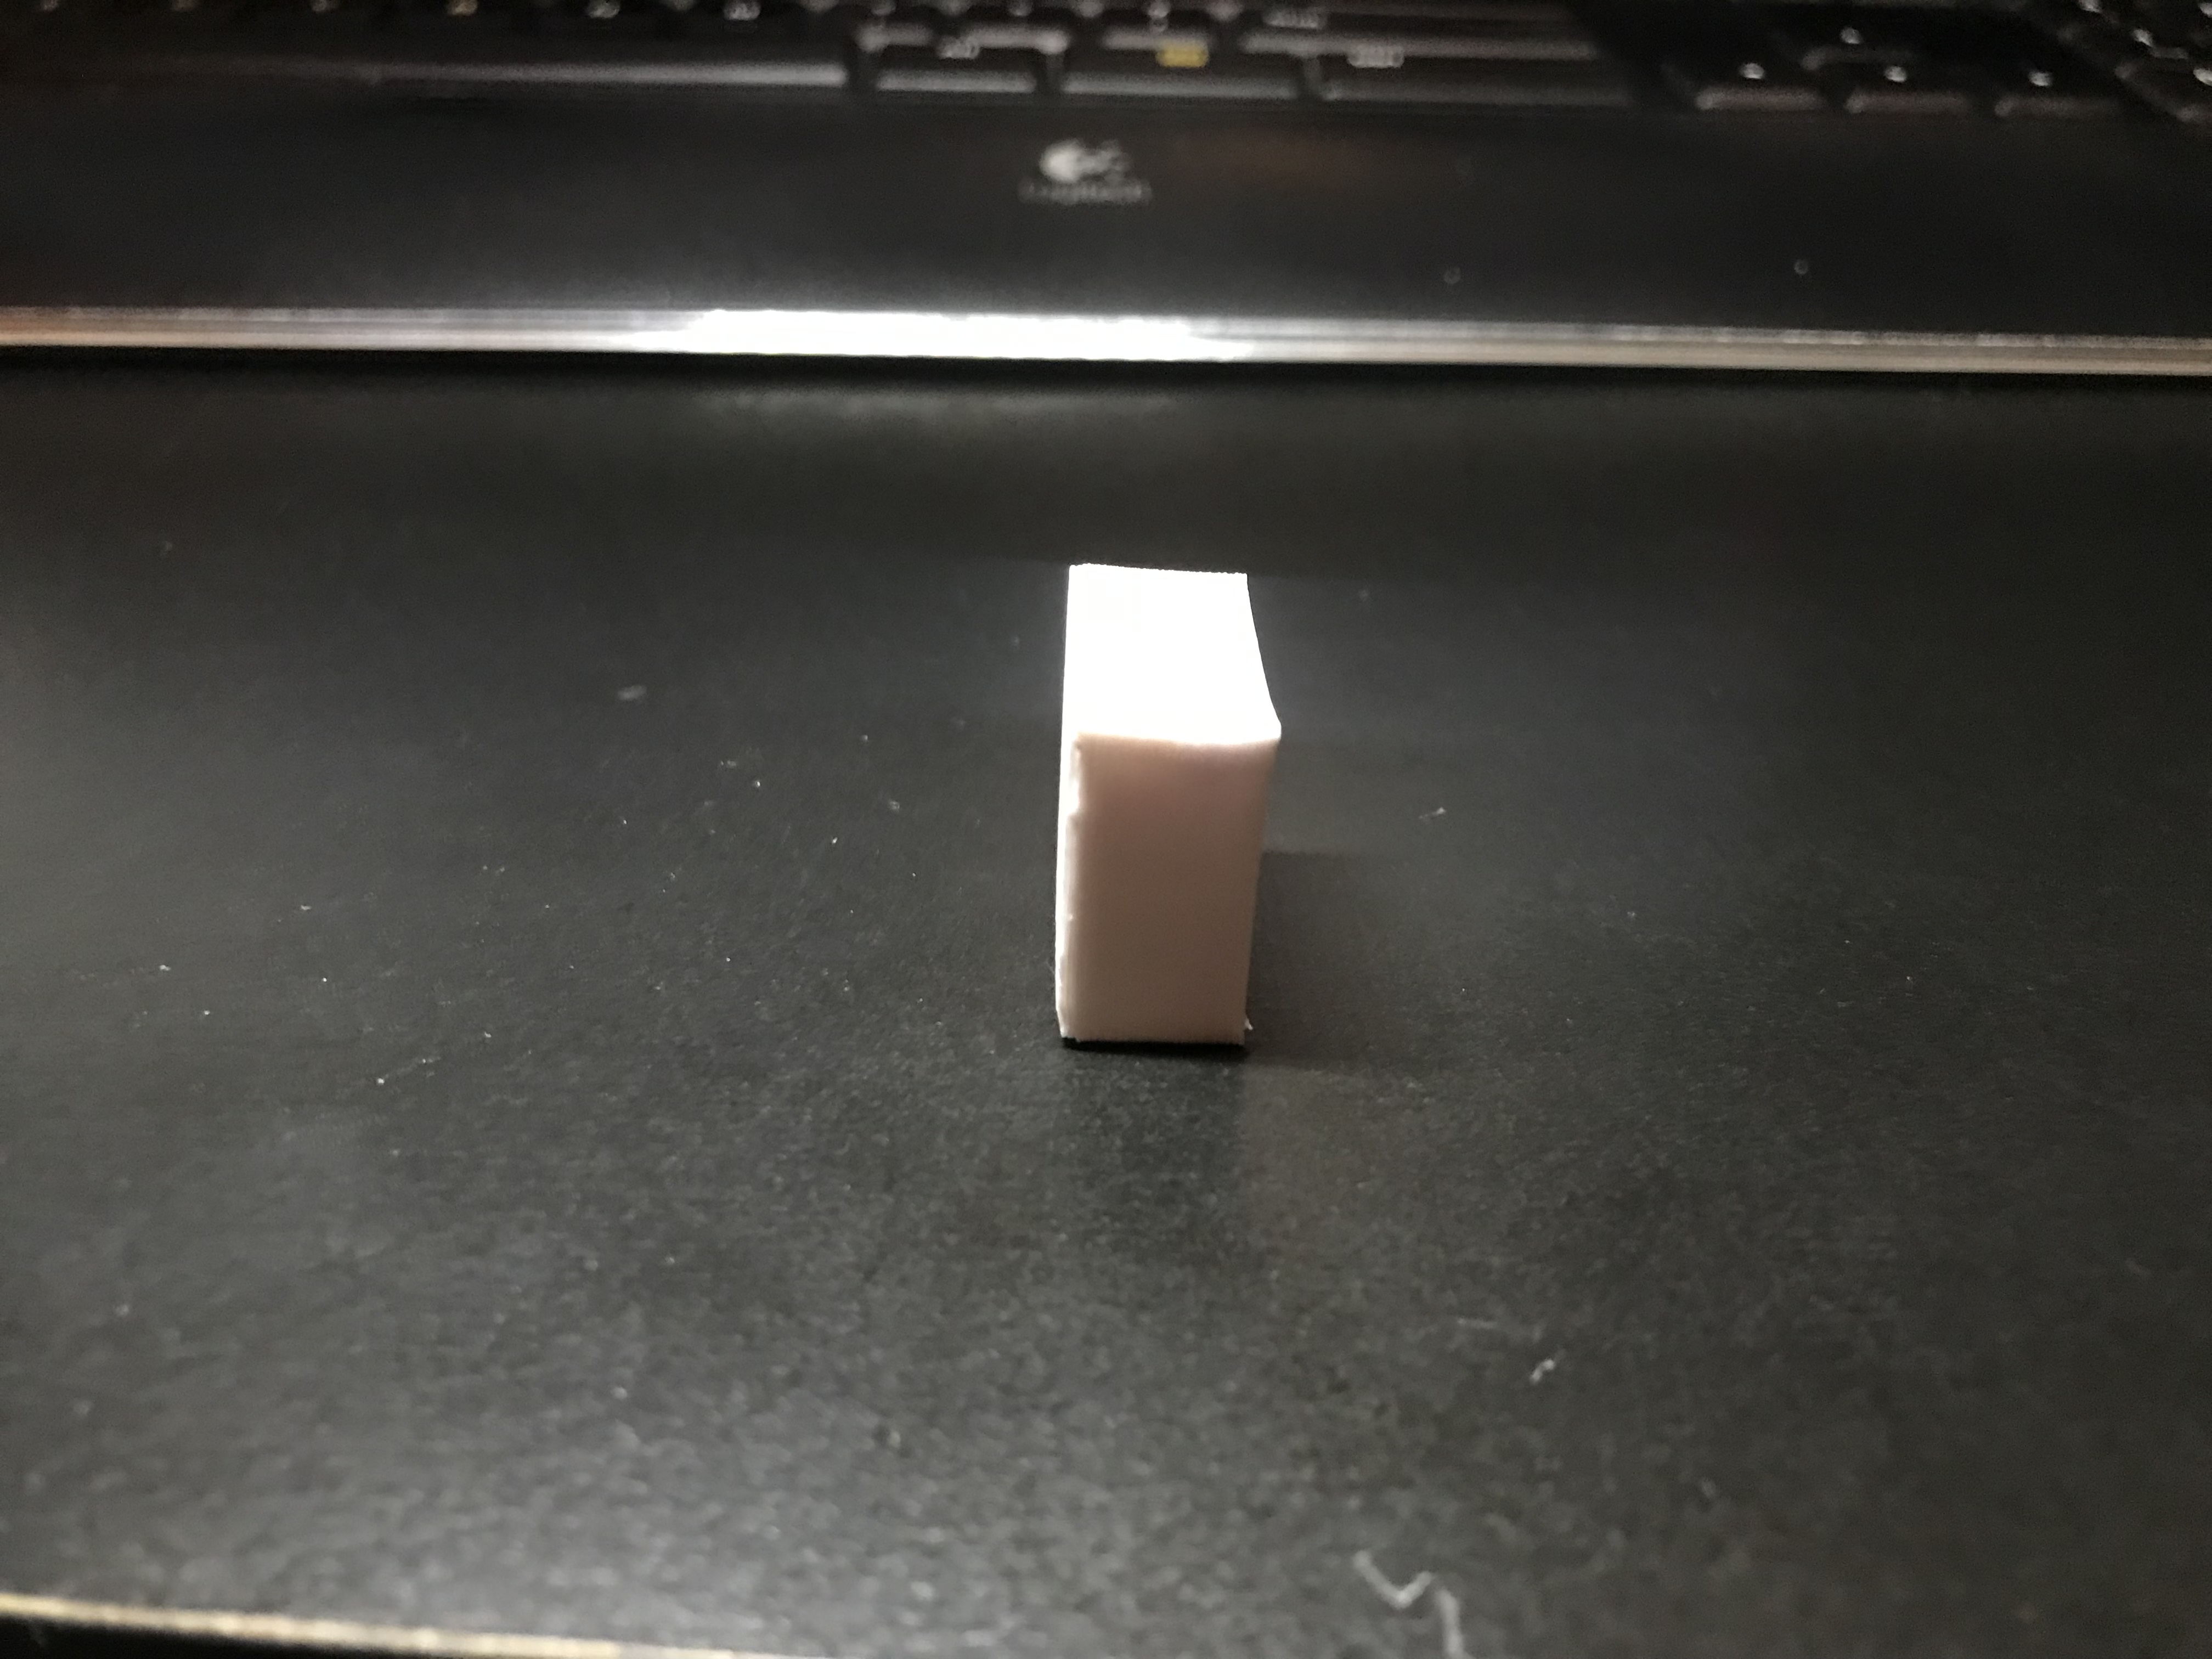
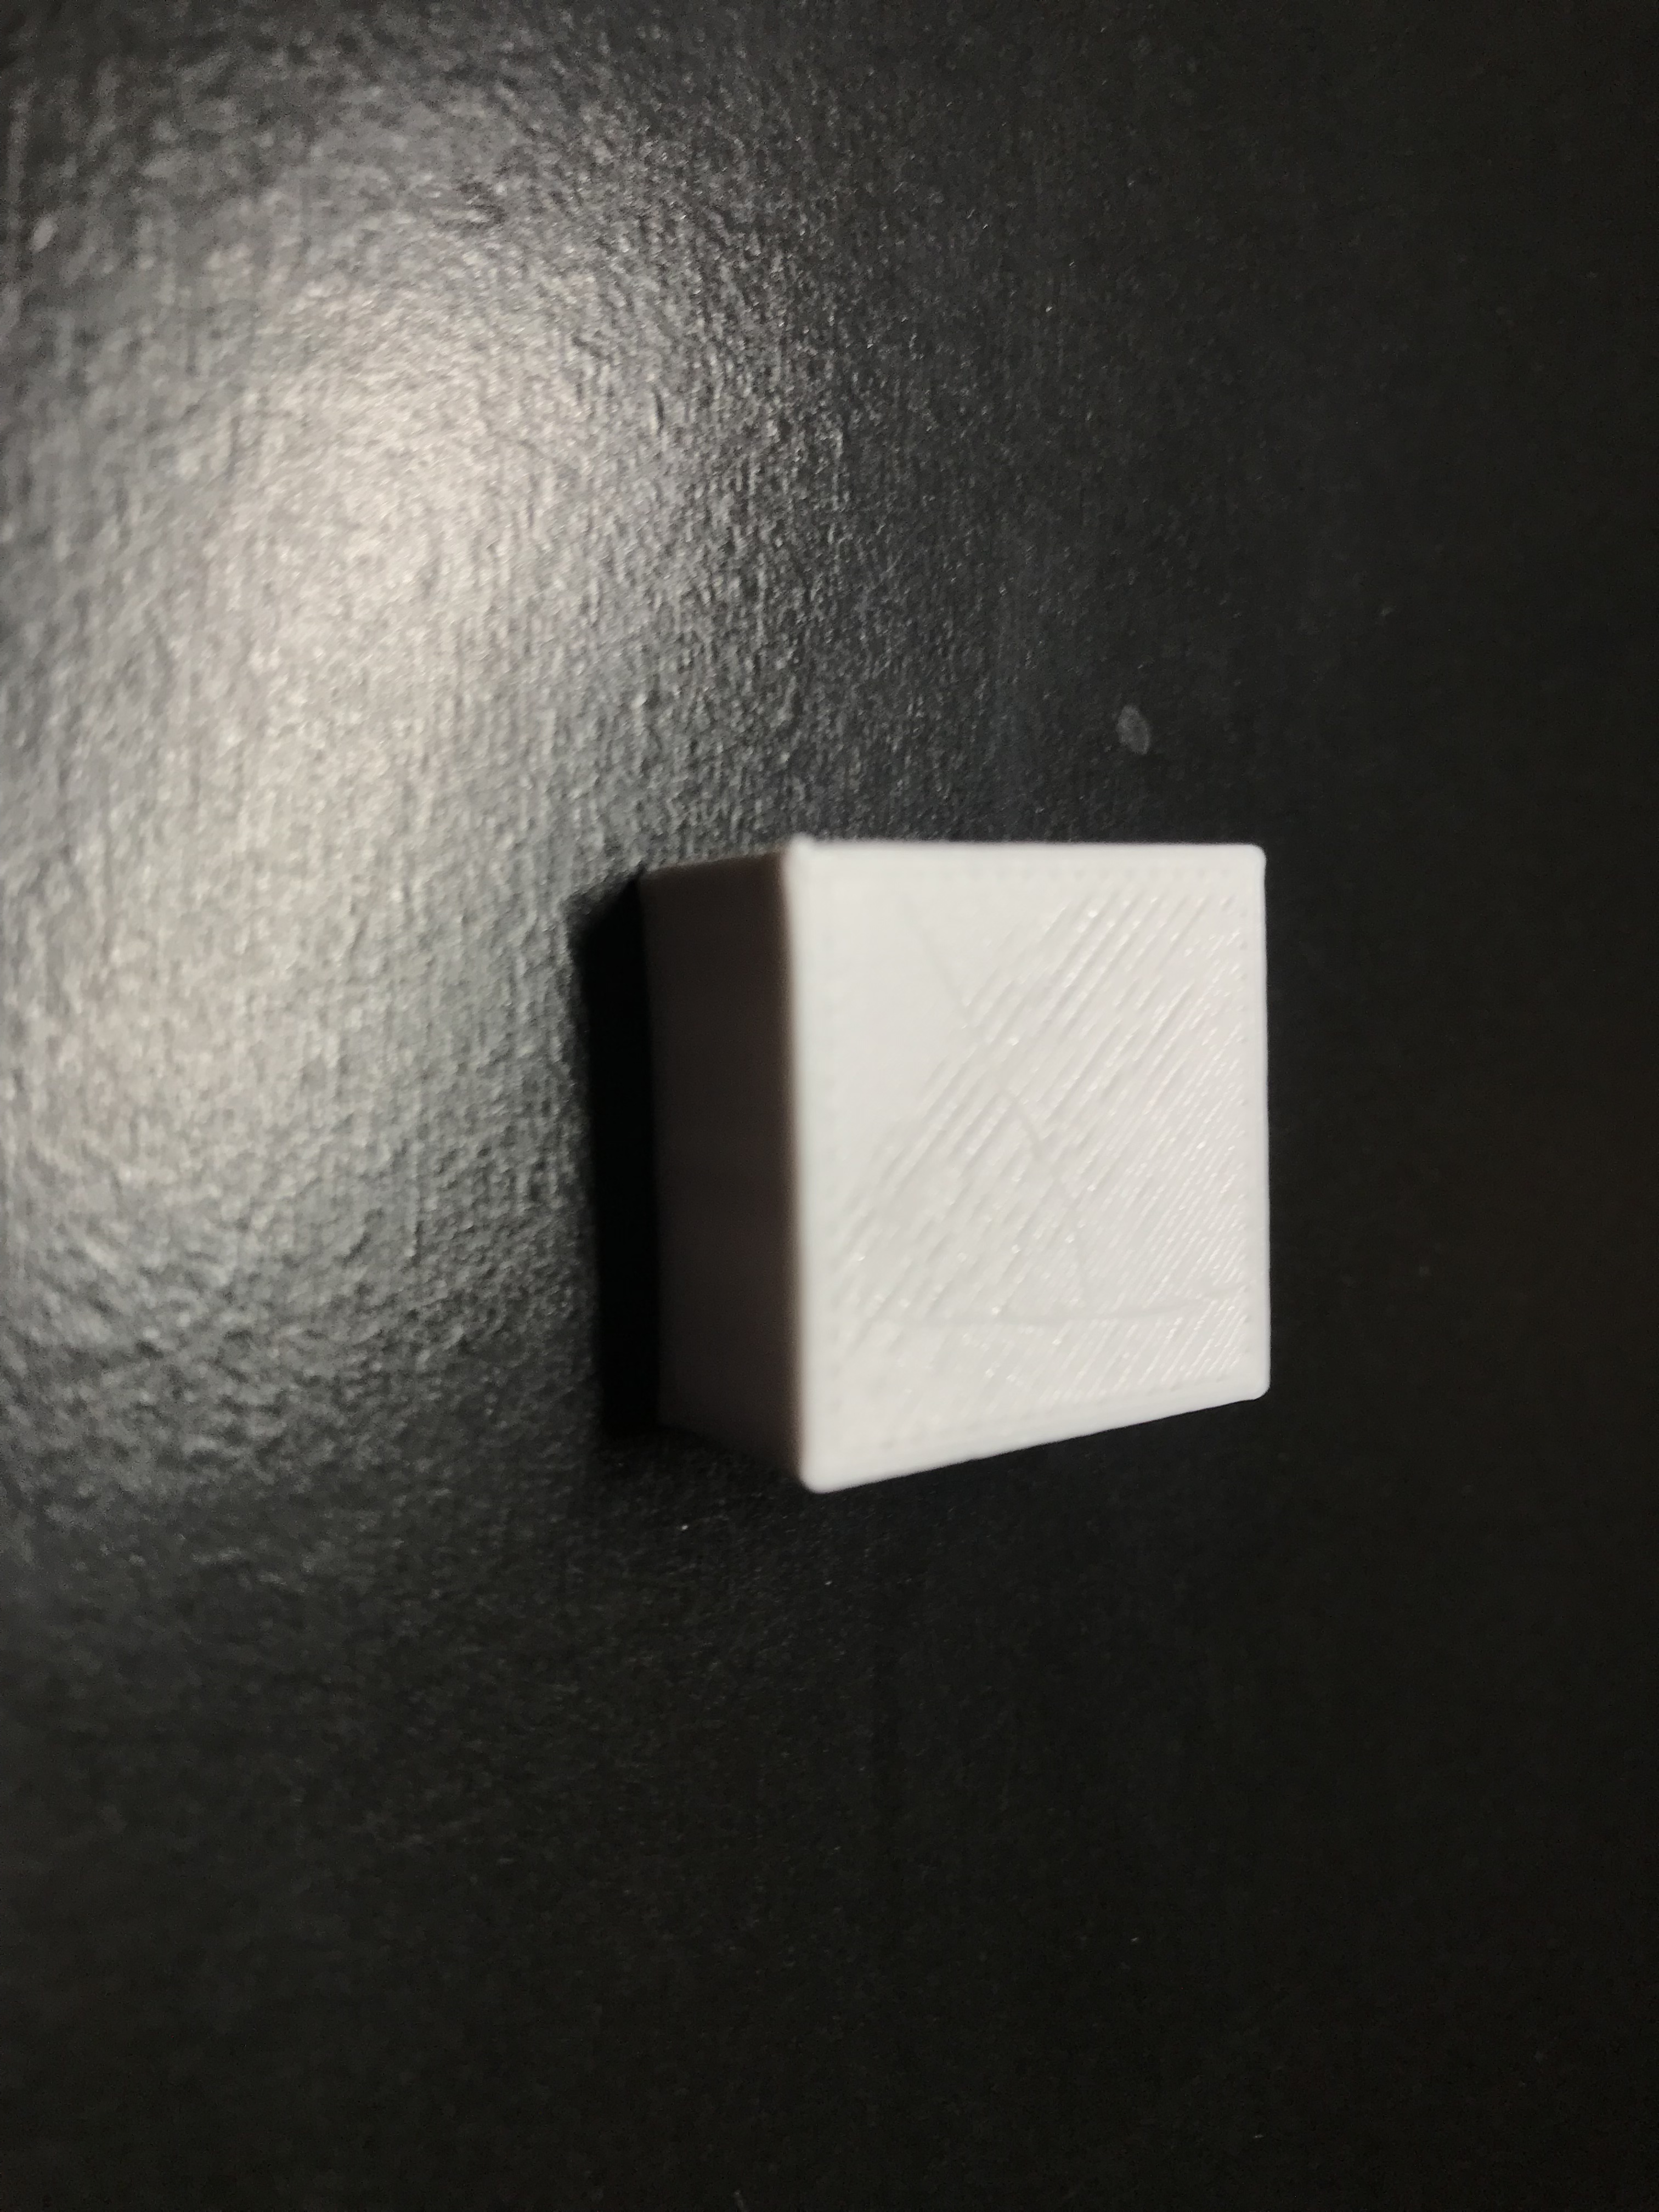
Ok, so I’m making progress. I had emailed Flashforge support a couple of days ago and they were quick to get back with checking the firmware. They did tell me there was an bug in the existing FW that could cause some issues similar to what I was experiencing. Turns out I had the latest FW, so wasn’t anything with that. They emailed back and told me to reset the print settings in Flashprint, level the bed, and print the test cube from Flashprint. I did that and to my surprise, it printed complete in about 9 minutes and NO CLOGS! Wooohooo! Now here is what it looked like. I need to make some adjustments of some sort, just not sure where at exactly. Maybe the bed isn’t exactly level since the corner looks a little deformed. I am guessing the benchy I was trying to print is a corrupt model or something which is why it kept clogging up as it was trying to print.
Temps and speeds?
Looks hot and needs a few other adjustments.
Remember how I said to level. Only over the leveling screws.
On a 20mm cube I’d go with 30-40mm/s.
PLA at 200 max.
infill 20%
3 top and bottom layers.
Extrusion multiplier maybe 95%
The default settings have the temp at 220, extrusion at 109%.
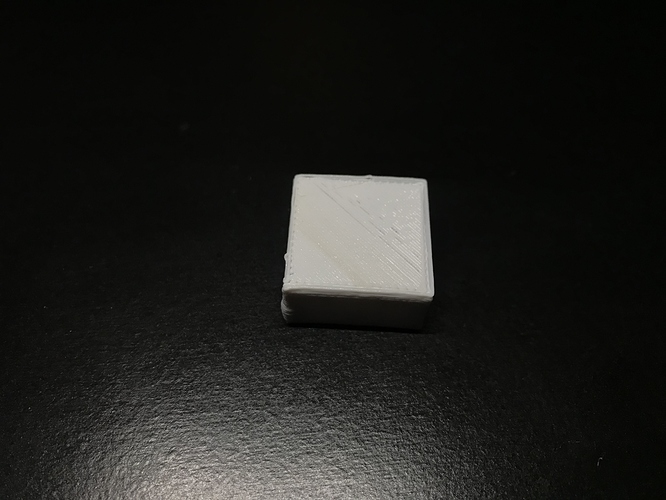
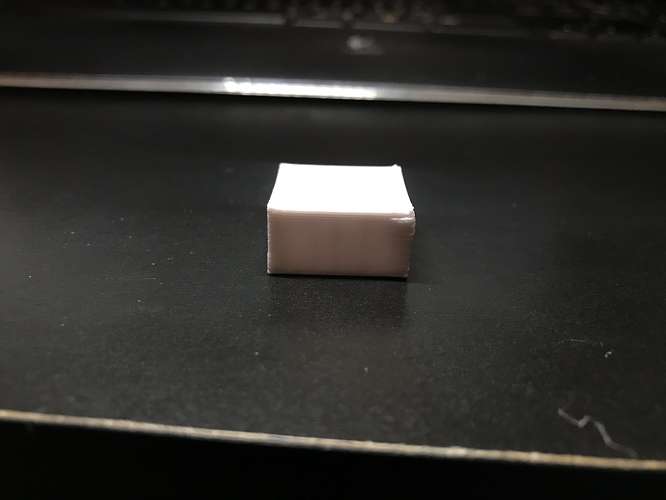
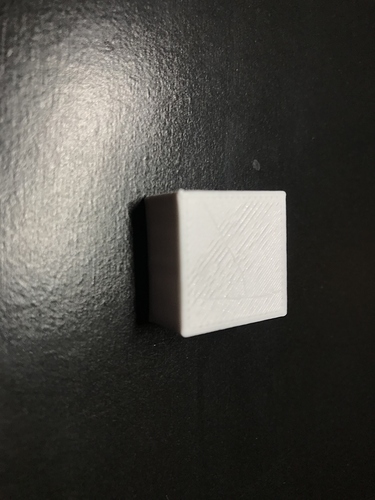
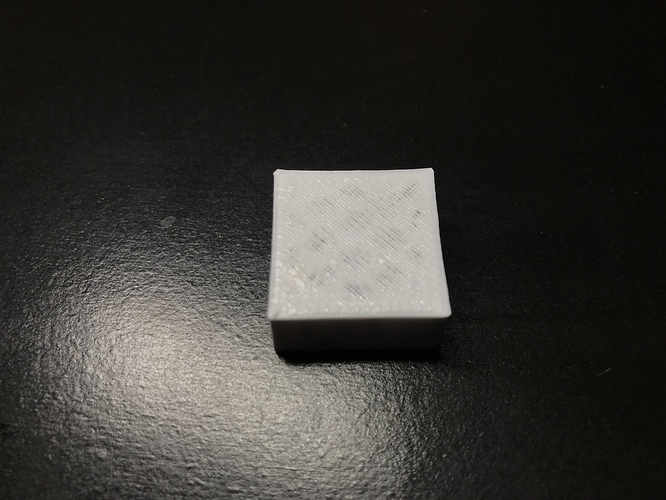
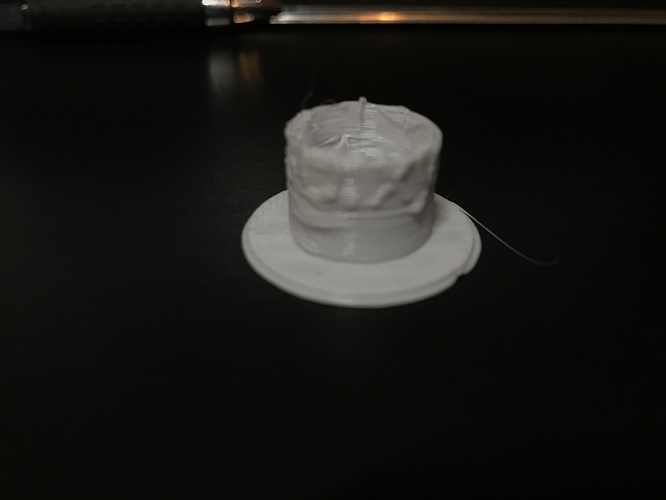
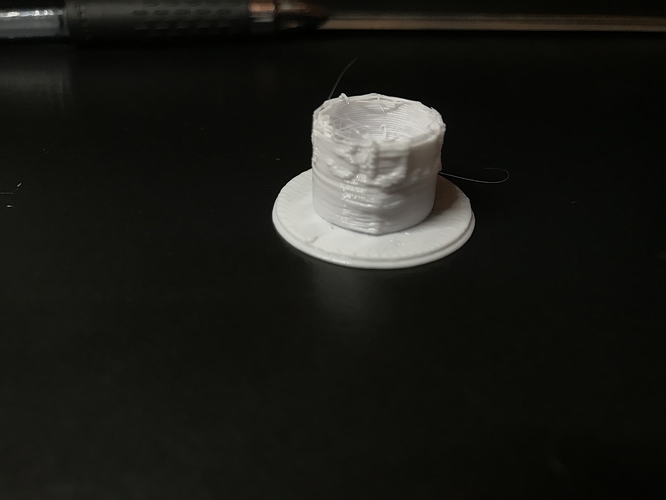
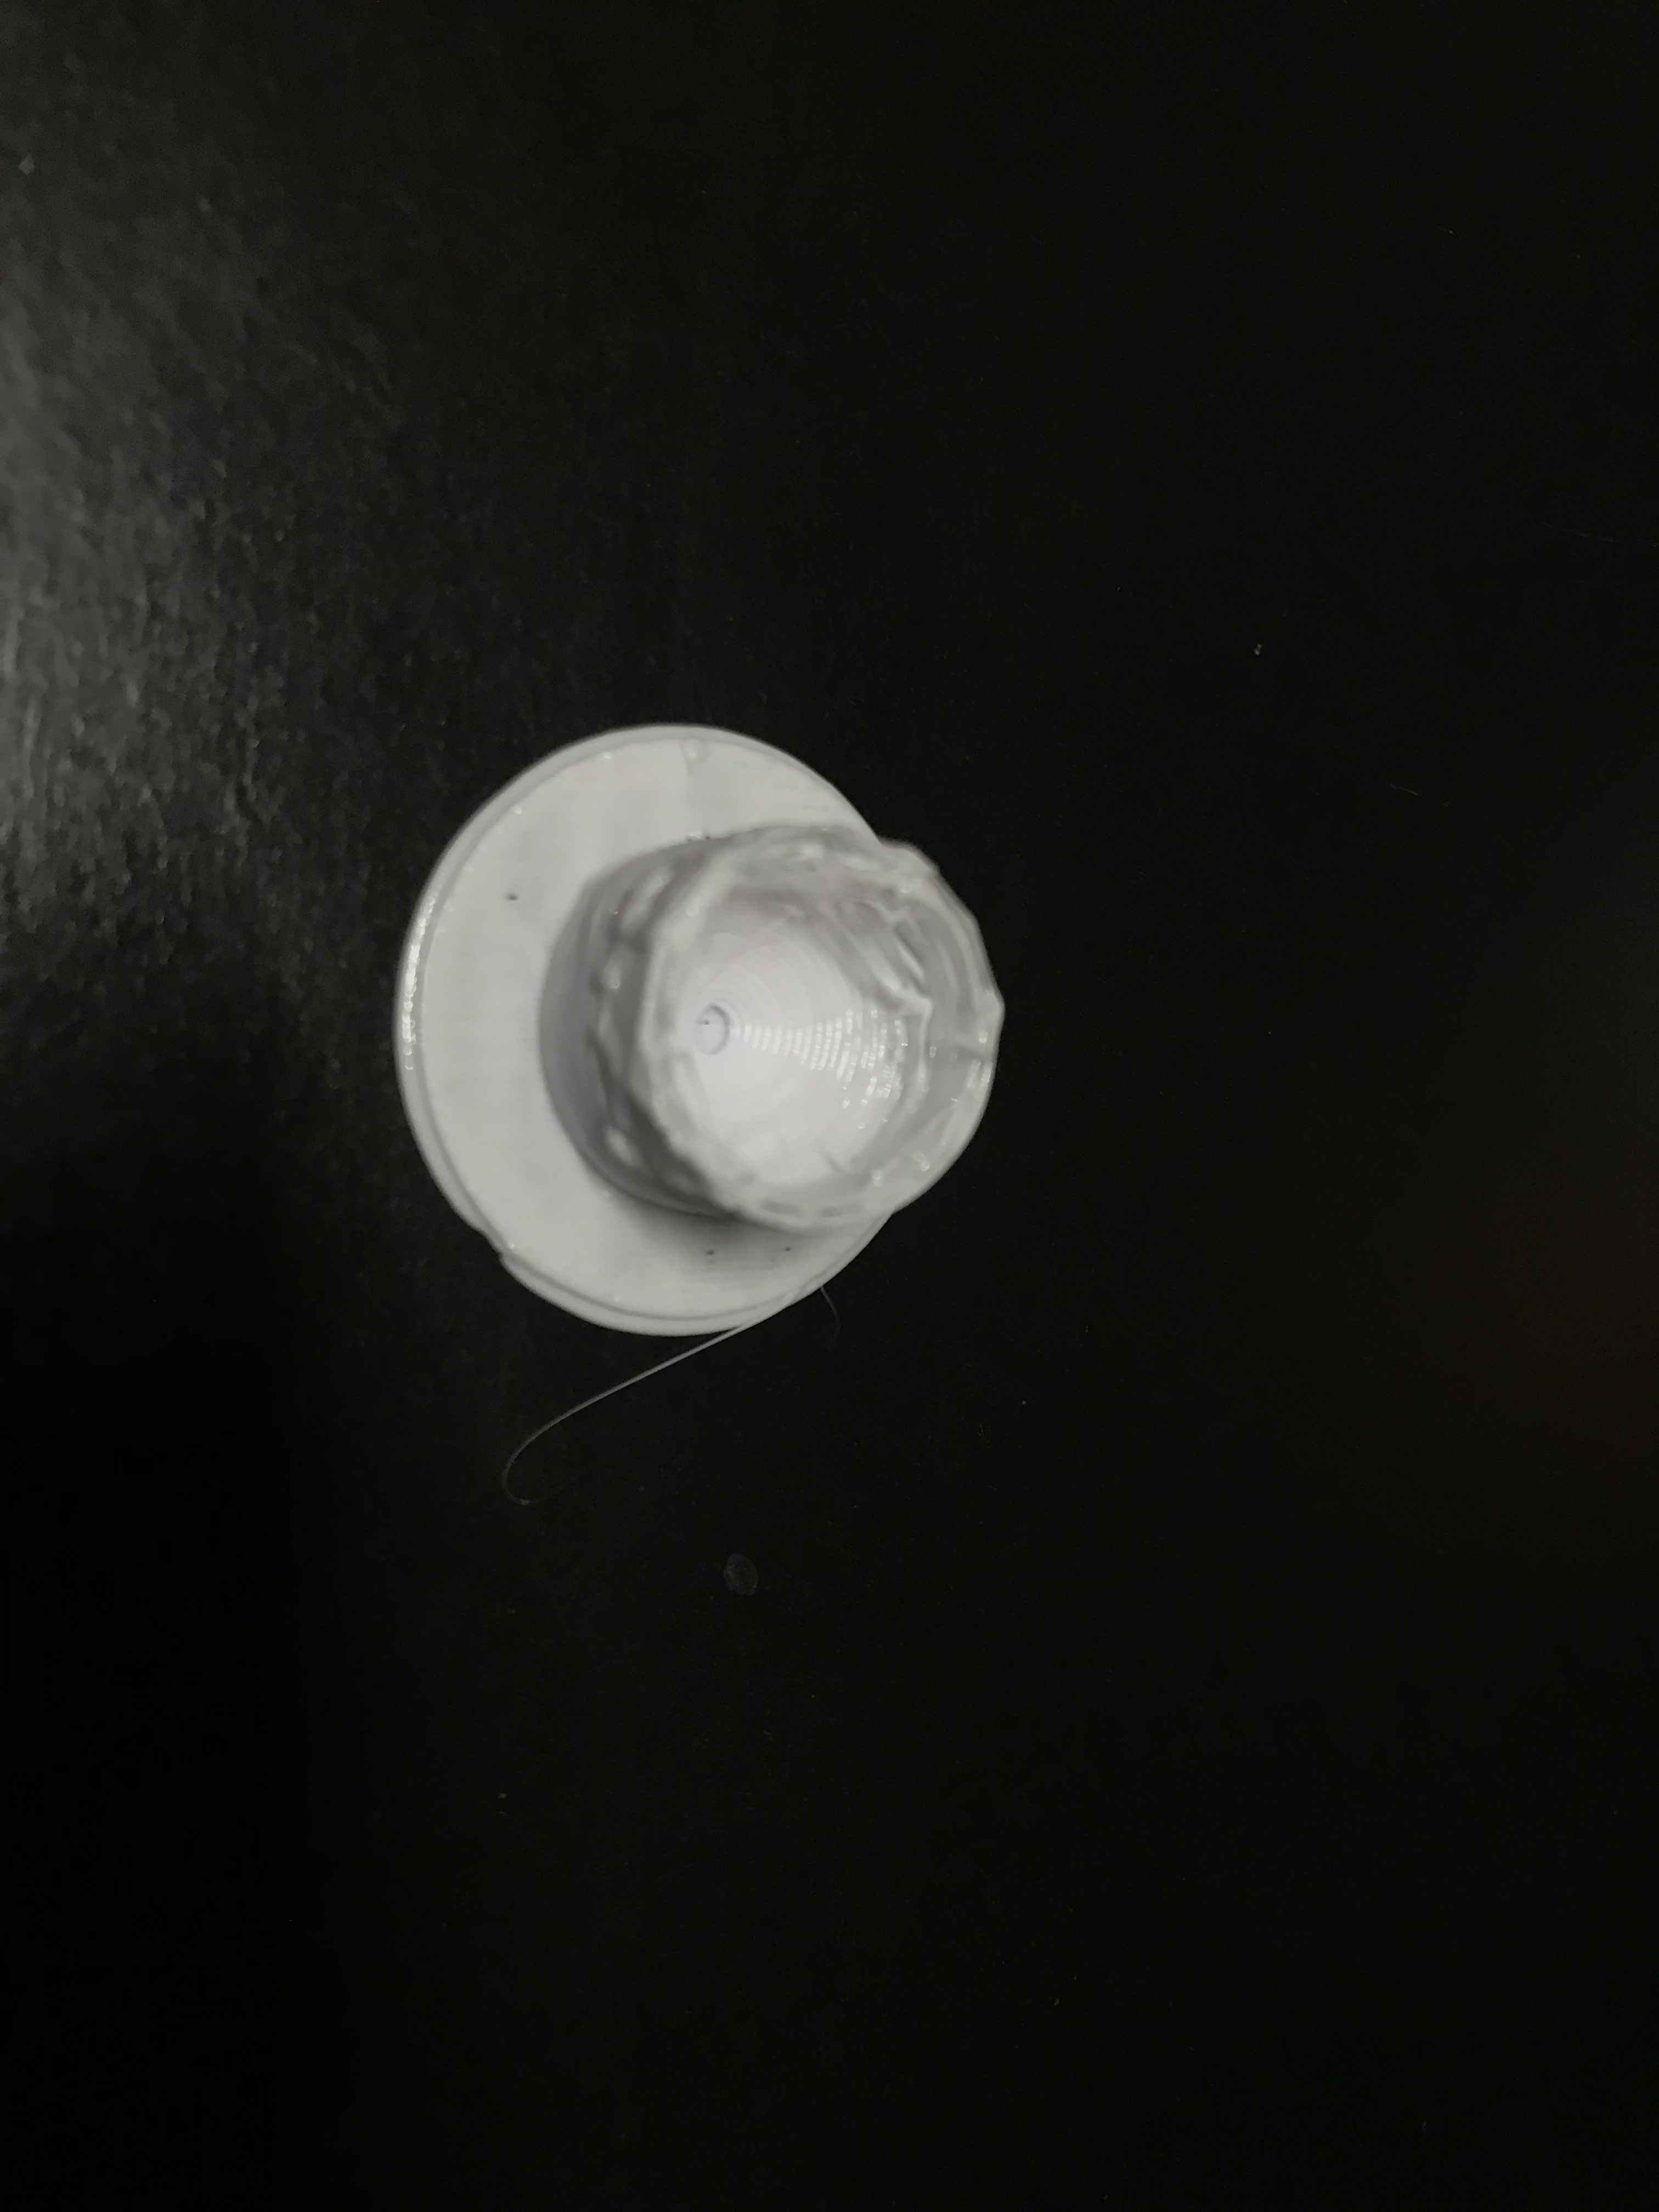
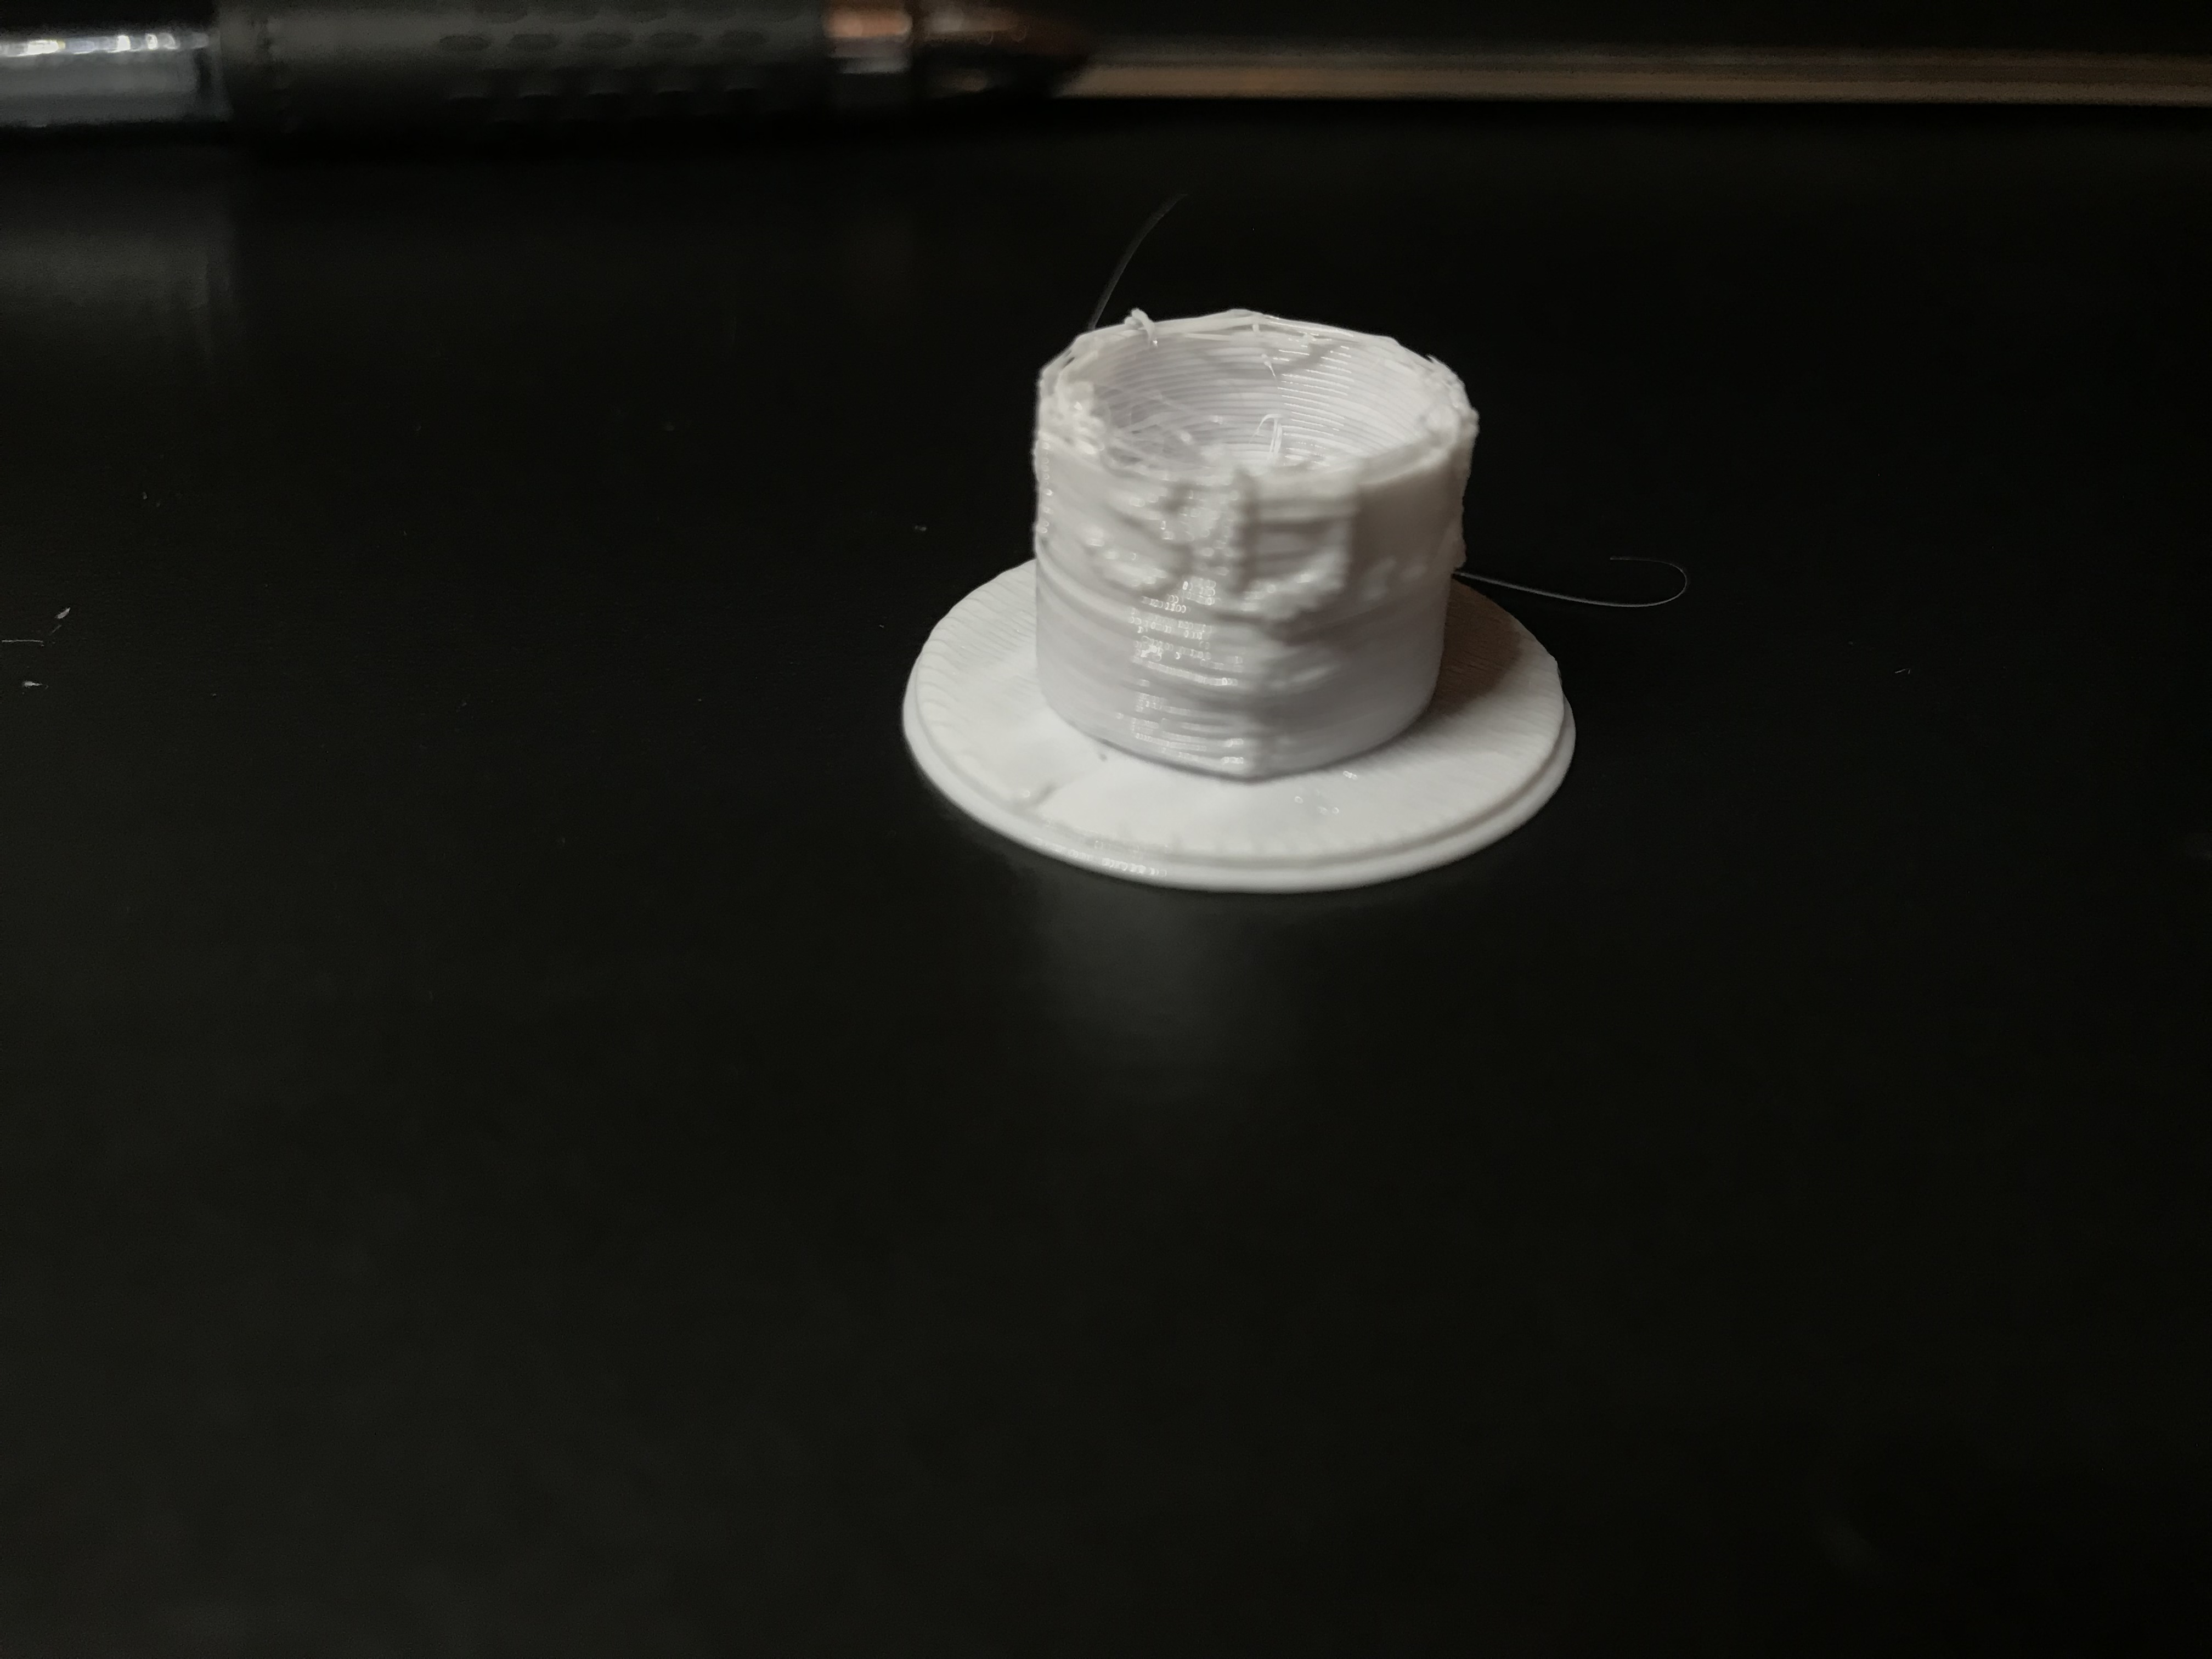
I did relevel the bed again only at the 3 points where adjustments can be made. I also lowered the temp to 200 and extrusion to 95% and printed another test. It looks a little better than the first. I then decided to try to print one of the pieces needed for a spool holder to clip on the FF finder to use the 1kg spools. I printed at same settings (200C 95% extrusion). It didn’t look the best starting off and then it started slowing down coming out of the extruder and ended up clogging the extruder up. The pictures show the piece. It is supposed to have some raised lettering around the sides. The file I downloaded already had a raft, so I left it as-is.
As I was heating the extruder up to 220 to melt some of the clogged filament out, I heard the printer fan get louder and then I realized the extruder fan just started working and that fan noise added to the case fan noise I’m used to hearing. It hasn’t worked the entire time I’ve been messing with the printer over the last week (probably about around 16 hours in all) and I never paid any attention to realize it wasn’t working. I messaged FF support and was told the fan should come on at 50C. I’m guessing that issue may be why it was returned possibly. It’s been a rough start, but I’m surely learning more and more each day.
I’m calling it a night, but will be doing more testing tomorrow to play with the settings a little more. I think I’m going to try to increase the temp to 205 or 210 and see how it looks. It appeared the PLA just wasn’t melting fast enough and that’s what started the clog.
200 is generally fine for PLA. don’t over do it.
Yes, if the extruder cooling fan hasn’t been working then that is a BIG issue!!! And could account for the clogs. It is supposed to come on at ~50.
Also, as you test and make changes. Make ONE change at a time and small changes. Make a change for a specific reason and not just because you can change a number.
When you make a settings change ask your self what do you expect the result to be and then see if you get it. Have a plan for each change.
When you trouble shoot a print start with the basics and most obvious stuff and do a process of elimination.
Most issues are pretty simple ones.
So, on the circular part above there are a few things going.
What do you see? Melted looking so too hot. What to do about it?
Is there a part cooling fan and is it running full? Not the extruder cooling fan.
What is the temp at for the material? Can it go lower?
What is the bed temp (if you had one)?
What is the print speed and is it too fast for the size of the part and material?
A second look also shows it may be over extruding a bit.
Lower the extrusion multiplier a little like from 95% to 93-94%.
Make a change and re-print. Lots of test parts in this game!
Thank you so much for the advice and help with this. I found the replacement fan from FF for $15+ shipping. I’m ready to get this thing going asap, so I found another replacement (same voltage and current draw) off Amazon for $10 for a set of 4 and they will be here Sunday. In the mean time I took the fan apart to see if I could determine the issue. Seemed to be poorly soldered. I heated it up a few times with a hair dryer pretty hot and wah-la it’s working again. I have to pull the extruder apart again and clear the clog, then hopefully I’ll have a much better print with the fan working and I can then start determining what settings to adjust. I really appreciate all your help. I am learning a lot from all of this.
Finally made it back to post an update. I got the original fan replaced with one I ordered from Amazon. The prints were SO much better afterwards. In the process, I’ve learned even more about why that fan is there, when it is set to come on, and the importance of it. That explains why every time I tried to print before (with the fan not working), that I had stuck filament because it kept melting high up in the extruder from all the heat.
I need to figure out what settings to play with to adjust for better prints, but overall I’m pretty pleased so far. I also need to do some research on using just the glass bed with aqua net hairspray, as that seems like it may be a better route to take.
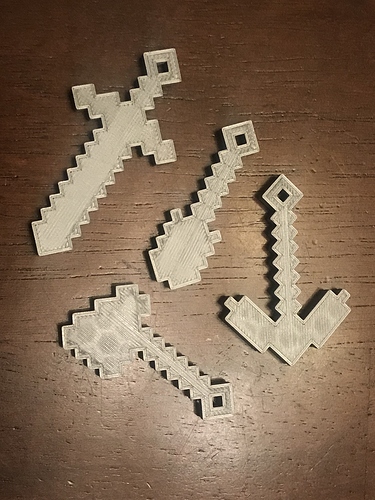
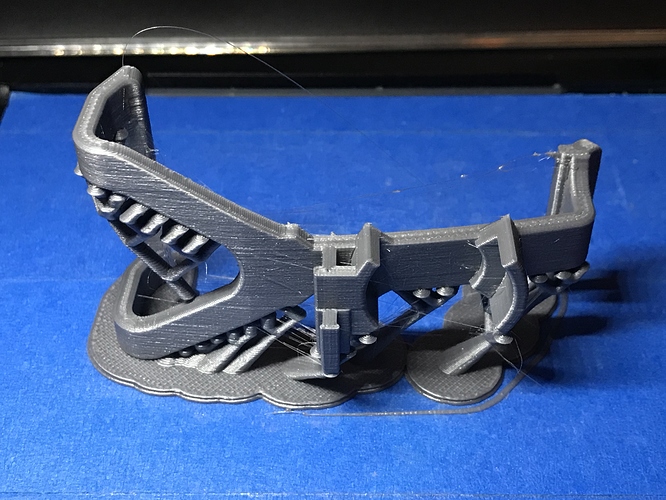
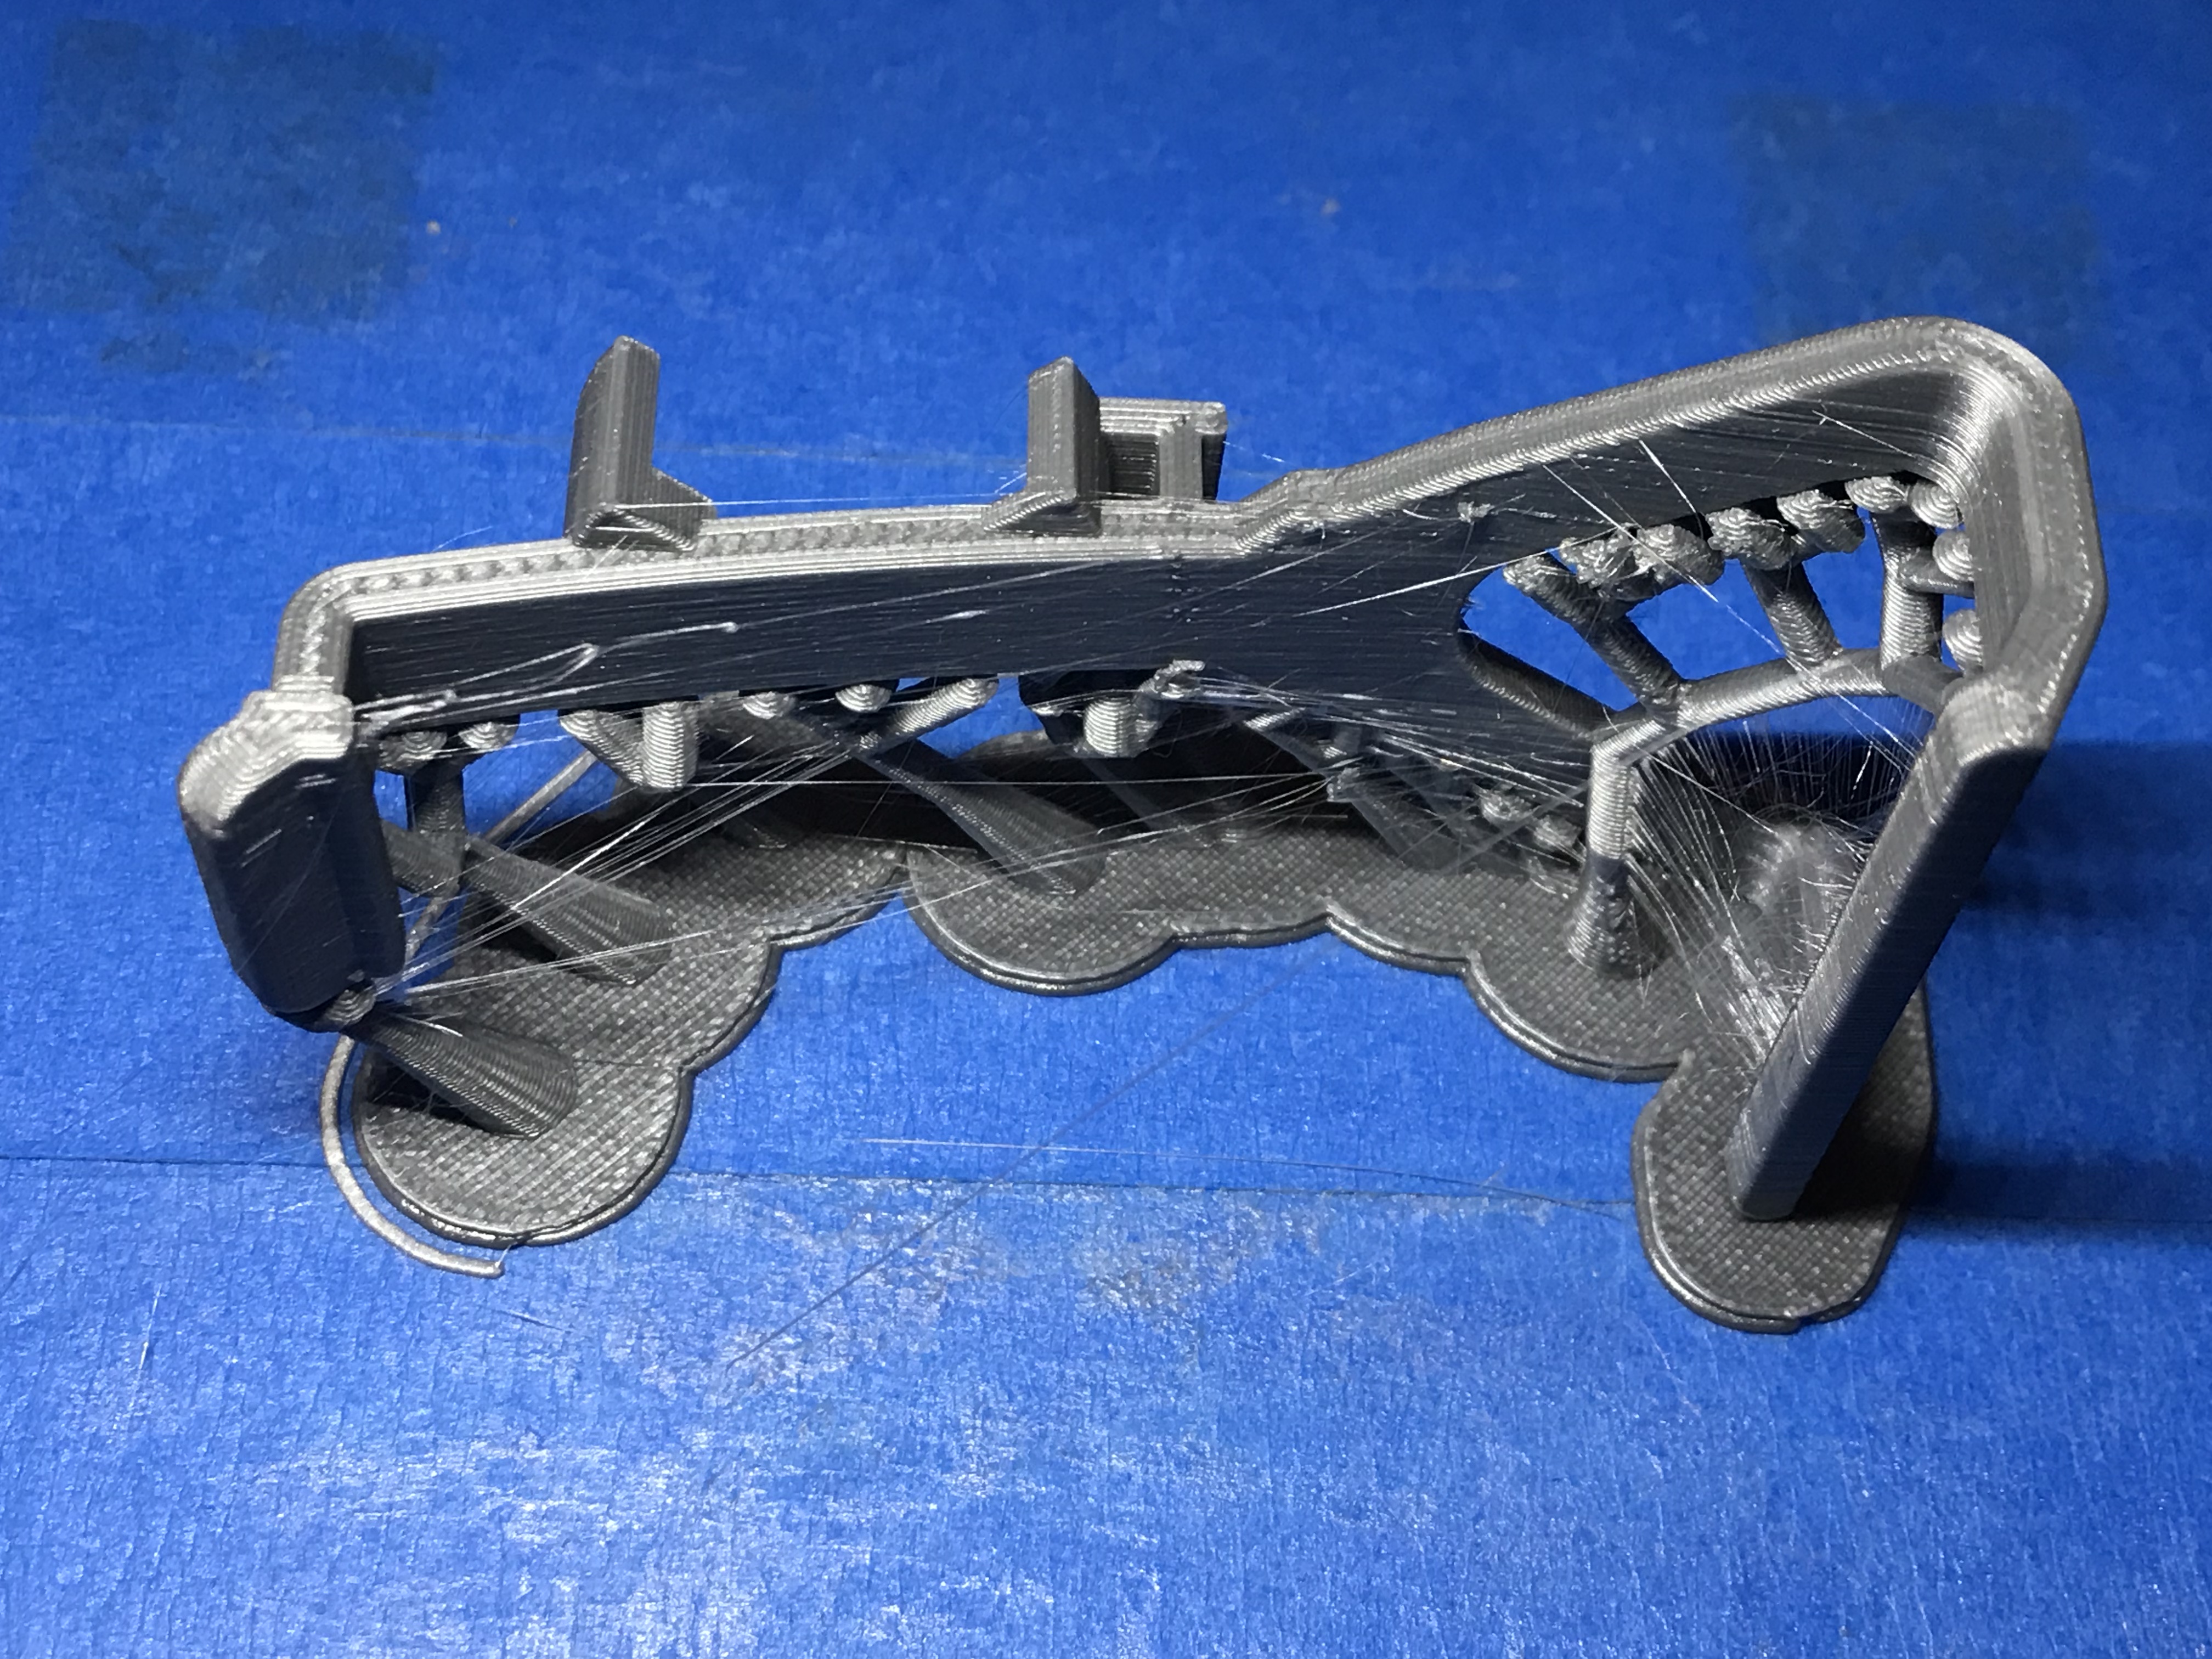
Here are a few prints I made after replacing the fan. The minecraft items turned out pretty well. The other piece had to print with supports and a raft. It’s the main piece for a xbox one thumb racing wheel attachment for my sons xbox one controller (attaches over the exist controller to make a mini steering wheel). There is a bit of stringy-ness to it, which I presume is from the temperature being a little high maybe? I really have to go back through all the settings one at a time and see what I need to adjust. I basically started all over again with my slicer settings after I replaced the fan.
Looks good.
Now, the fan issue has given you a very good example of a condition called “heat creep” usually associated with PLA filament but not limited to it. You can google to learn more but the basics are this:
Heat creep is when the filament is making rapid and or long retractions generally with small print areas and the hot or heated filament keeps getting pulled up into the part of the extruder that normally should remain cool. As this happens the filament that is higher up softens and then can form a type of blockage or clog. Usually these clogs can be pushed back out without disassembly but not always.
Without your cooling fan the heat was traveling up the tube in the extruder and softening the filament to the point where it formed that blockage.
So, don’t overdo retractions is the moral of this one.
Print temps will affect stringing a lot. Some brands and colors also are just more stringy.
If you are mostly getting the stringing on supports then I don’t worry so much about it.
I would get the slicer back to defaults with the first changes being - speed at 40mm/s or so until you get comfortable with how speeds work in relation to materials and part sizes.
Extrusion multiplier maybe mid 90’s for PLA and 100 for ABS and work from there. I don’t know why they put it so high.
Also you will need to measure the diameter of the filament in a few spots and take the average. On other slicers you can enter this but not on Flashprint.
So if your filament is at 1.68mm then you may need to raise the extrusion multiplier a tad to compensate. It will just take a little time to get the feel for it.