I would like to share me experience so far with 3D Hubs and how this has helped me to create a custom watch stand for my much loved Garmin Forerunner 610.
Having an idea and materializing it into a finished product is what I feel is the most exciting aspect of 3D printing. Until recently, the only way to obtain a high quality product was to pay for an expensive 3D printing website to print a design and then charge a large sum of money to ship it to you. I am located in Australia so this has been the biggest hurdle, until now.
Welcome 3DHubs.com. I discovered 3DHubs sometime in early 2014 and I printed a very basic design as a proof of concept but mainly because I was very fascinated with the process of 3D printing. The exciting part was being able to choose between several different printers, print quality and materials within several km of my home. Postage was still an option of course but to reduce costs, I simply knocked on the door and collected my items.
I have used Google Sketchup for several years purely as a design tool to visualise backyard renovations, so the design process was easy to begin with and I quickly expanded my modeling skills to build more and more complex components.

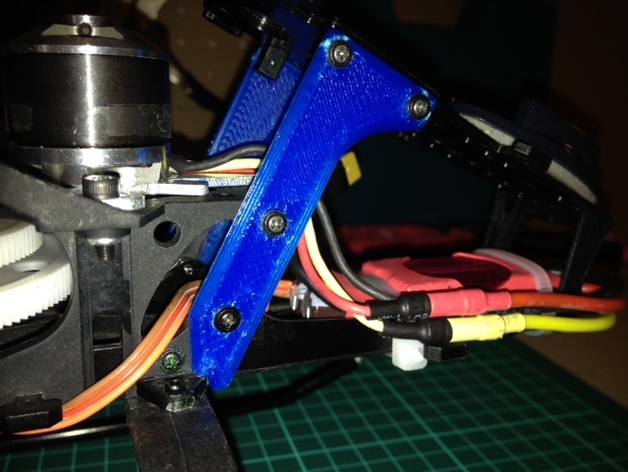
I started with a very straight, simple component for my RC helicopter, and now I have created a watch mount that is not only balanced to support the watch but has multiple curved surfaces offering functionality and a cool design to compliment my Garmin watch
I wasnt happy with plugging in the magnetic charging cable each time and simply leaving it on the bench. I wanted to place the watch onto the stand, have the time visible and have it sit there on display waiting for its chance to be worn again.
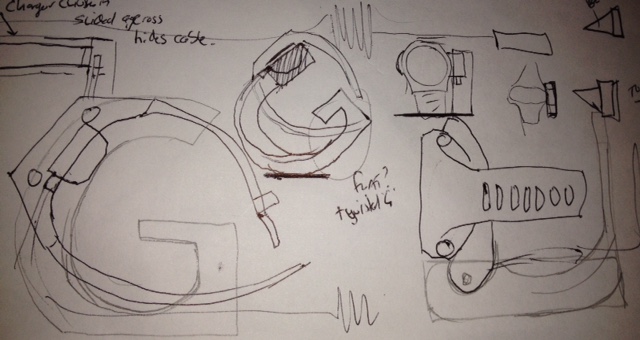
First of all, Sketchup can consume your life. The time spent drawing can be extensive and sometimes frustrating. So, the key is to draw your design first, measure everything as accurately as possible so when you start building your object on the computer, you already know what you are trying to achieve.
Keep it simple, don’t expect perfection on the first design, I made six other versions before I got to this final design so be flexible. When making changes to your model, copy and paste and make a new version. I found that after an hour of tweaking I hated the design and wanted to go back, but couldn’t.

Make different groups so you can move and adjust individual aspects of your design and then at the end, right before you are ready to print, explode all the items, form an outer shell, then combine it into a single group. Before you print, make sure it is watertight - it wont be. Fix up any little problems and then you are ready to export your item into an STL. You will need to download the STL exporter for sketchup to do this and it works really well.
I work in mm and I recently read that Sketchup wasn’t designed for mm, so I work at mm(x10) and then at the end of the build scale down by 0.1 and this will then print out correctly and the features/build options of Sketchup will work more accurately.
Once you have the STL, upload it into 3DHubs, select your town, choose a Hub, material and colour. Pay attention to the quality of print (low medium high or Ultra) My Watch mount was printed in Ultra and you can barely see any of the print layers, it is amazing. The print materials all have different characteristics so search online for form information. I find the hardest part is to pick a colour, I usually have something in mind but you can email the hub owner and ask for a link to the manufacturers page and that will give you an excellent idea of what your print will look like.
For example there are lots of different blues and greens available but some hubs simply list light green. Look online so you are not disappointed when your print arrives. Also some hubs charge less per print so shop around and you may find a slightly cheaper start-up cost or print per cm*3 which can save you a few dollars at the end of the print process.
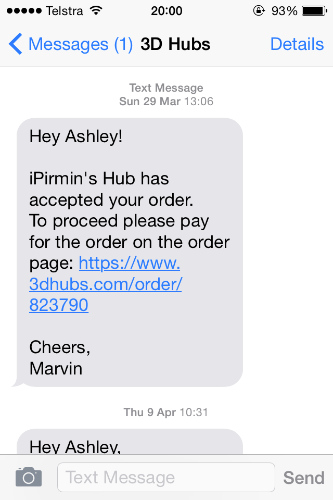
Once you submit the order you will be amazed at how simple the process it, the communication from 3DHubs is excellent and you know exactly how the print process is going. I got a SMS to say the job was accepted, the print had commenced, the order was ready for pickup all in the space of a few hours! I walked down the road and picked up my order. If you are lucky enough to own a 3D printer - register it with 3DHubs, but if you can’t afford to buy one, then this is the best and only website you should consider when you need to print an item.
If you can’t design but want to print something out, thingiverse.com has a huge collection of models you can download and now print direct from 3DHubs. If you can think of it, somebody has most likely designed and 3D printed it.
 So far I have printed a part for my RC helicopter, a replacement battery case for my robot mop, a marvin the martian that glows in the dark, an iPhone4S phone case, a GoPro 3 case with anti-vibration mount for my quadcopter, a stand for my FPV LCD screen that clicks onto my RC controller, a watch mount for my Garmin and just the other day 2x replacement hooks for my lawnmowers grass catcher.
3DHubs isnt just used for RC components which is what most people think, it is used to bring everyday ideas into reality. There are some amazing printers and very beautiful materials available today.
What are you waiting for - give it a go.