


if your using makerware make sure you have yoursettings set to high, getting a quality pint out of marven is tricky. when i did it i ran my flasf forge pretty slow 60mm for print speed and 70 for travel. i also dove into the miricle.json file and turned on dynamic speed. you can get to this when you make a custom profile. hope this helps
Skip to main content
Try increasing the number of shells in settings. I have also found that lowering/raising the temperature slightly helps. Also adjusting these settings with different color PLA makes a difference. I have found different colors have different roughness under the same settings, so adjusting for color makes a difference. Slowing down speed also helps as well as room temperatures…I use a space heater sometimes to keep constant temp.
Thanks for all of the replies! I am using an original replicator. The settings that I used for the PLA plastic are: infill: 10%, shells: 2, layer height: 0.1 mm, heated build platform is set to off, print speed: 30mm/s, travel speed: 100mm/s
Definitely take a look at mods for part cooling fans, specifically ones that use a centrifugal blower fan.
a.) “Use the right tool for the right job”. Print using a different printer technology (i.e. SLA/SLS, etc) if you need high tolerance and great surface finish. I have printed Marvin on a Form1+ and they come out beautiful. Form (i.e. SLA) does an excellent job at surface finish without post process, compared to FDM/FFF printers. Personally I use thermoplastic printers for mechanical parts, etc. Form et al performs very well with “organic” rather than parametric objects. All print techs have pros & cons.
b.) You could try a chemical (e.g. acetone vapor bath, or XTC-3D) or physical post process (e.g. sanding, precise heat) with your material … or if you don’t have access to a resin or powder printer, you could outsource it to a bureau like shapeways or other 3rd party service. I know this defeats the purpose of your inquiry, but it’s an option.
The part came out pretty good, but now I am going to push the limits even further and slow down the speed and lower the temp of the extruder. I’ll post pictures later.
I have the first MakerBot Replicator. Due to specs, I can only get 100 microns (0.1mm). That’s the best you can get with the resolution of the Z axis stepper motor, build plate flatness, and resolution of the extruder stepper motor and its ooze-type settings. To get higher resolution prints with ABS: Set you layer height down to the desired height. Level your build plate while heated You can prevent warping by applying an adhesive around the print area. A great solution is to mix a piece of ABS with acetone to get a sort of milky solution and apply this to your build plate with a rag. To help prevent unsupported edges (not all overhangs get supported with the aut-generated scaffolding) slow down your feedrates. Somewhere around 60-70 for ABS. This helps the ABS adhere to itself and not curl off the edge of the print. One last suggestion is to make sure you have proper infill percentage. Treat infill like your supports, but on the inside. If you have a higher percentage, the “roof” layers (flat areas) will be supported easier and therefore won’t curl or sag as bad as they typically would with a lower percentage. Its typically recommended to set your percentage between 10 and 20 percent. Beyond 20 is usually unnecessary for strength of the part. Hope this helps!
Buy Simplify3D software, and you should be able to have more control over your CAD files for printing. And from there you can print on a highest quality. Especially controlling those supports overall its a great software.
Hi Fabbr,
For PLA you might want to try and bring your temp to 215-220 and bump up your resolution to 150microns. I think 150 will still give a good finish and for me atleast running on a Replicator 2 I get a pretty good finish. Getting down into the 100micon layer height needs alot more tweaking and you’ll be suprised what the 150micon looks like.Usually the hotter you run the faster you should run and vice versa for lower temps. I hope this helps a little bit.
Jim


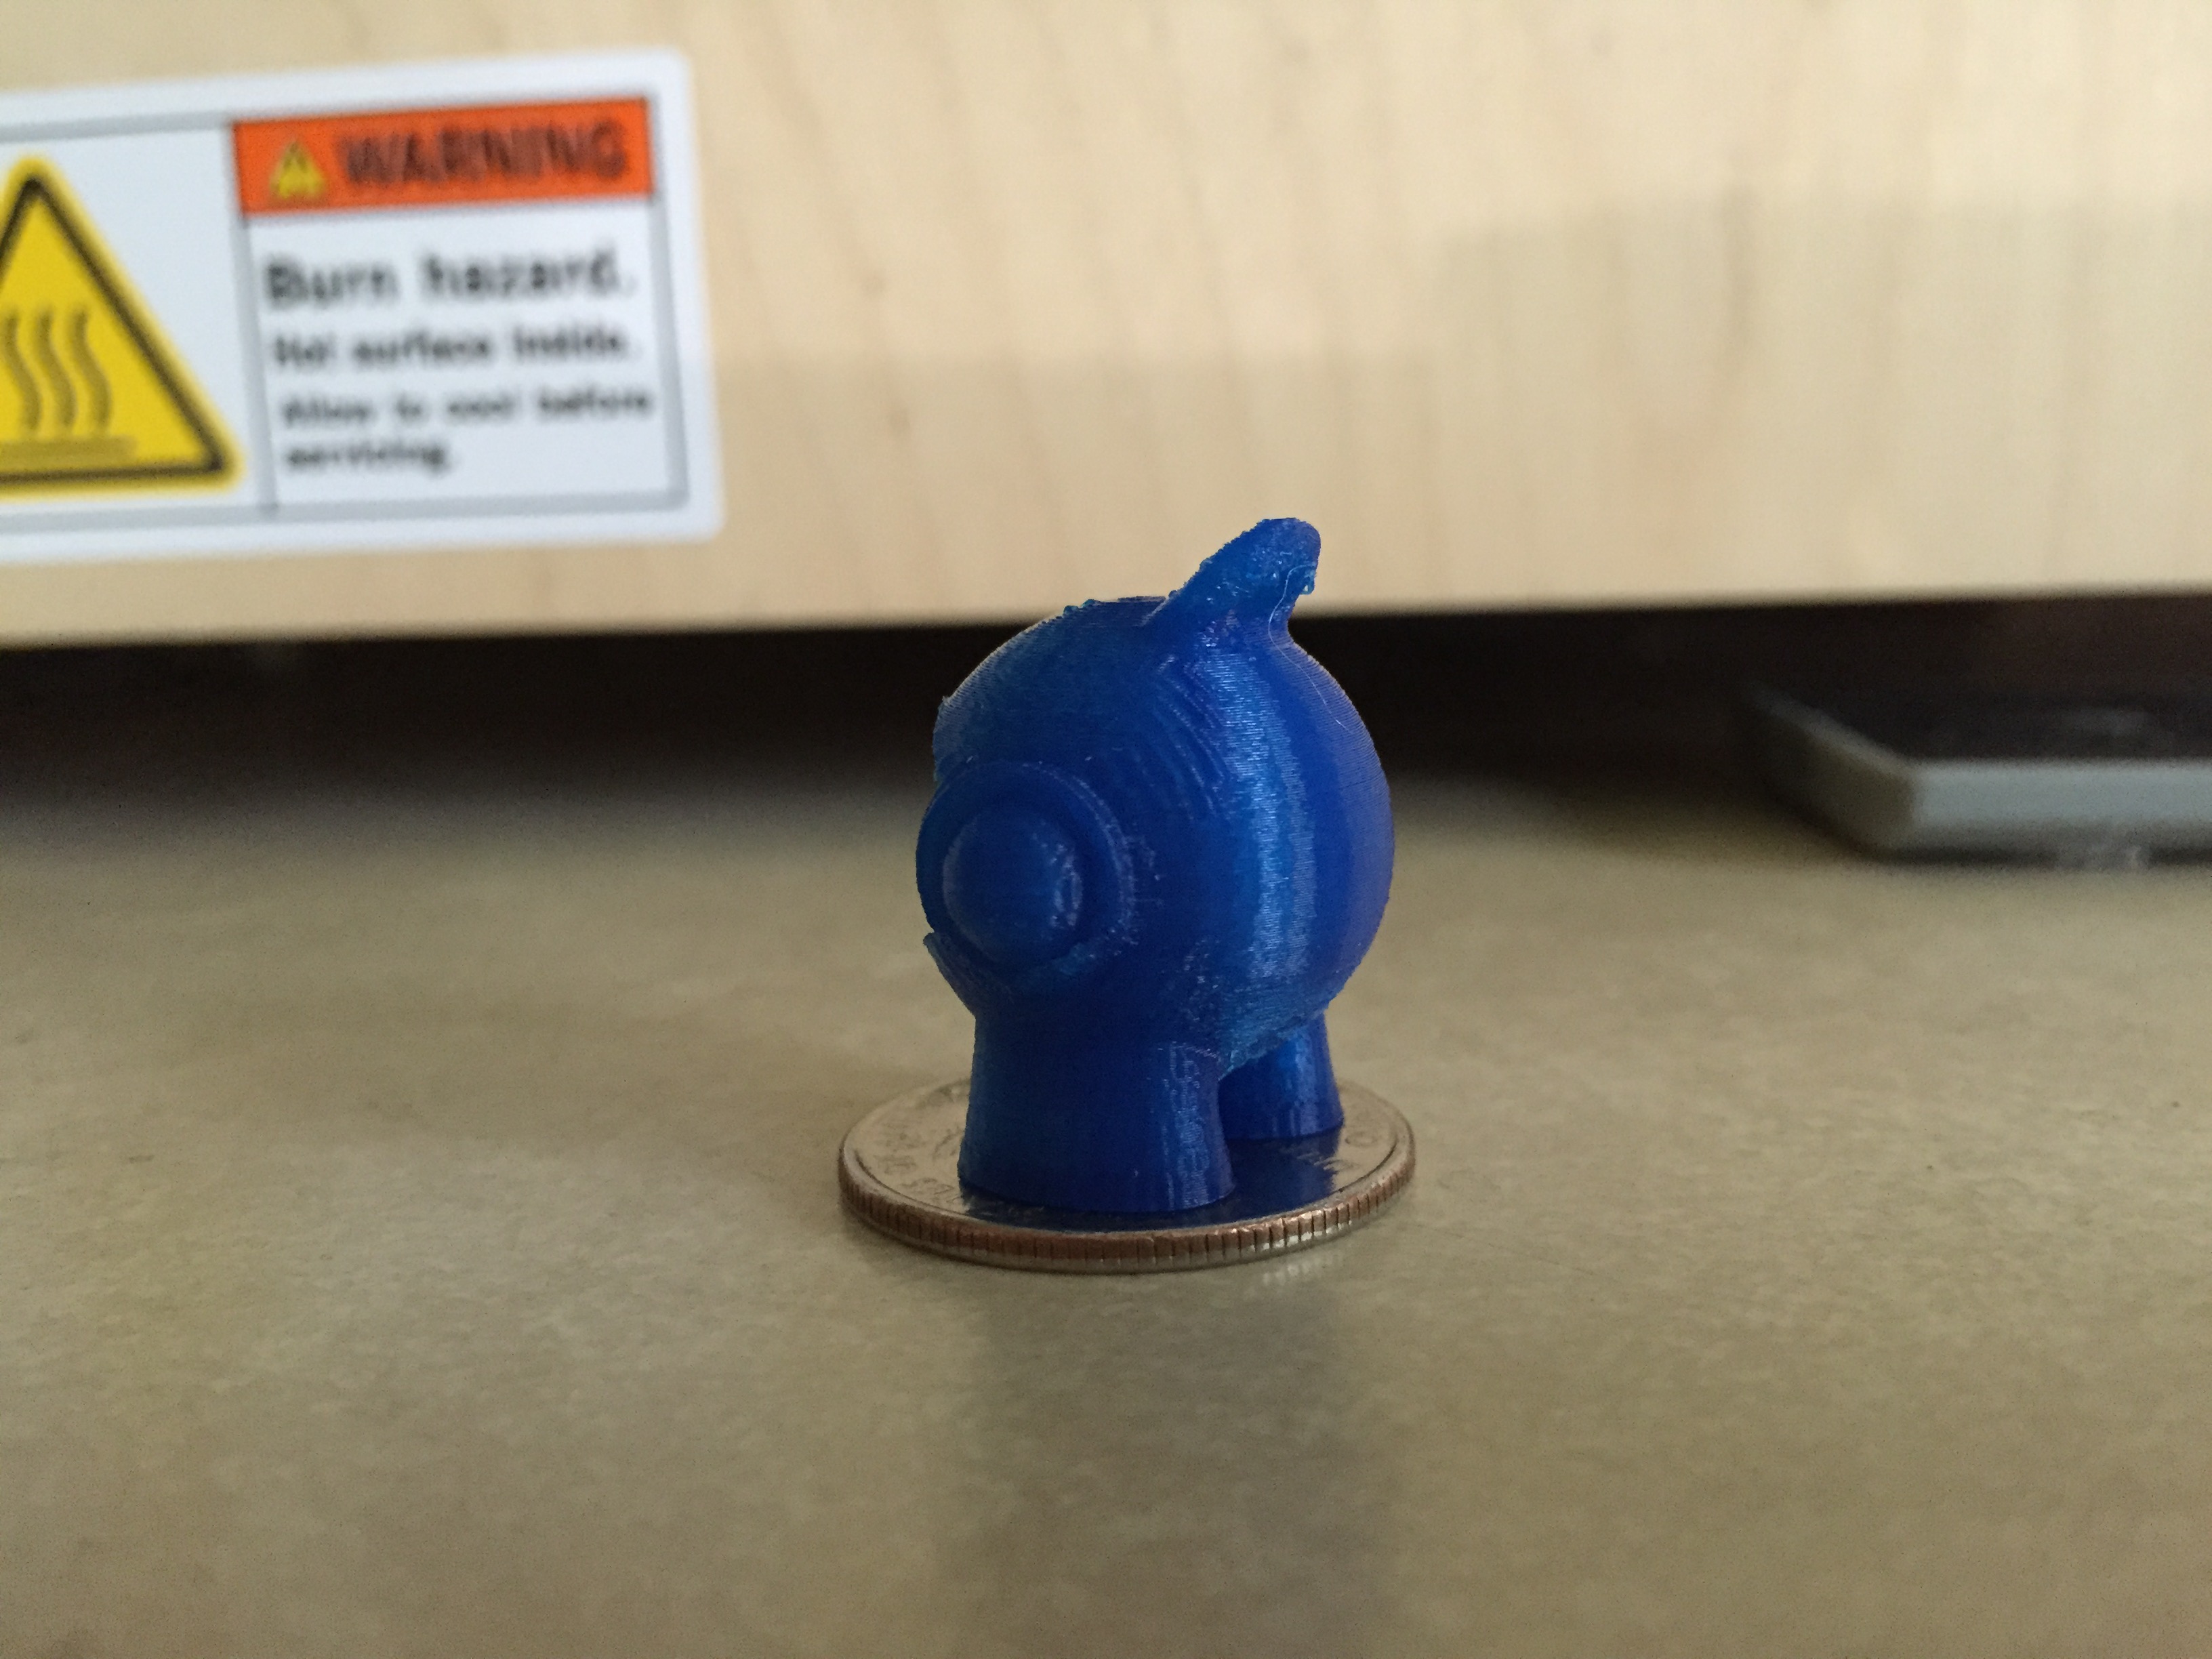


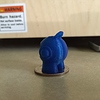
Hey @Fabbr, Worry not, I am coming over to give you a great review! We love to see the little Marvin prints get improved like that!
It ended up being a combination of lowering the extruder temp to 185C and 25 mm/s feedrate. We normally switch from ABS to PLA just for large parts so this was an interesting experiment, thanks.
Great improvement.
On my point of view, you should only consider ABS when it is really necessary (almost never for me, there are a lot of possibilities before having to use ABS).
You should also consider printing colorFabb filament.
My result doing a QUICK AND DIRTY Marvin using colorFabb (see the layering):
http://www.gloomyspark.com/images/blog/testprints/S1840001.jpg 3
http://www.gloomyspark.com/images/blog/testprints/S1840004.jpg
http://www.gloomyspark.com/images/blog/testprints/S1840005.jpg
http://www.gloomyspark.com/images/blog/testprints/S1840007.jpg
Let me know if you have some more questions.
Why shouldn’t they consider ABS? I’ve had much more success using ABS over PLA with my Replicator Dual First Gen.
Take a look at the Sailfish firmware for the Replicator (http://jettyfirmware.yolasite.com/v77-v47.php 1) or search in Thingiverse. You might benefit from expertmenting with hot end temperature during a build.
Take a look at the Sailfish firmware for the Replicator (http://jettyfirmware.yolasite.com/v77-v47.php) or search in Thingiverse. It maybe beneficial to experiment with different hot end temperatures during a build.
Sailfish’s filament odometer is also a helpful tool for gauging whether the last several meters on a spool will complete a build.
My prints are really marvelous using PHA-PLA from colorFabb and when I have to print parts that need to be tougher, I consider XT and XT-CF20.
PHA-PLA is biodegradable and XT is foodsafe which is not the case of ABS. Moreover, with ABS, you will have to deal with warping, which can be very hard to handle for large prints without a heated bed. PHA-PLA warping effect is almost null and is very easy to override.
ABS is made of petroleum… not very good for the planet…
PHA-PLA is made of corn (or other vegetables).
I am not telling ABS is not a way to have good prints. I just think that there is another way.
Hi everyone. Interesting to read this, I have to say. I am a beginner in printing.
Nevertheless i learned that the retraction length can be a little low as deafult.
I have increased the value to 1,2 mm printing 3DBenchy with better resoult.
/Svante
Something i did not read here, is the fact that small parts need the setting “minimum layer time”. So in makerware you could make a custom profile where you set min layertime to 10 sec. Now your layer can cool down a bit, so it has the needfull strenght for receiving an other layer.