BeeTheFirst is a great printer if you want to print something easily without much effort and still get a decent result. We’ve been trying this printer out for a while now. Most of the time I’ve been printing Marvins, because it’s just perfect for them! I’d like to share some of my observations with you guys, so let’s start!
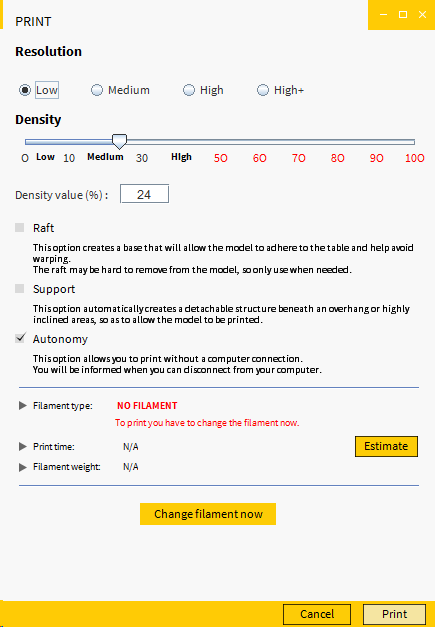
Since the aim of the BeeVeryCreative is to create a simple Plug & Play printer, there are not many settings that can be altered. Many things are automatically set according to the material that you’re using. Once you’ve indicated the correct material after changing the filament, everything is really straightforward.
This is what you can alter:
- Resolution
- Density
- Support/Raft/Autonomy
P.S. Some extra tips: If you see this “No Filament” message even if you’ve done everything correctly , simply restart the software. Restarting always helps if something goes wrong with it.
Resolution
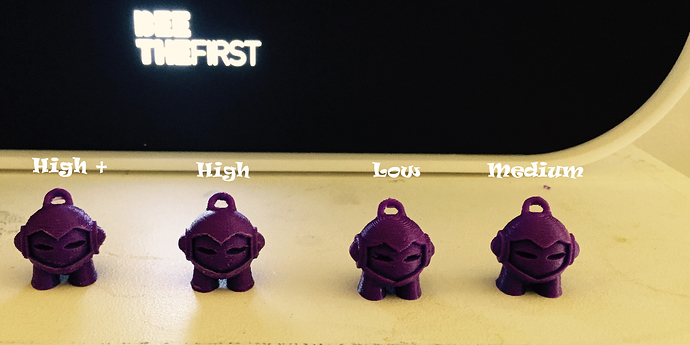
Low: This is only if you want the print to be made quick and it looks good only if you print big, flat parts e.g. “Letters”. You want to use this when you print something huge or just want to test out some model quick.
Medium: In my experience , the best Marvins turn out in this resolution setting (it all still depends on the Material used) While the layers are still visible the shell of the print looks fairly smooth . If you’re not sure which resolution to select this is your choice as the first test.
High: and High+: In my tests it was always fairly difficult to tell the difference between these two, however both provide smooth prints and when printing more detail required big prints it is the best option.
Density
As with many other printers, having 15%-20% Infill has proven to be the best setting to balance out the strength of the model, material used and printing time.
Support & Raft:
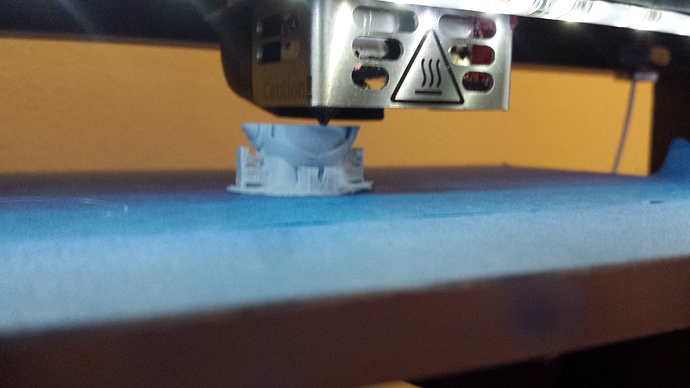
These are working as intended: if the 3D model has an overhang of more than 45 degrees, use support. Since you can only print PLA with this printer, the Raft serves the purpose of stabilizing the model with small footprints by creating a strong foundation for your print.
Autonomy
This is automatically selected and I it is very handy. Unless you have your printer right next to the computer this is a life-saver , because as soon as it loads the model you’re free to unplug your computer from the printer.
You should use the Material provided by the BeeTheFirst crew, because they have optimized the best setting for each of the material and that will allow you to effortlessly get some nice prints out without any struggle.
Other tricks:
However, if you are going to use some other material be cautious that simply matching the color of your filament with the same color will not mean that you’ll get the optional settings for your prints.
This will require a lot of experimentation with setting different colors as your filament and trying out different resolutions to get the optional print. When we ran out of the official filament we still had a bunch of different filaments and I’ve tried to play around with them in Beethefirst.
When I printed with dark purple and dark blue filaments, selecting Black brought the best results.
When printing in sky blue color selecting white or transparent worked out much better than “blue”. And most recently I’ve tested some “wood” filament, but it was very difficult to find fitting settings for it.
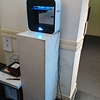
Not to mention, sine the spool-holder is quite small you’ll have a hard time placing the bigger spools somewhere next to the printer. My advice is to print the stand itself like shown here. 7
Otherwise, you’ll have a similar problem :
If you guys come across any hacks or better practices for this printer let me know here so we can Be(e) The First together!
created
Mar '15last reply
Jun '15- 12
replies
- 2.5k
views
- 5
users
- 9
likes
- 1
link


