This is the second in a series of 3 posts about Selective Laser Sintering. Last time I wrote an introduction to the printing technique, and this time I want to talk about the process from design to physical object.
Preparing the print
When you want to 3D print your design with an SLS 3D Printer, it starts with preparing your model(s) for the printer. As you now know, SLS printing works with powder that is selectively solidified by a laser. This gives a lot of advantages over other 3D printing techniques, but there are also a few things to keep in mind when preparing your prints for SLS. So here is a set of basic design rules.
No support needed
Because of the powder based printing technique, SLS prints don’t need any support. The unsolidified powder doubles as support material. This means every surface of your model will be equally smooth. Printing with SLS gives you the ultimate form freedom.
Minimum feature size
When designing for SLS printing, you have to bear in mind that the minimum feature size is 1 millimeter. You can go a little smaller, if you have a thin 0.8 millimeter wire which is connected on both ends.
Minimum detail size
If your model has letters on it, or protruding details, they should at least be 25 microns wide and 60 microns high. This way you make sure your details are clearly visible. Another tip when putting letters on your design is to choose a bold sans-serif font such as Arial Bold.
Moving parts
Another cool feature of SLS printing is the fact that you can print moving parts in one go. When you want your parts to move freely after printing, you have to take into account a clearance of 0.5 millimeter between them.
Wall thickness
The walls of your model have to measure at least one millimeter thick, because they have to be able to support the model structure. If you have a very small model you can go lower, to 0.8mm. When in doubt always go for one millimeter.
Escape holes
The last tip when you are designing for SLS printing is to give your model escape holes. Because SLS uses powder, all your model’s cavities will be filled with excess powder. You can save costs if you hollow out your model and give it some escape holes.
The printing process
In my last post I quickly touched upon the printing process involved in SLS. So just to make sure you understand the process, here’s a video that explains it from A to Z:
Post Processing
The cool thing about SLS printing is that you can choose a variety of post processing options, giving your model a distinct and even un-3D-printed look.
First of all you can choose to have your model polished by tumbling it. Depending on the length of the tumbling process, your model can become smooth like a mirror. Do note however that longer tumbling times can alter the geometry of your model.
(image:
digits2widgets.com)
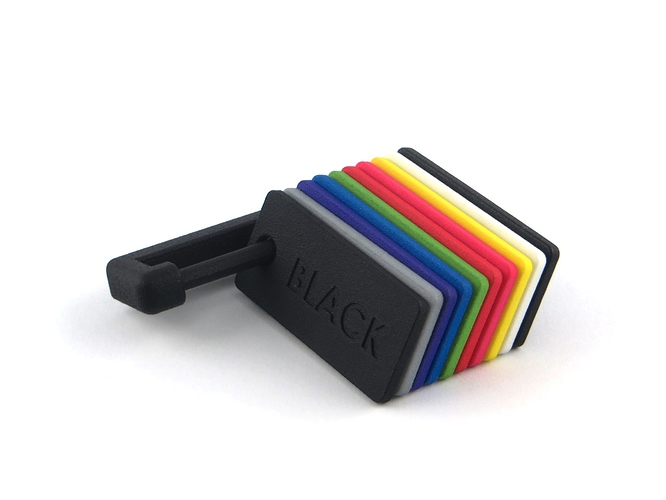
Next to tumbling your model, you can also dye it. Depending on which service you choose, dyeing options and colors will vary, but the basics are the same with everyone. Once your model is printed and sanded down, your service provider can color it by dipping your model into a dye.
(image:
dyemansion.de)
Pro’s and Con’s
Now that you know more about the SLS process, I want to end this post with a small pro’s and con’s section, so you can have a complete sense of what is possible and if SLS is something for you.
Pro’s
- ‘complete’ form freedom
- detailed surface finish
- fully functional prints
Con’s
- expensive compared to FDM
- time consuming process
- slightly grainy texture without post processing
Next time i’ll talk about really cool use cases, of which this is only one: