


Reducing polycount on your designs
We’ve all been there, we had a model that needed some nice smooth curves or very fine detail so we’ve upped the amount of poly’s in the model by running the smooth modifier once or twice, or maybe 10 times.
Doing this can result in a 3D model with a filesize of hundreds of MB’s. Before you upload this file to 3D Hubs you will have to bring down the file size to below a 128 MB’s because this is our current maximum. But really, no 3D printable model should have to be over 100 MB’s because the extra poly’s simply won’t have any effect on the 3D print. Higher complexity models also take longer to print.
Removing all the extra poly’s by hand can be quite an undertaking, but have no fear! This guide should give you some tips on how to easily remesh/decimate your model to reduce the polycount but retain the same amount of detail.
Autodesk Meshmixer [Free]
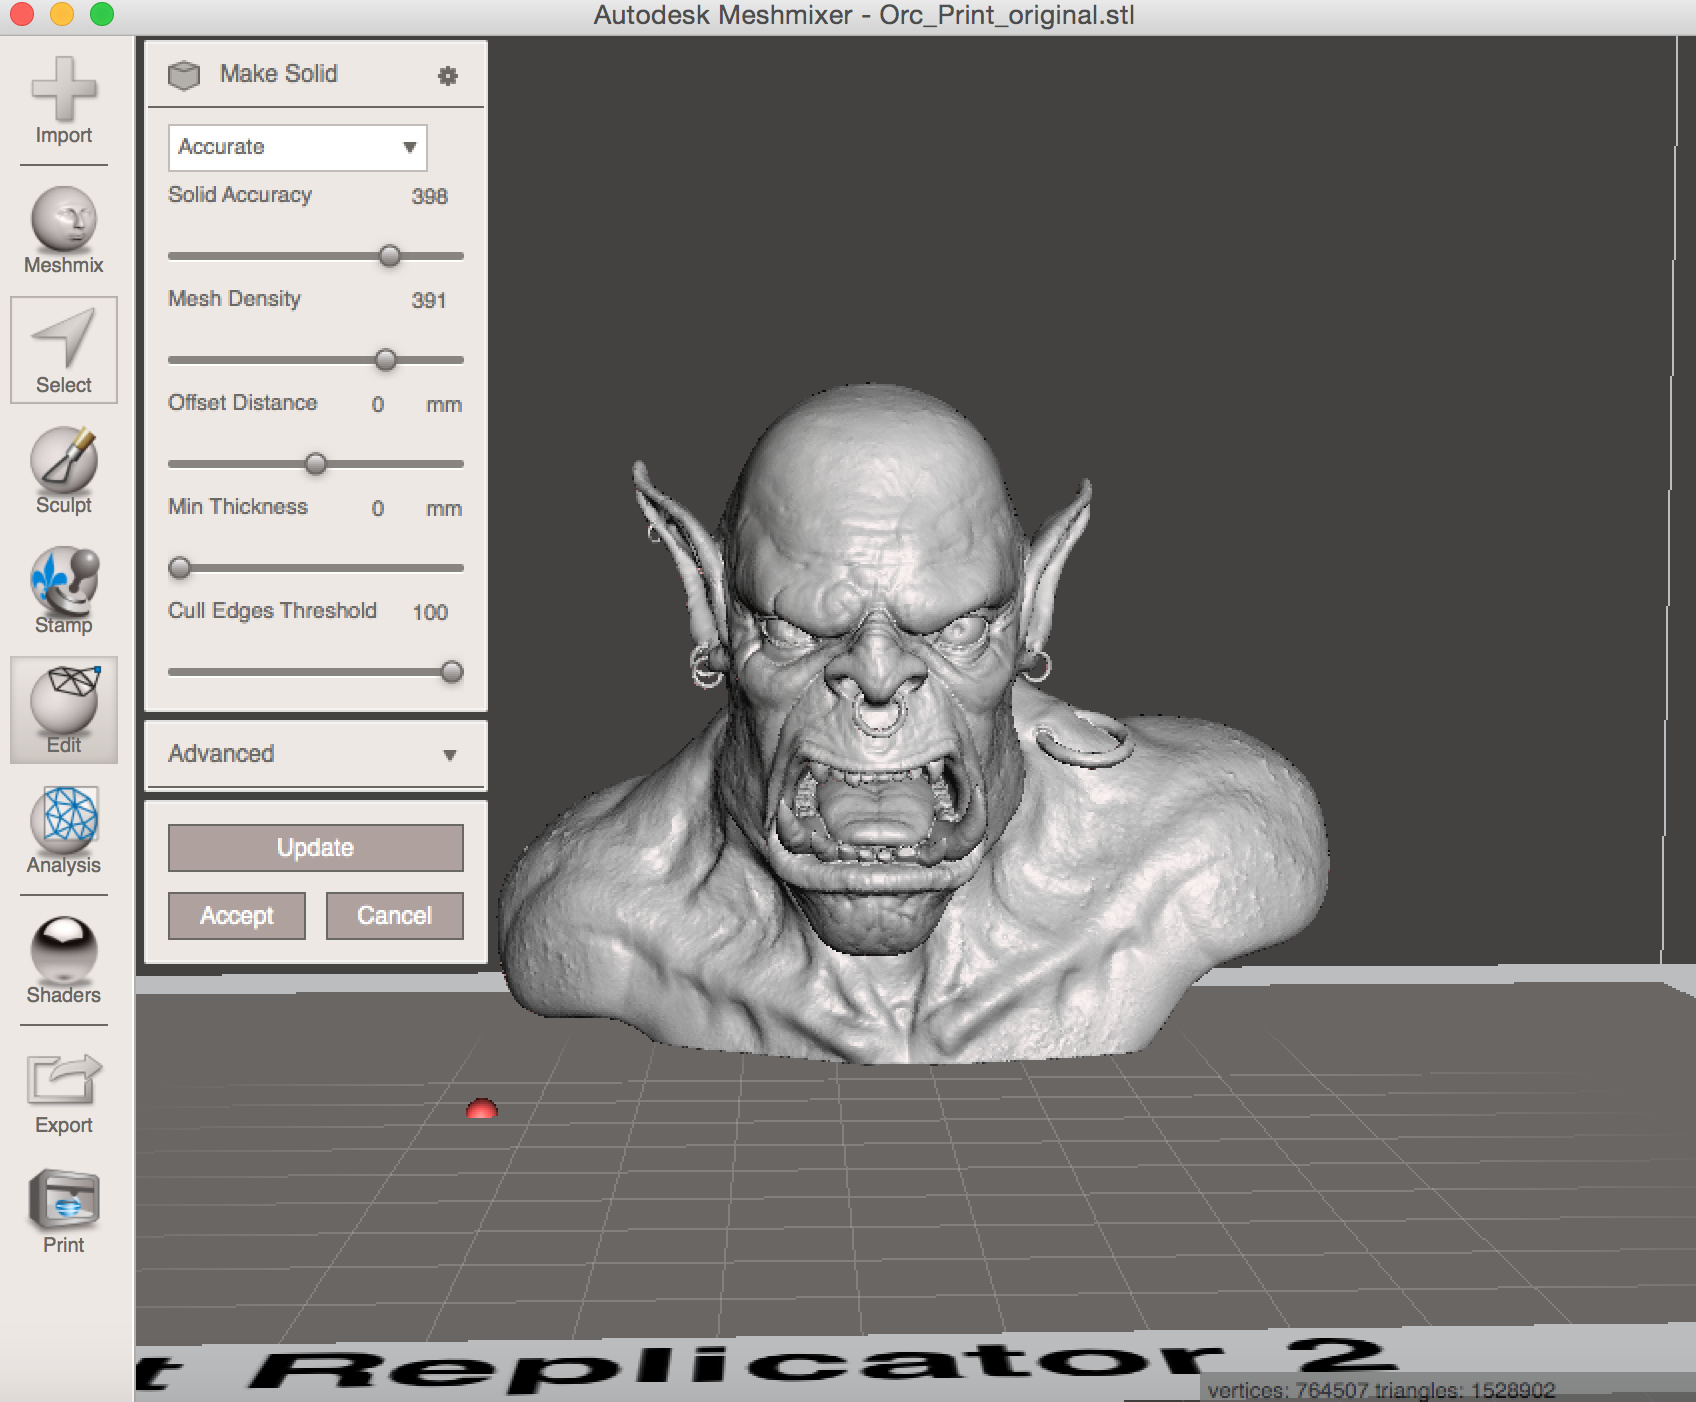
1. In order to reduce the polycount using Meshmixer you have to import your .STL file
2. Select your model by double clicking on it
3. Then click reduce and drag the slider over to the percentage of polygon’s you would like to have remain. Usually 80% is a good amount that will still preserve the polygons that determine the shape of the model.
Before:
Polycount: ~1.5million
After:
Polycount: ~420,000

Alternative:
Under the sculpt tool, select bubble the Bubble Smooth Brush. Reduce the Strength and Size so you dont effect the model too much. Then, up the reduce count under the ‘Refinement’ tab. Using this method, you can manually reduce the polycount of certain areas instead of the whole model.
MeshLab [Free]
1. Load your model into MeshLab
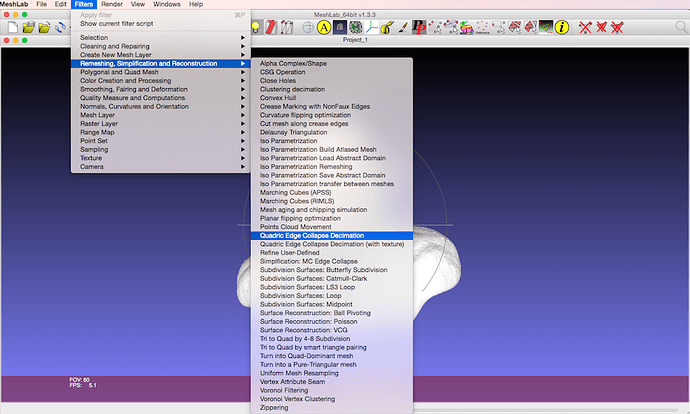
2. Select from the menu: Filters - Remeshing, simplification and construction - Quadratic Edge Collapse Detection.

Pixologic’s ZBrush [Paid]
1. Import your model as a SubTool in ZBrush (Right hand side)
2. From the plugins menu, select Decimation Master
3. Pre-process all SubTools
4. Set the percentage of polygons that you would like to keep 10-20% is usually a good starting point.
5. Decimate the model
Extra tip: ZBrush also has an exporter for 3D Printing which will allow you to export your model as an .STL file. Make sure you also select the size you want your model to be exported at before uploading your model to 3D Hubs.
created
Mar '15last reply
May '16- 7
replies
- 20.2k
views
- 6
users
- 28
likes
