


Sometimes there are those filament left overs in lengths between 100 -1000 mm.
As I don’t like the idea to throw it away I thought about how to make use of it with a straightforward workflow.
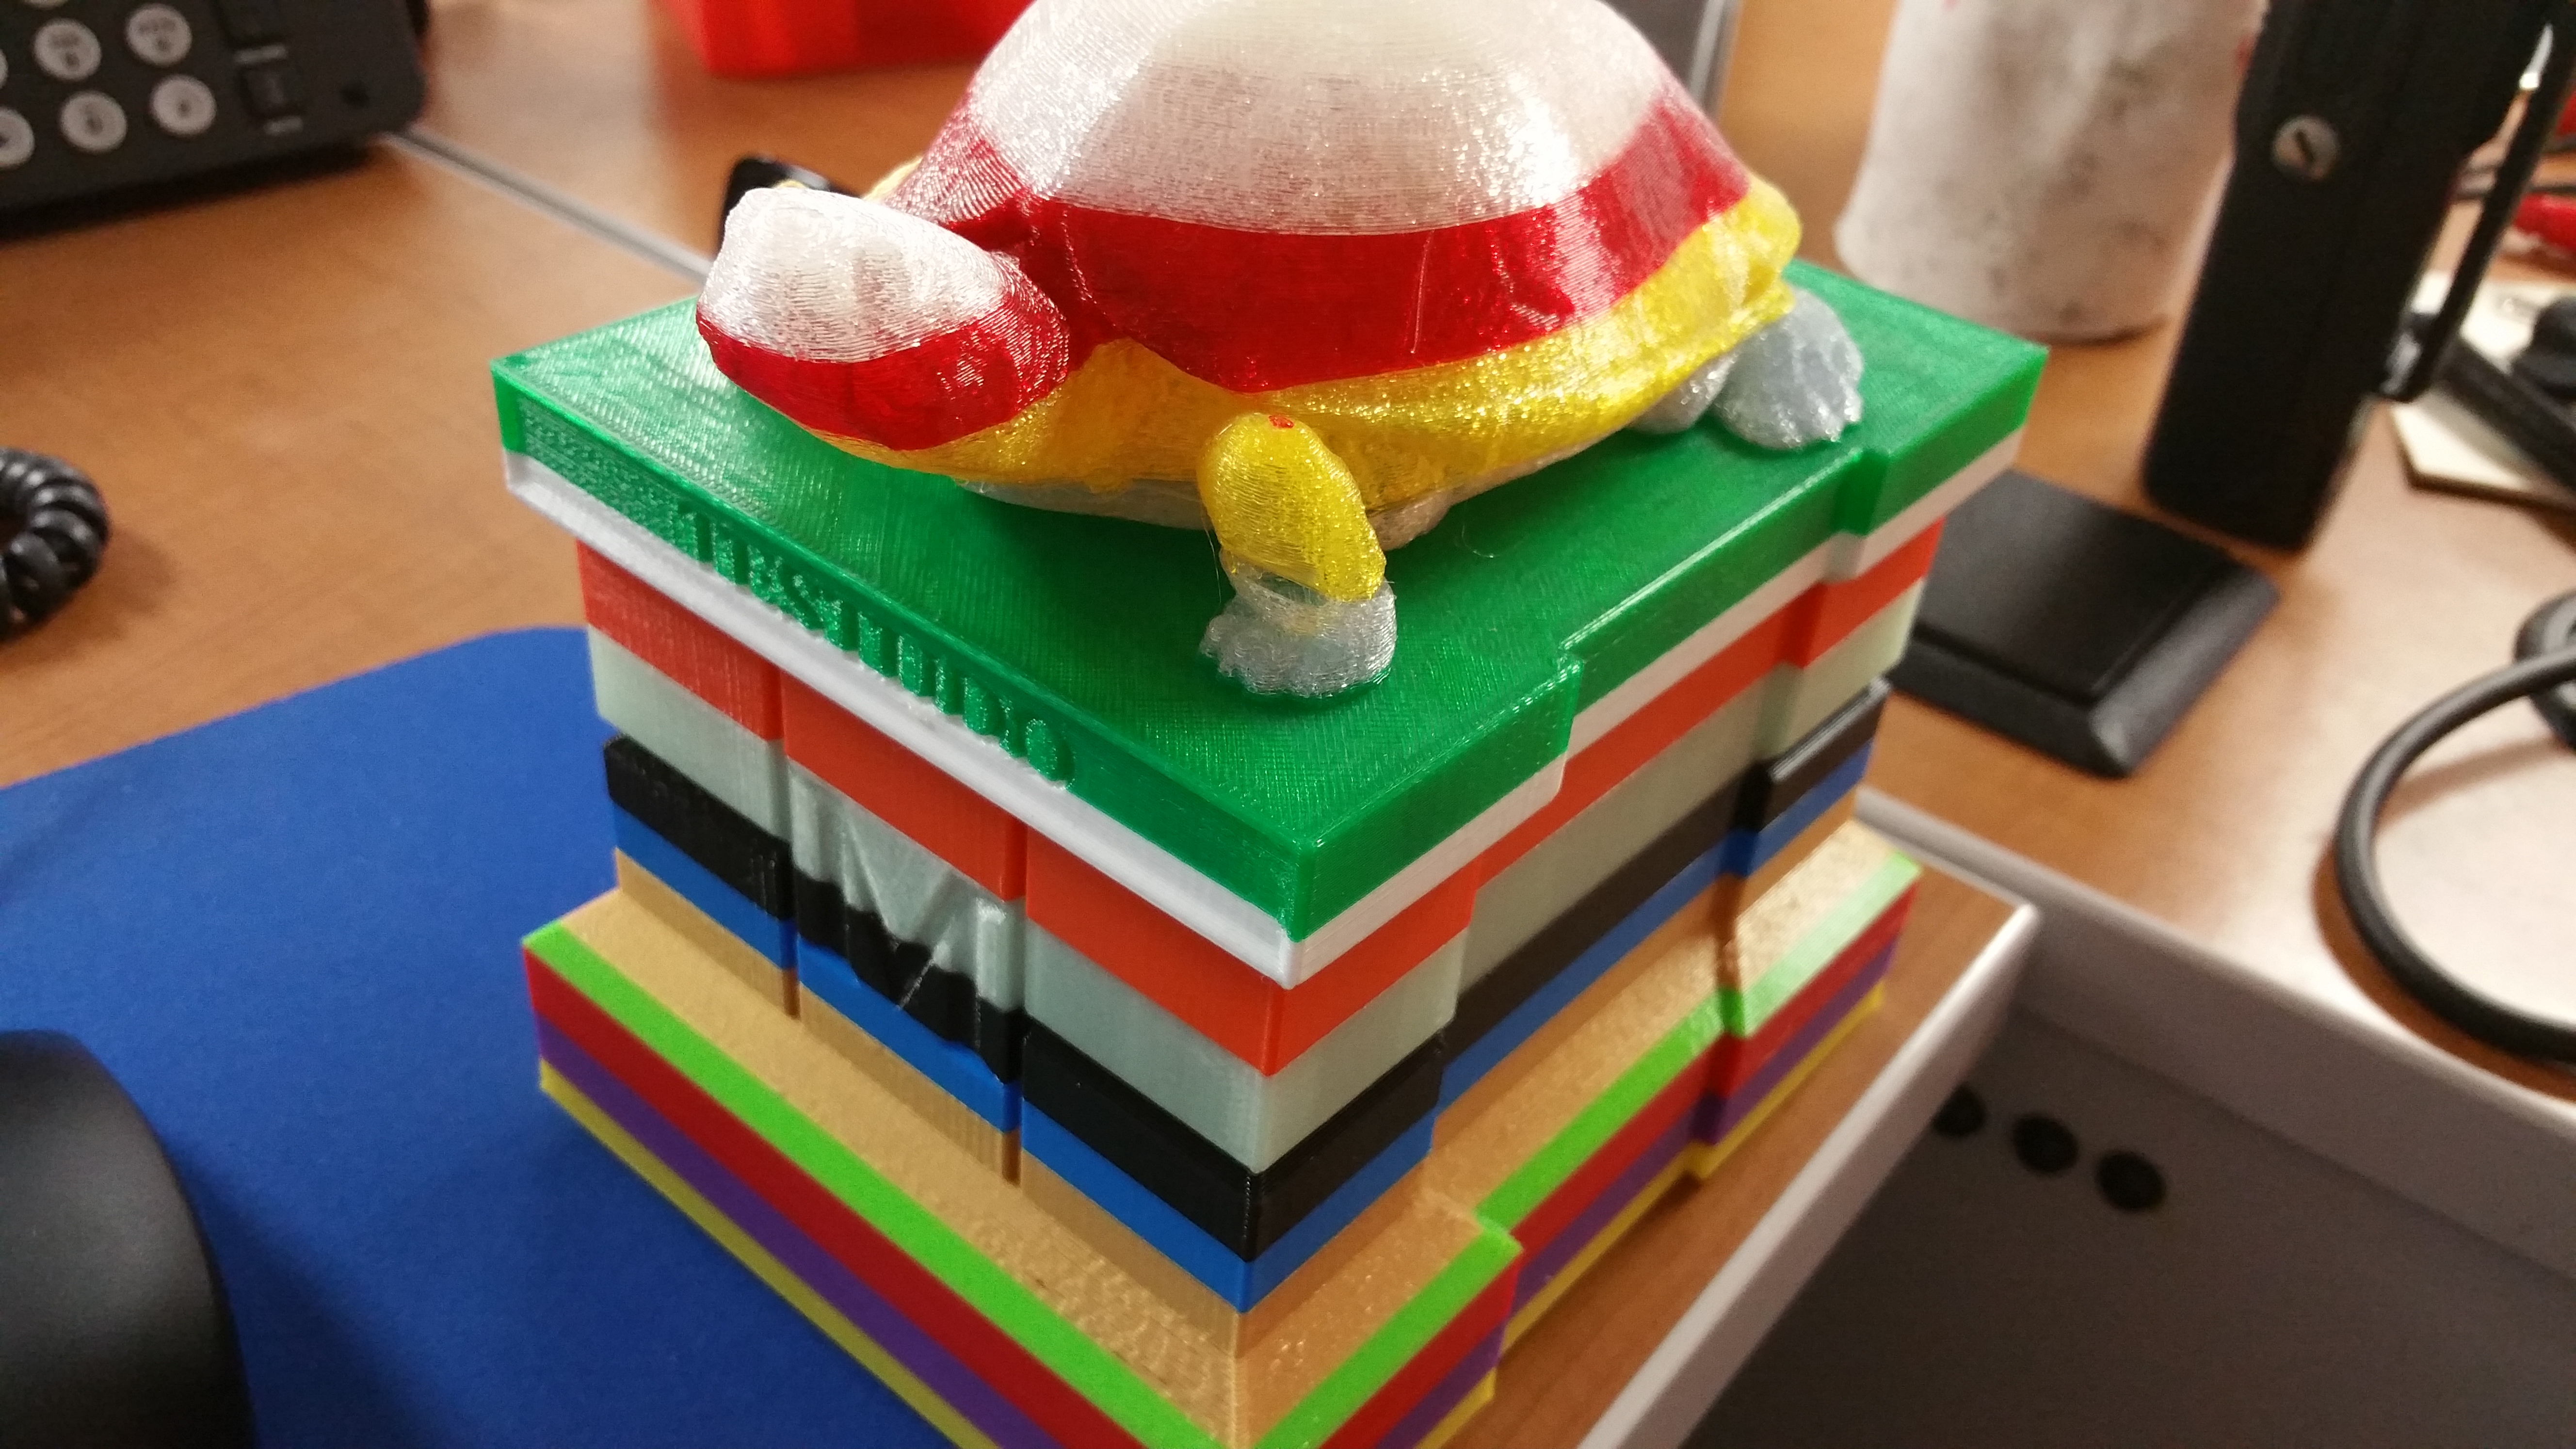
This way only works with a Bowden drive extruder, as the short filament strands are fed into the bowden tube before starting the print. The .gcode file was generated with Cura as it provides the possibility to read the extruded filament length from the final .gcode file
Here is how:
- Measure the length of your bowden tube (in my example it is appprox. 700mm)
- Start adding as much Marvins in your slicer as you need to achive a used filament length which is more than the bowden length (3 Marvins = 950mm in my example).
- Write .gcode file
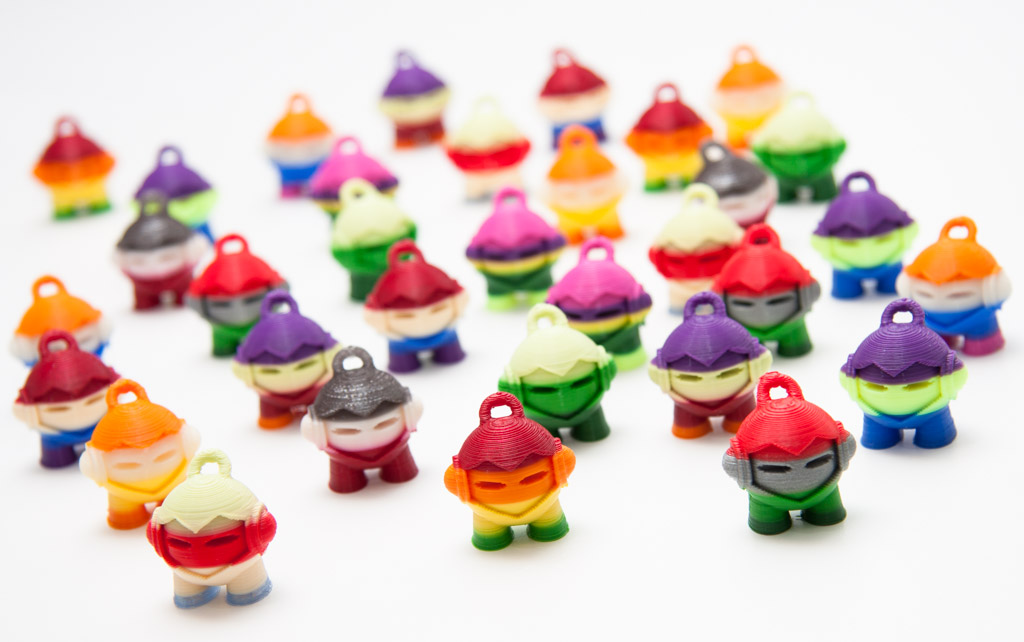
- Now you have to decide how much colors your Marvin should have in the end - let’s say 3 colors is enough for the beginning.
- Marvin is 25.4mm tall so we devide it into 3 parts = approx. 8.5mm for each color
- Open gcode file in an editor and look for the first Z height where the first color change should happen. Most editors allow to search for a special term, so it is a good idea to use this function and search for “Z8”. Once you have found the specific Z height a few rows before you will find a E “xyz” value. In my case it is 334mm. This is the first filament length you want to cut and put it into the bowden tube. The next E value in my example is 688mm, so you have to the next piece of filament to 688-334 = 354mm. Put this in the bowden tube also. The last piece has to have a length that is enough to go through the entire bowden tube plus the extruded length. Everything above 1100m is enough in my example.
- Start the print and enjoy the result

The biggest fun is to experiment with different color combinations and also to combine some of the calculated lengths from different colors.
I am sure that it is not the easiest way to make use of filament left overs.
So, what are you printing from it?
Cheers,
Joerg
created
Oct '15last reply
Oct '15- 8
replies
- 1.6k
views
- 7
users
- 20
likes