Heya, I’ve been working on some more long form content and focusing on questions that come up time and time again, this time it’s design for printability. I’ll be covering some of the basics and would love to hear what other tips and tricks people have discovered as far as designing for printability goes.
Volume & Thickness
First off, this may seem pretty straight forward, but parts do need to have a volume. Even though the layers can be as thin as 0.025 mm (or more with some advanced printers!), all your parts should be at least 2mm thick to expect a printable result. You can potentially get away with a range of thickness between 1-2mm, but don’t expect that part to last too long.
Geometry

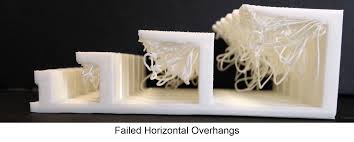
With most 3D printing techniques* your object is built layer by layer and requires a previous layer to build upon. Alas, the laws of physics still apply to 3D printing. If your design has parts hanging over 45°, the print will fail* without support material. As a general rule, printing without support material is encouraged. However, supports are not inherently bad - your model will more than likely will still print if supports are needed. Supports add a bit more complexity to the print because it means extra material and therefore time. Also, there can be some blemishes on the end print when the supports are removed.
*An SLS printer doesn’t require any supports because the powder acts as support when the object is being sintered.
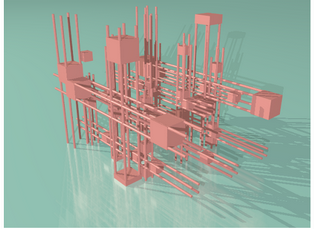
*There are some exceptions to this rule. ie flat “bridging” can work across small distances because the filament is anchored at the end of each point where the bridge starts. Although, drooping is common and can cause a print failure because the layers have to be perfectly level. As a comment on complexity, a model like this won’t print on FDM and would struggle on SLS because of the reasons discussed above;

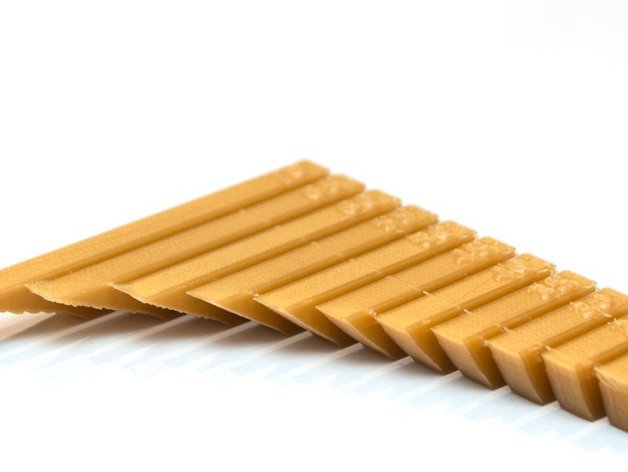
P.S. Try this Thingiverse overhang test to see how your printer fairs when you play with the settings!

Orientation
This is less about about design, but more about prep for printing. Sometimes a model in normal orientation will require support, but if you play with the orientation a bit, less or none is needed. Try flipping your model upside down!
Print to Fit & Tolerances

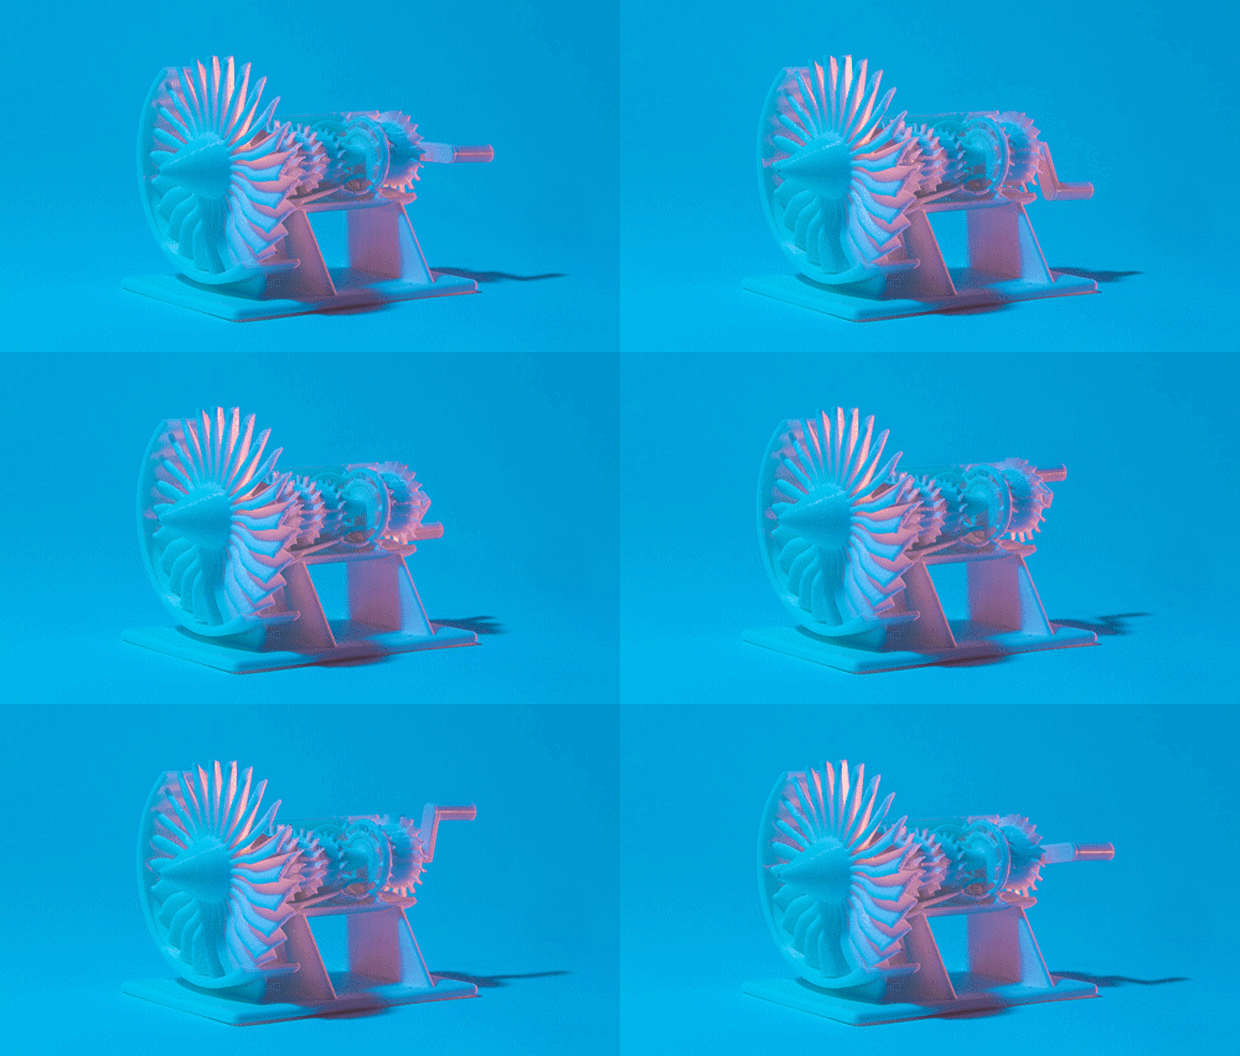
3D printing an assembly in one print is possible. Just remember to leave a clearance between your two parts :
- 0.5 mm to have free motion
- 0.2 mm to have a tight assembly
Print it anyway!
One of the great things about 3D printing is that its generally quick and fairly cheap. If your design doesn’t strictly meet this criteria, you can still attempt to print it. Don’t expect magic here, but the 3D printer gods may be smiling upon you that day and something about your design may click together and print smoothly. Experimentation is highly encouraged with 3D Printing and you may stumble upon something that works.
That’s all I have as a broad overview of printability challenges. The next step is to come up with specific solutions to these potential limitations. I’d love to hear what other tips and tricks people have to get tricky models printed correctly.