Go to homepage
5 / 16
Jul 2017

Hello all,

The fact that I am here means I am at my wits end. I cannot figure this out for the life of me. I am in need of your help.

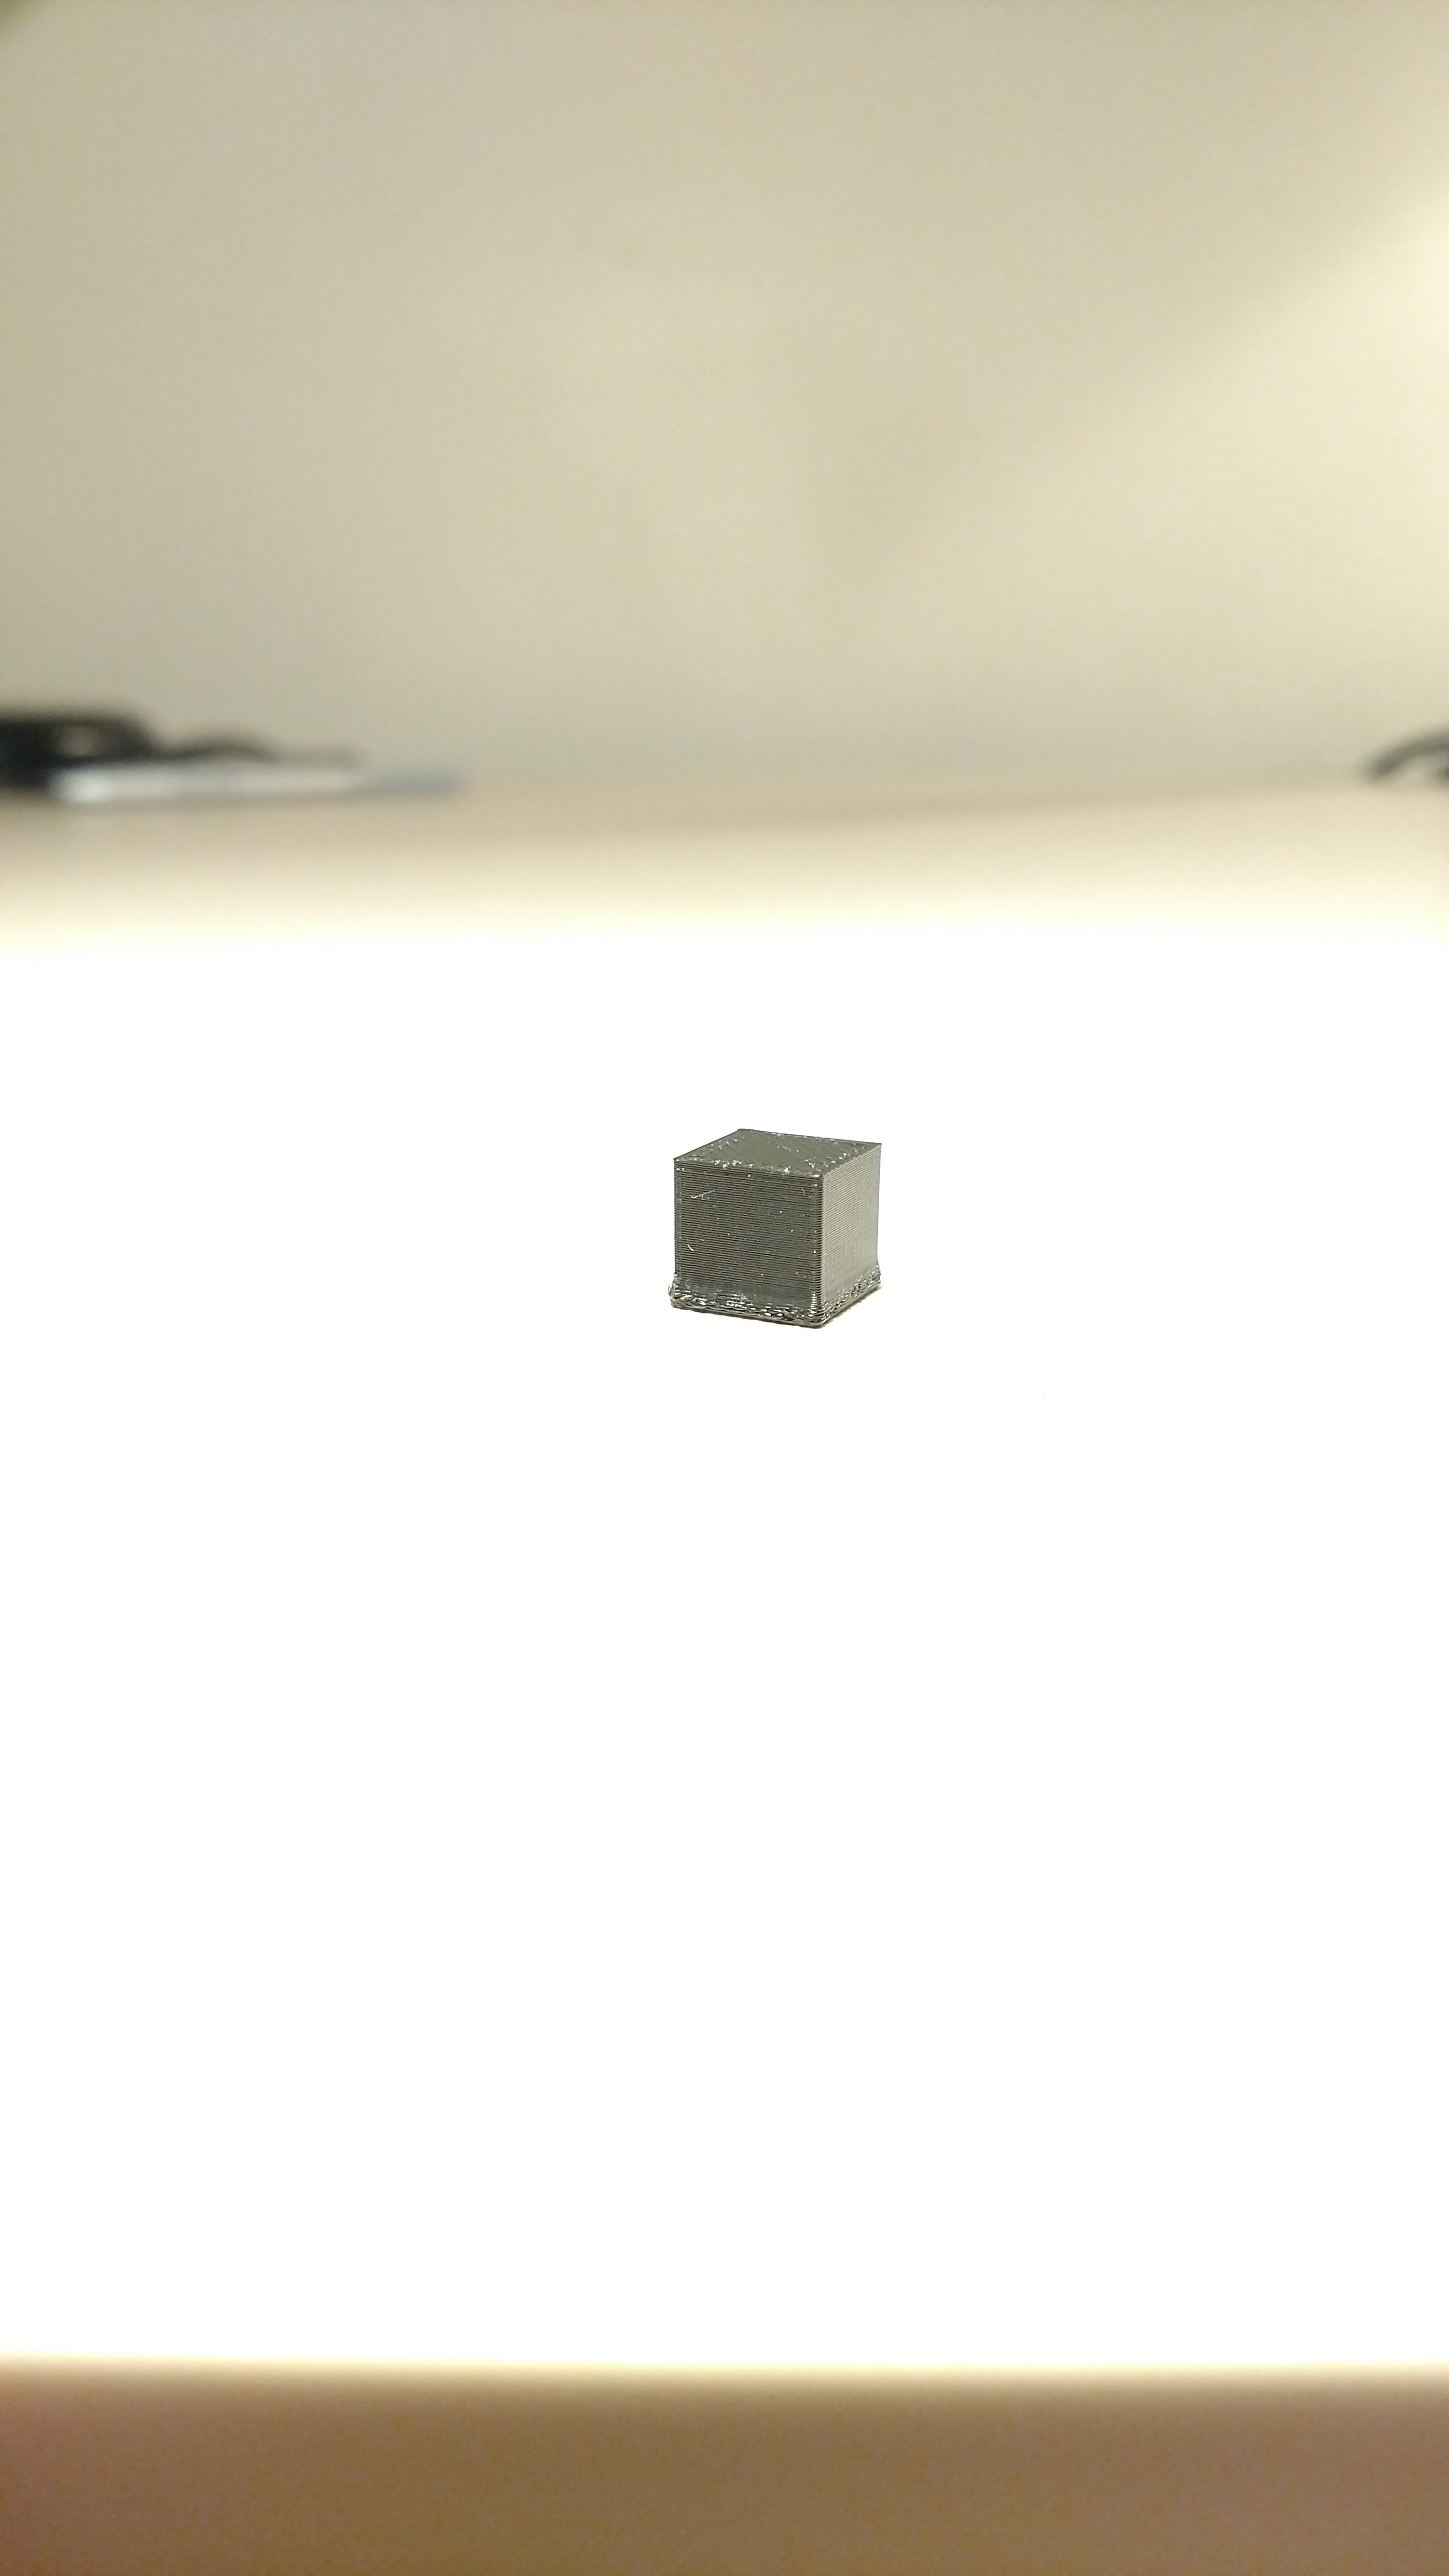
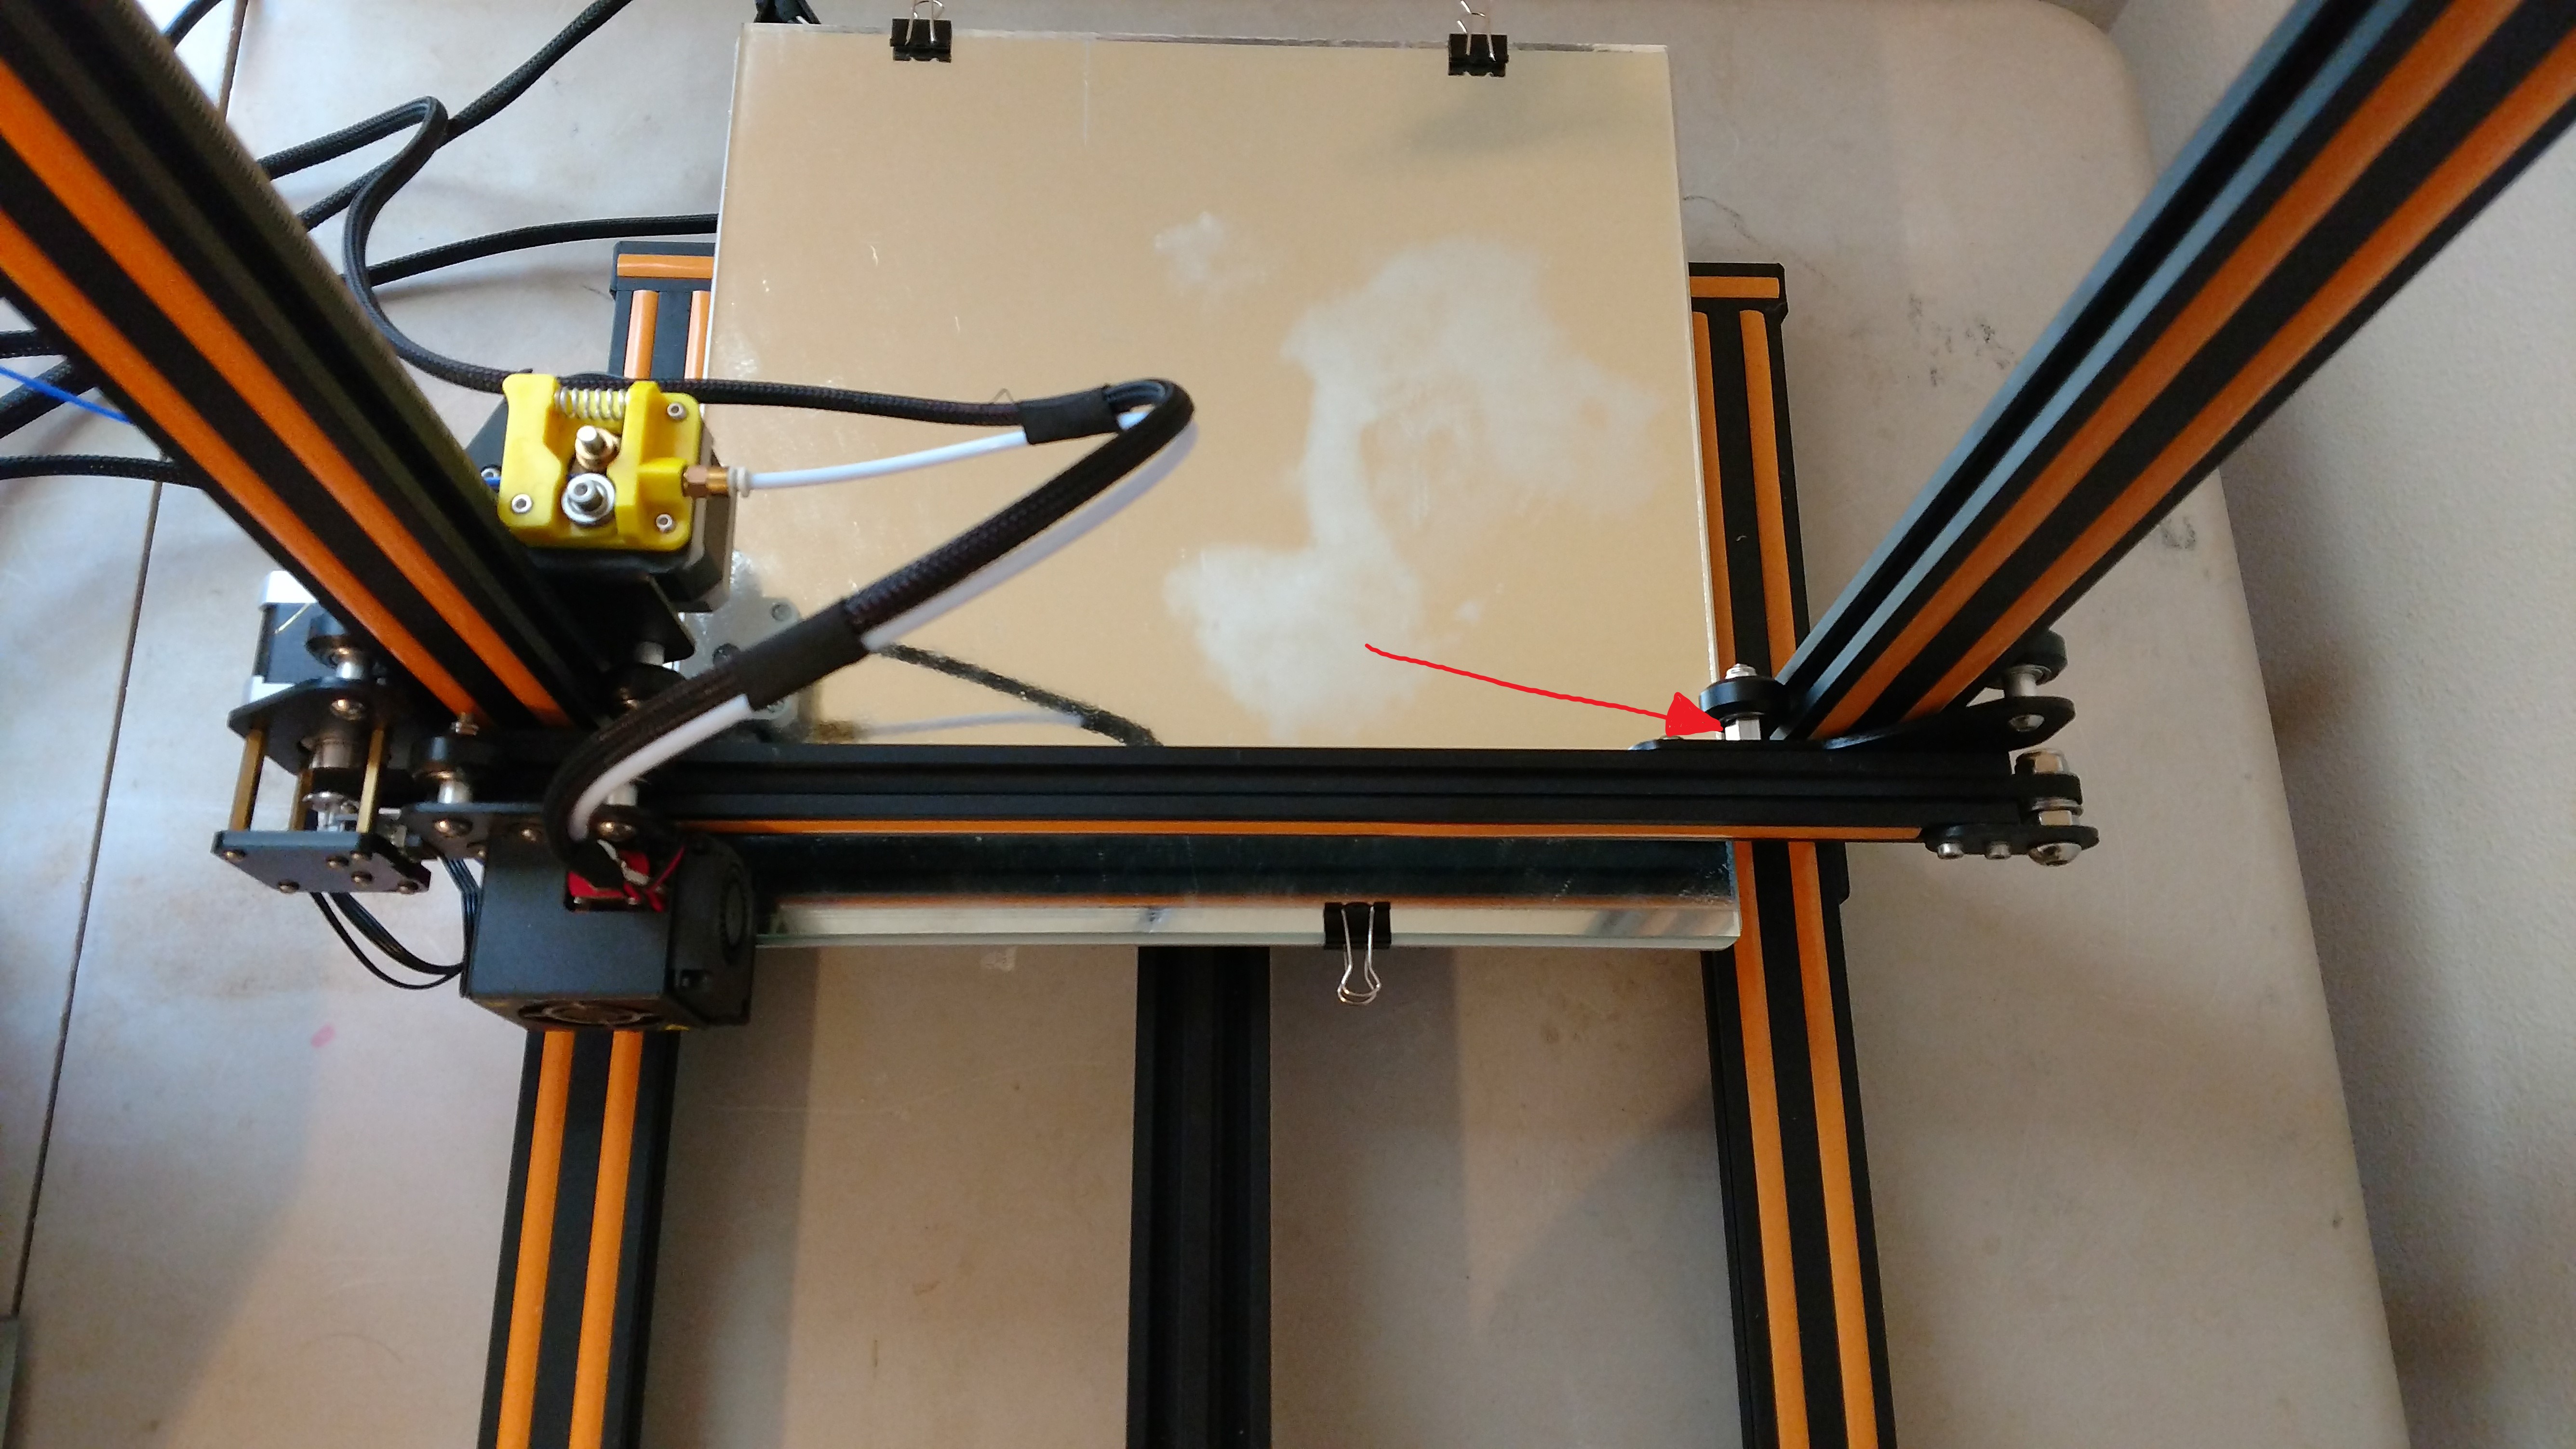
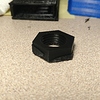
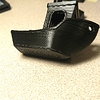
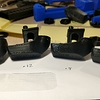
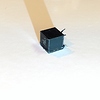
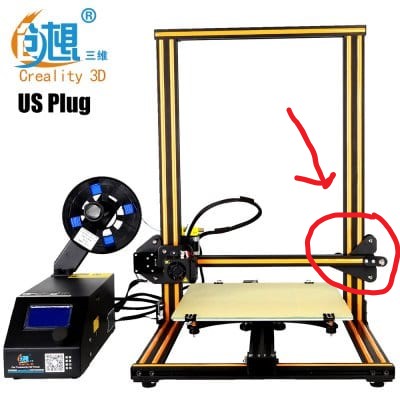
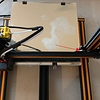
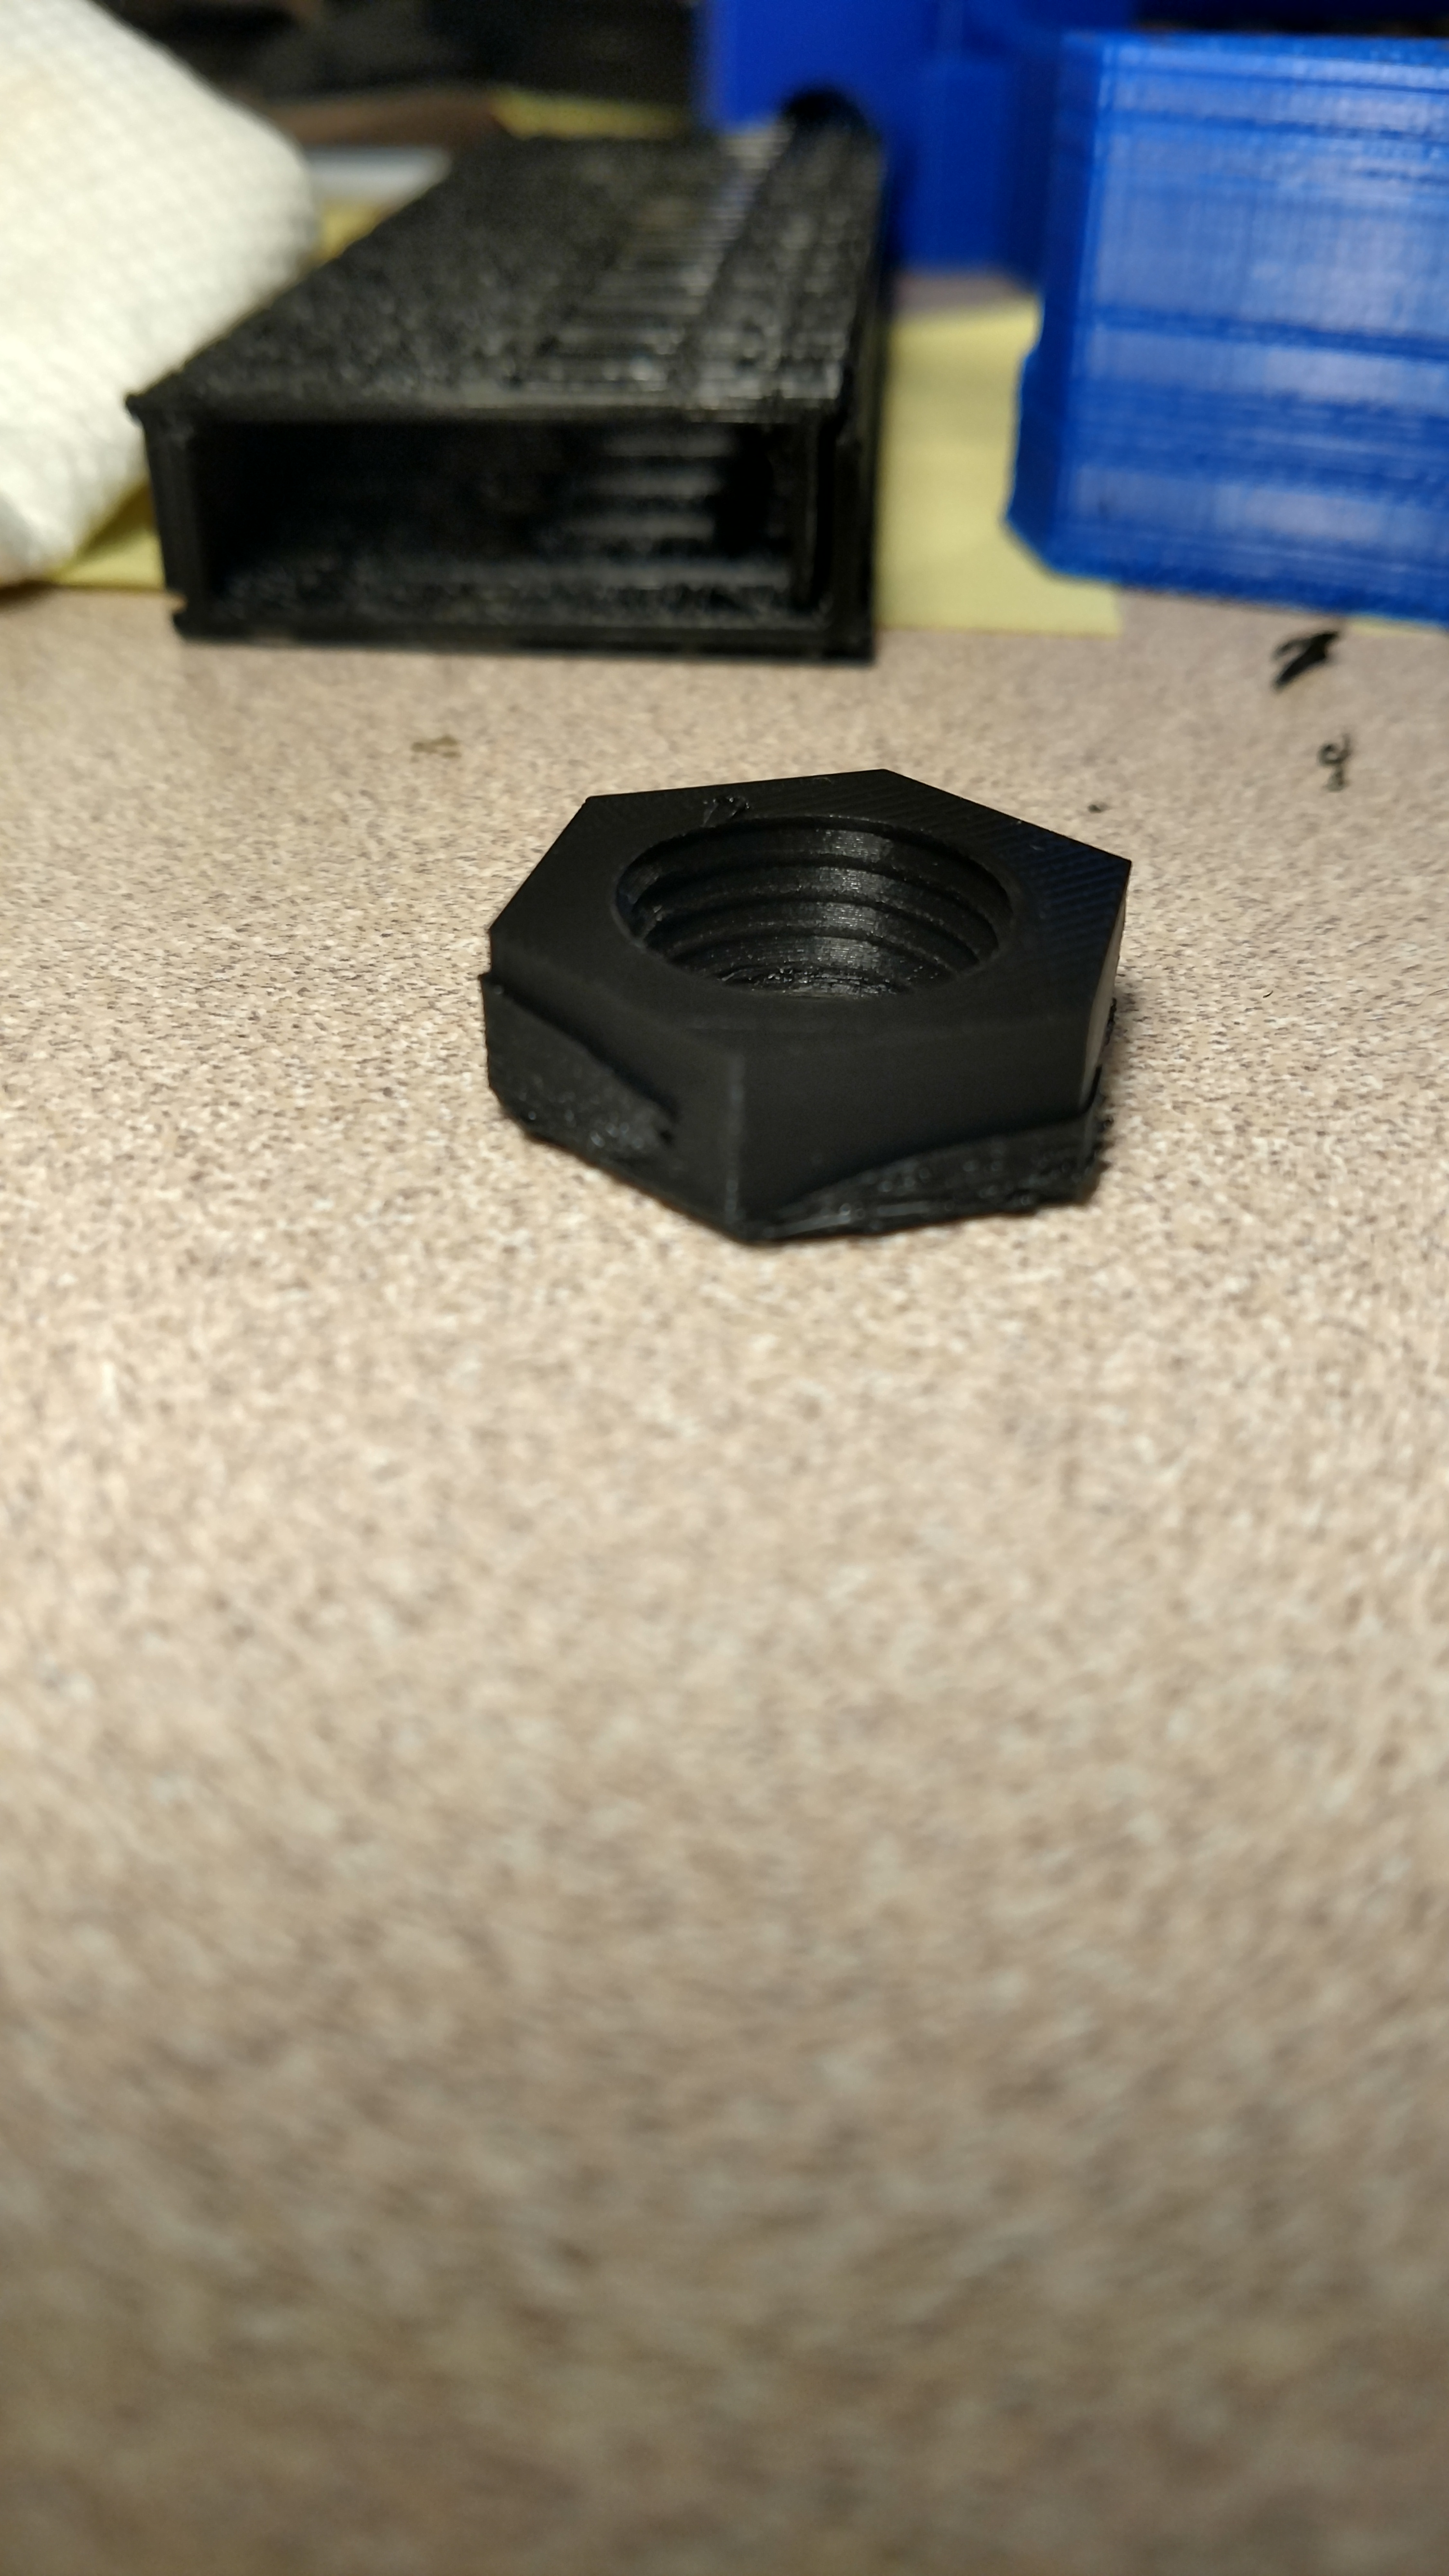
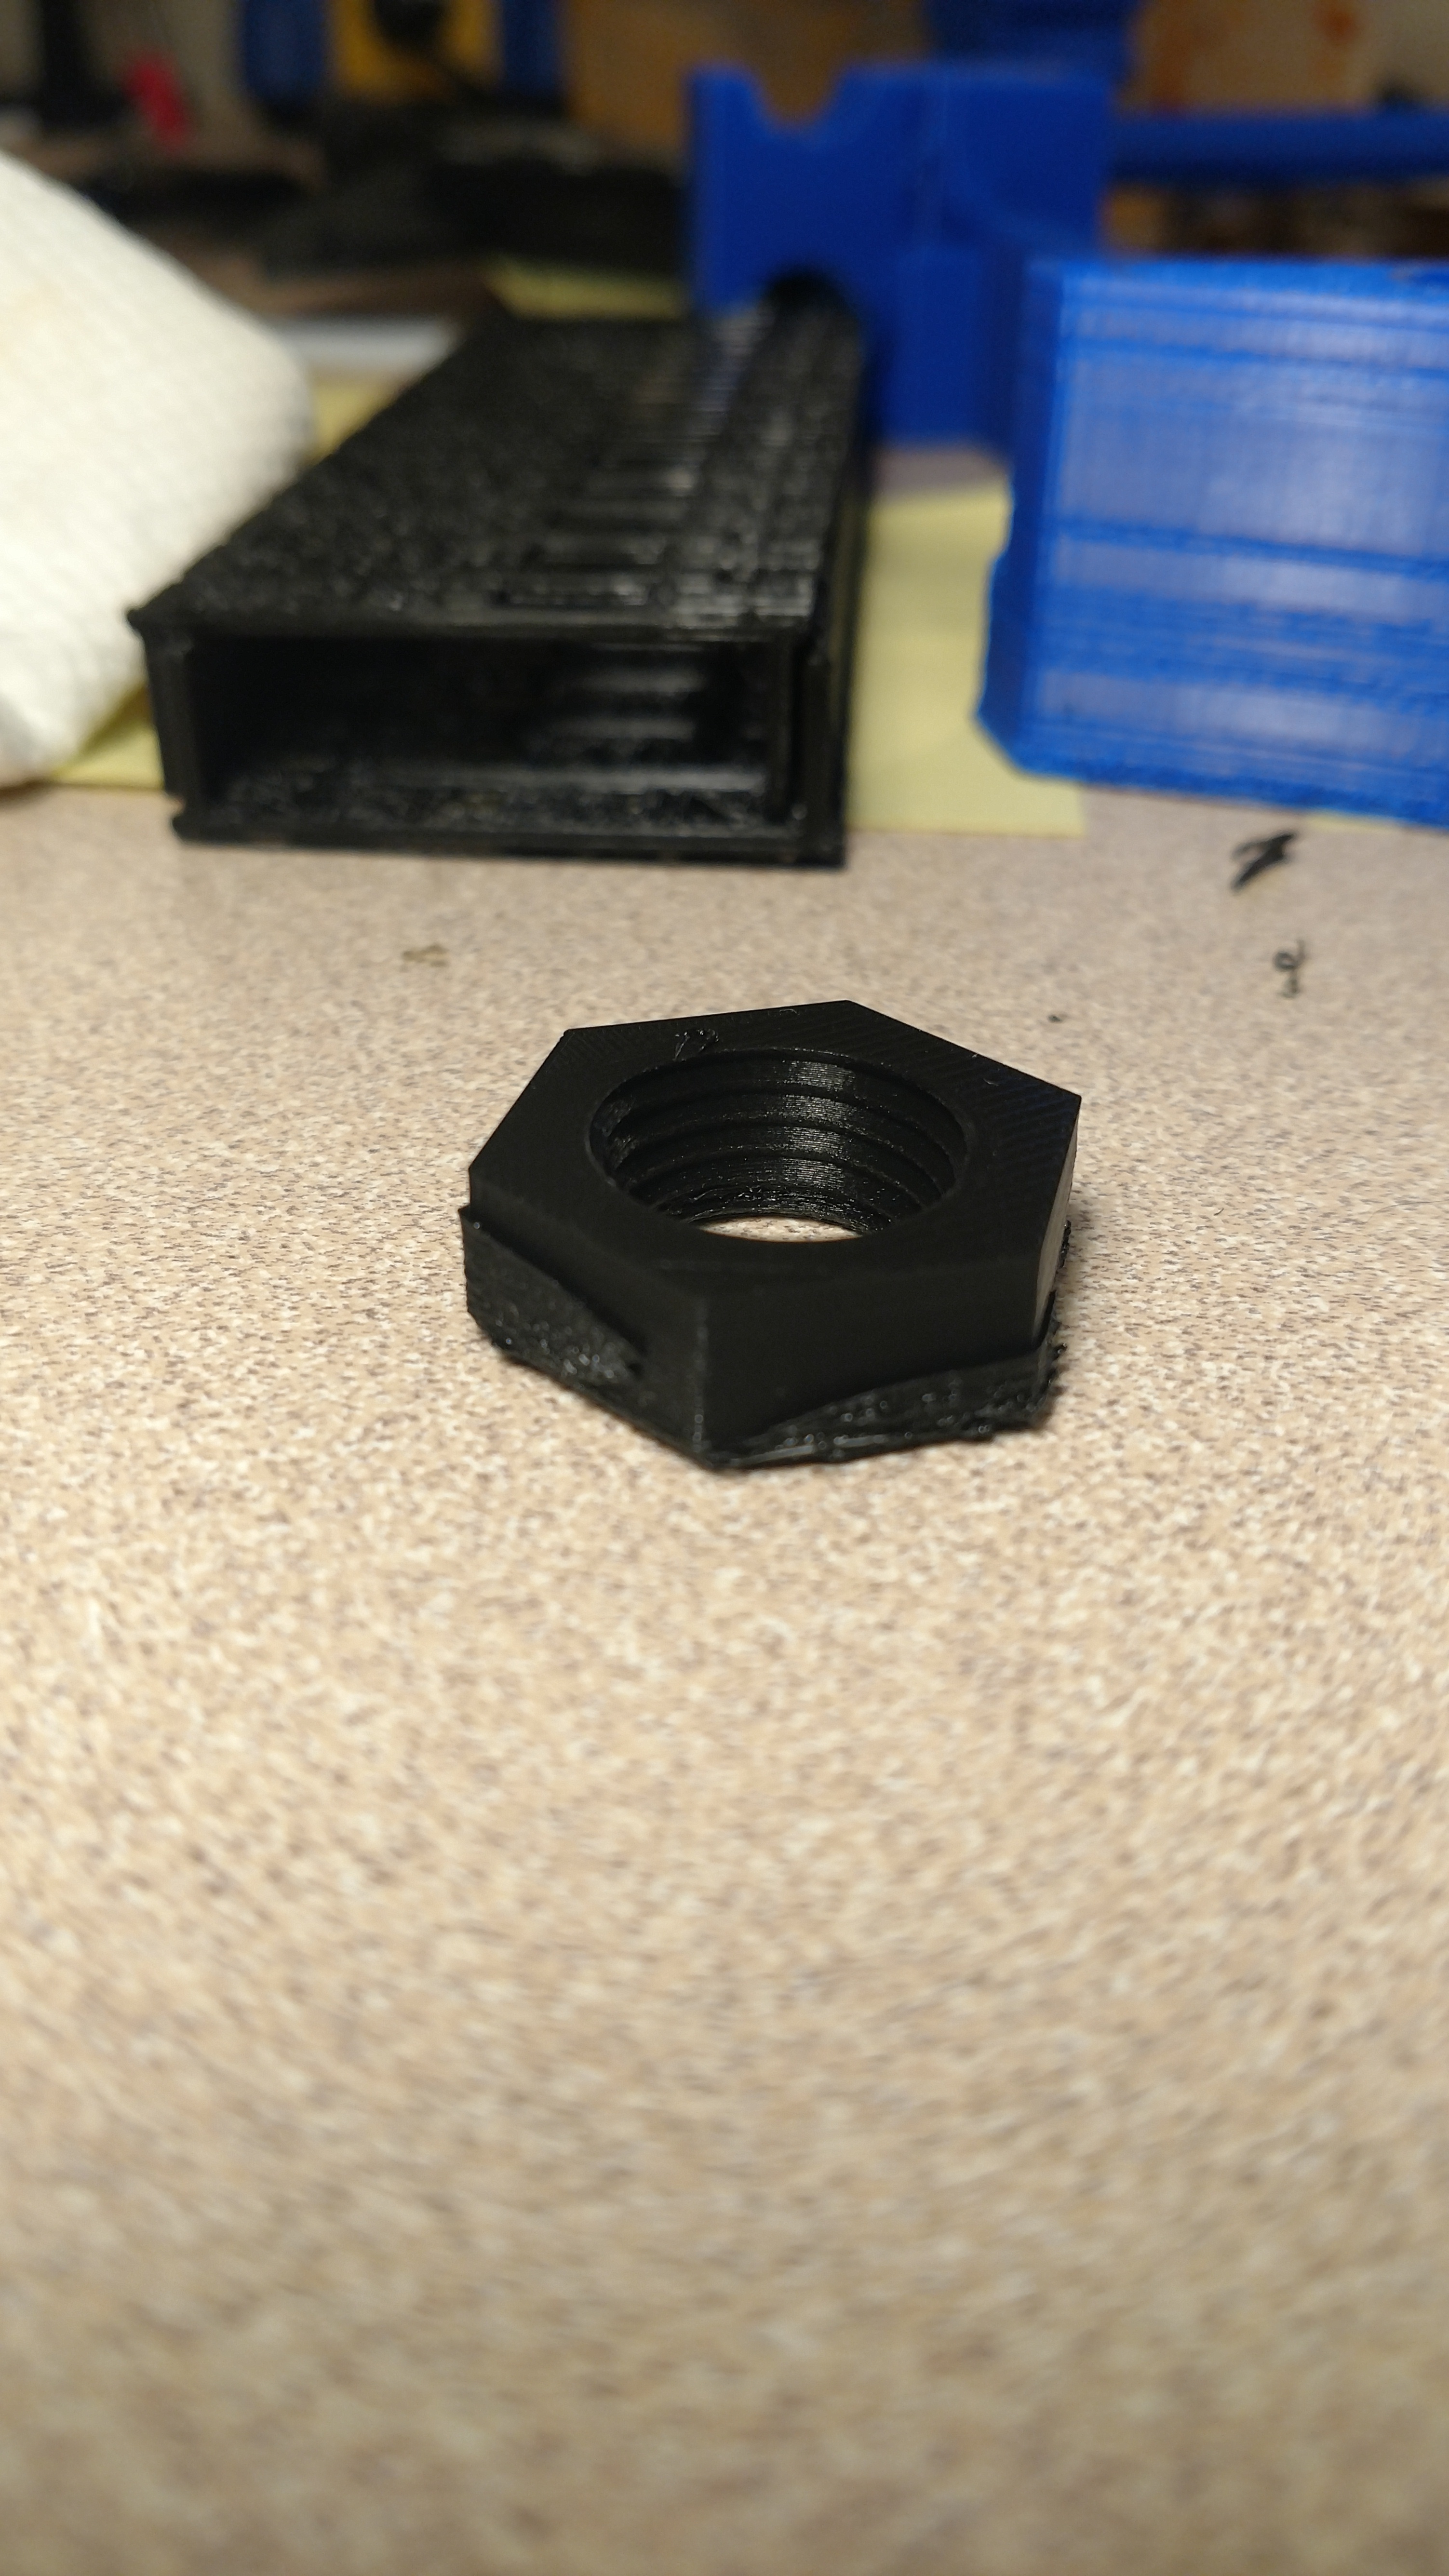
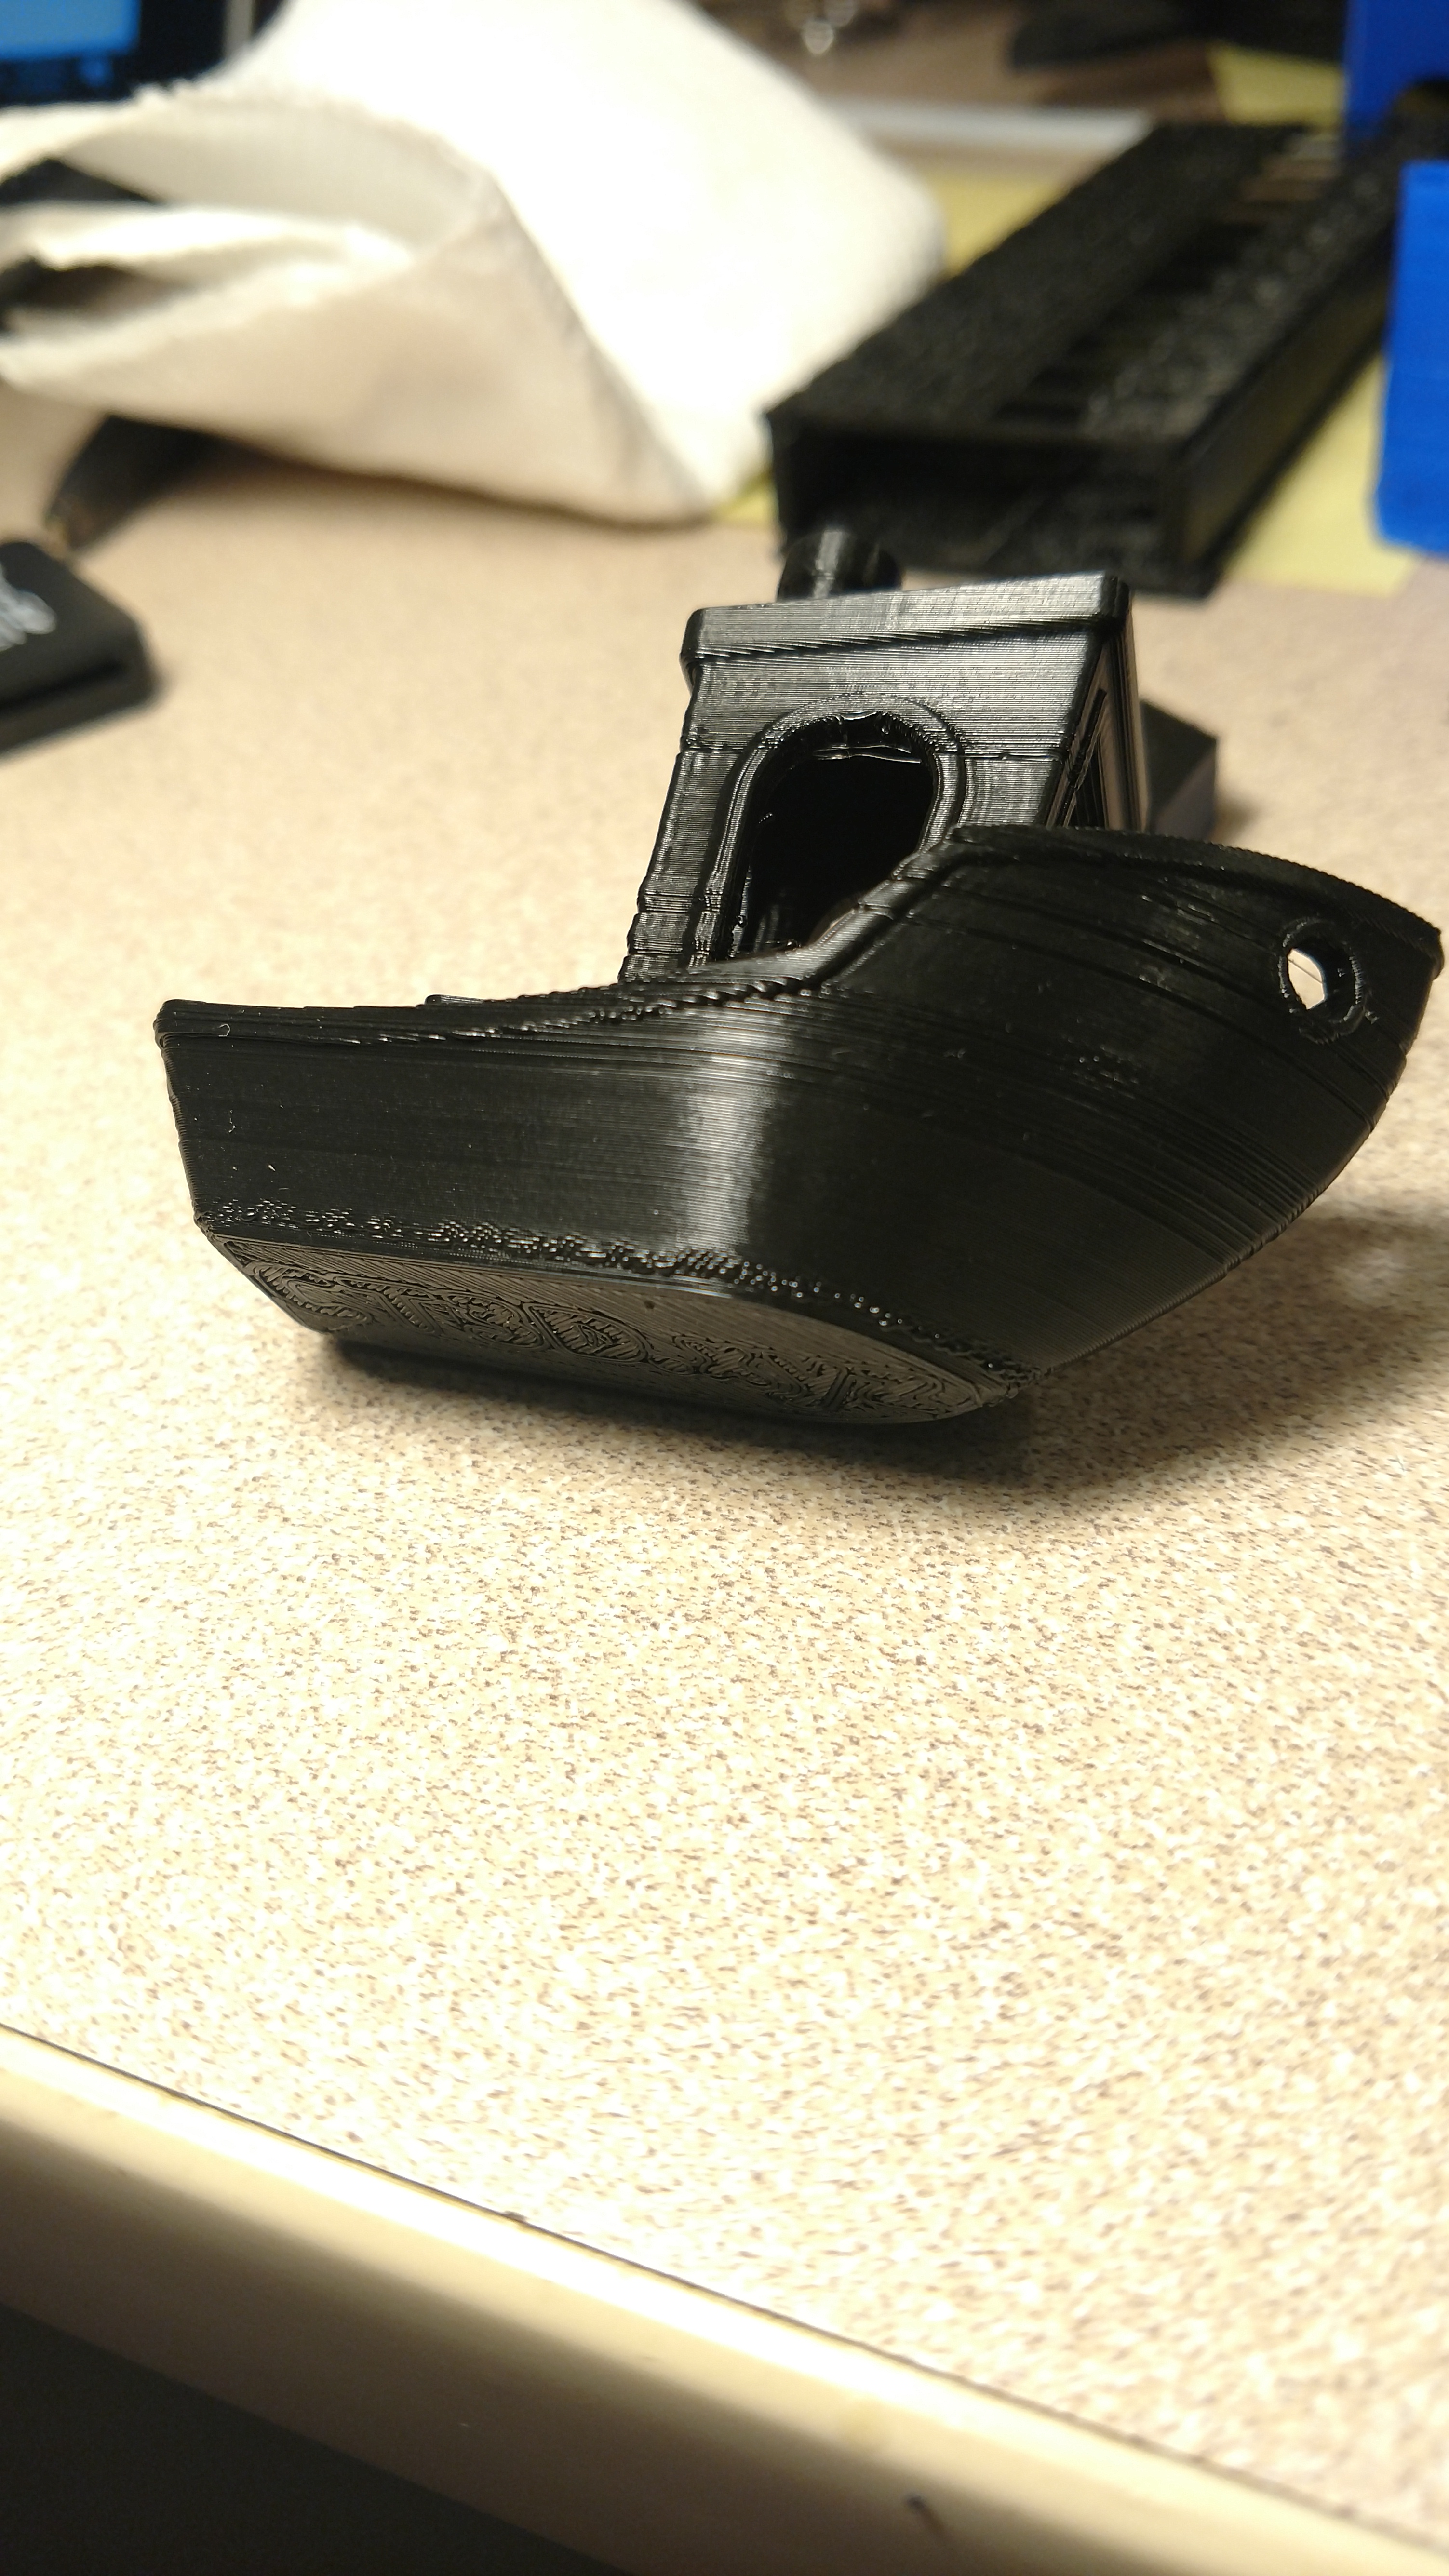
I received my first 3d printer about a week ago. It’s a Creality CR-10. After I figured out how to use it, I was getting really good prints but I always had this ring around the bottom layers that was rough. .4 layer would not produce the rough layers, but anything under .2 would. The included images are mostly .12 layer height. Here are the specs and then what I have tried to fix this issue.

Creality 3D CR-10

Nozzle .4 mm

Hatchbox 1.75mm PLA (Blue and Black)

What I have tried:
-I switch back from aqua net to painter’s tape to make sure that wasn’t the cause

-printed the same part at different layer height. .2 and up shows minimal. 1.5 and lower gets worse as resolution goes up.

-adjusted distance between nozzle and heat bed from one extreme (too close) to the other extreme (too far where the print wouldn’t even stick to the bed). No effect. Same issue.

-I had a couple of noob moments and scraped the nozzle across the bed. For this reason, I replaced the nozzle with the replacement that came with the printer. No change.

-I adjusted infill from 100% to 50% to 10% to 0%. There was a difference. 100% would be the worst and 0% would cause the least, but the over extrusion was still present.

-I changed from Cura to Slic3r but had the same affect.

-I disabled a bunch of features for one of the prints. Anything that I didn’t need, like retraction or z-hop, I disabled. Same issue, no change. I understand I am a little vague on this so I can perform more tests on request.

-Changed the heat bed to 0 degrees. No change. 60 degrees. No change.

-Sent Gcode command for 100mm filament. Measured 95mm. After several attempts, the closest I could get was 102mm. Figured, that was close enough.

-MOST NOTABLE: removed the bottom from print and the over extrusion was barely noticeable. You could still see there was something going on there with the lines but no blobs or bulging. I am not sure what to make of this or how to use the info to fix it.

I have tried changing a ton of settings in Cura, but I have to admit, I am still learning. I am technical in nature with electronics and mechanical stuff, but since I am new to this, I am probably making a noob mistake.

I was going to post some g.code but I have a mess of files. I am currently printing another benchy so I can post the g.code and the project file. Actually, what files should I post that would help you all determine the cause?

  • created

    Jul '17
  • last reply

    Aug '17
  • 15

    replies

  • 57.3k

    views

  • 5

    users

Thanks for responding.

1. I have joined and been approved for the Facebook cr-10 group. Should I post this question there instead? I am thinking it might be a better place.

2. Printing with Hatchbox PLA (Blue and Black)

3. I have tried extruder temps 195, 200 and 205 with same result. I have tried bed temps 0, 45, 50 55 and 60 with same result. The last print I just did was 205/60 and it had the same result. Since I opened the box and assembled the printer, every print has had this problem.

4. My glass plate is not flat when I use the included clips. It causes a high peak in the middle. If this could be the cause, what could I do to test? I could take the clips off and tape the glass to the heat bed.

5. I have uploaded the gcode from the last print and an image of the result.

https://www.dropbox.com/s/bfkmqdcqryva7ua/CC_retraction_cube_test.gcode?dl=0 39

This is what I was printing. https://www.thingiverse.com/thing:1159886 58

By your write up it looks like you did a lot of changes with no good results. I found a slicer that works very well with the CR-10 and that slicer is the Cura 15.04.6. The new versions of Cura have problems dealing with the CR-10.

I have the CR-10 and resolved the issues by doing the following:

  • You need to start with a baseline first. This is a starting point where you can fine tune your printer
  • Download and install Cura 15.04.6
  • After instillation load your STL model
  • In Cura click on “Expert” and select “Quick Print”
  • A new dropdown menu will come up, select “PLA” and just below that menu select “Normal”
  • Now go to the top and select “Expert” and this time select “Full settings”
  • Now you have constructed a Baseline to work with
  • With the “Full Settings” menu displayed, you only want to make the following changes
  • On the menu in the “Speed and Temperature” make sure you have the following settings: Printing speed = 50, Printing temperature = 225, and Bed temperature = 70
  • In the Filament section of the menu make sure your Diameter is 1.75
  • Finally in the Machine section of the menu make sure your Nozzle is 0.4

Do not use any supports or platform adhesive, make sure this is unchecked. Cure will automatically generate a skirt for the initial pass of the print head

Keep in mind with Cura or any other slicer when you make a change in one field it calculates changes in other fields. Using a baseline approach, as shown above, will correct your errors.

13 days later

jtkirk

Wow!!! Great info. I have to admit, the first thing I did when I got the printer was to tighten all the rollers. It was recommended by several YouTube videos. I may have caused this issue. Ugh! The post you found makes perfect sense. Since I tightened the rollers, I bet the side opposite the stepper motor doesn’t move right away until enough pressure is applied to get it to roll. This would reduce the Z axis movement at the nozzle. This would definitely cause over extrusion at the lower layers of a print. I believe you found the answer!!!

To fix the issue, do the opposite of what they say to do in this video. The link will take you straight to tightening the rollers. For me, tightening the rollers is what caused the issue. If you tightened them when you got the printer, you will want to loosen them back up. If you didn’t tighten them like I did, they may still be too tight. Specifically, loosen the rollers on the right side of the gantry. I attached a picture for clarification.

https://youtu.be/Cdkb_ILCptw?t=4m40s 901

Thanks again for finding this.
1501437125378560186.jpg

Awesome! Thanks for the clarification. I should be trying this out in the next week or so. I really hope it fixes the issue!

The fix is confirmed. I took the bracket off of my printer and figured out how to tighten and loosen the rollers. I can see how I made my mistake. I didn’t understand how to properly tighten the rollers. There is only one adjustment screw that needs to be adjusted. I have attached a picture for clarification. This fitting is intentionally off center. It doesn’t need to be tightened, just turned. On mine, I turned the fitting until the roller was very loose. Then I slowly turned the fitting until the roller came in contact with the vertical support post. I tightened it a little bit more until the roller felt like it was grabbing on.

I started a test print at .06mm layer height. I stuck around until the bottom layers were printed. Looks perfect with no blobbing or bulging at the bottom. :slight_smile: I will post a picture when I get home.

Hey Woody! Not to be pushy, but I’m quite eager to know if it worked on your next print?

Joshua,

Success!!! The lower layers are perfect!

On a side note, I am seeing some ringing on the X and Y axis (see pic). I may have loosened the roller too much (or I’m printing too fast at 50mm/s). No biggie. The ringing I can fix.

Now that the issue is fixed, I am planning on reprinting everything I have ever made. Most of my prints have the blobbing ring around the bottom.

I hope this fix works for you as well.

Woody