I believe you are right about the over extrusion at the lower layers of the print. I believe the software is programed to do this by design to help with adhesion. Unfortunately, this causes a side affect when printing at high resolution on the CR-10. With that said, I don’t think the answer to the problem is as simple as changing a setting. I have learned a lot since I posted this question. It has been a learning experience.
The following is what I have settled on as the solution. There may be a true fix for the issue, but I am no longer looking because I am happy with the prints I am getting. I also ordered another printer (different model) that I will be able to compare prints with. For now, the following is what I have settled on. I hope it helps.
1. One of my tests was to try all of the slicers apps and see if there was a difference. I tried Cura, Slic3r and Simplify3D. As soon as I tried Simplify3d, my prints got better. I have no idea why, but the blobbing was not as bad. I have been using Simplify3D ever since. I work with computers for a living and have experience with software in general. Simplify3D is quality software. I hated dropping the $150 for it, but after using it exclusively, I have no regrets. The “Customize Support Structures” feature is worth the $150 all by itself. I do understand that $150 is a lot of money. This is just one of the steps that helped with the blobbing.
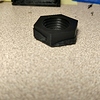
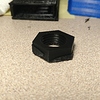
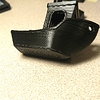
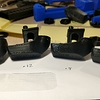
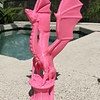
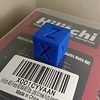
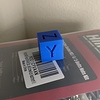
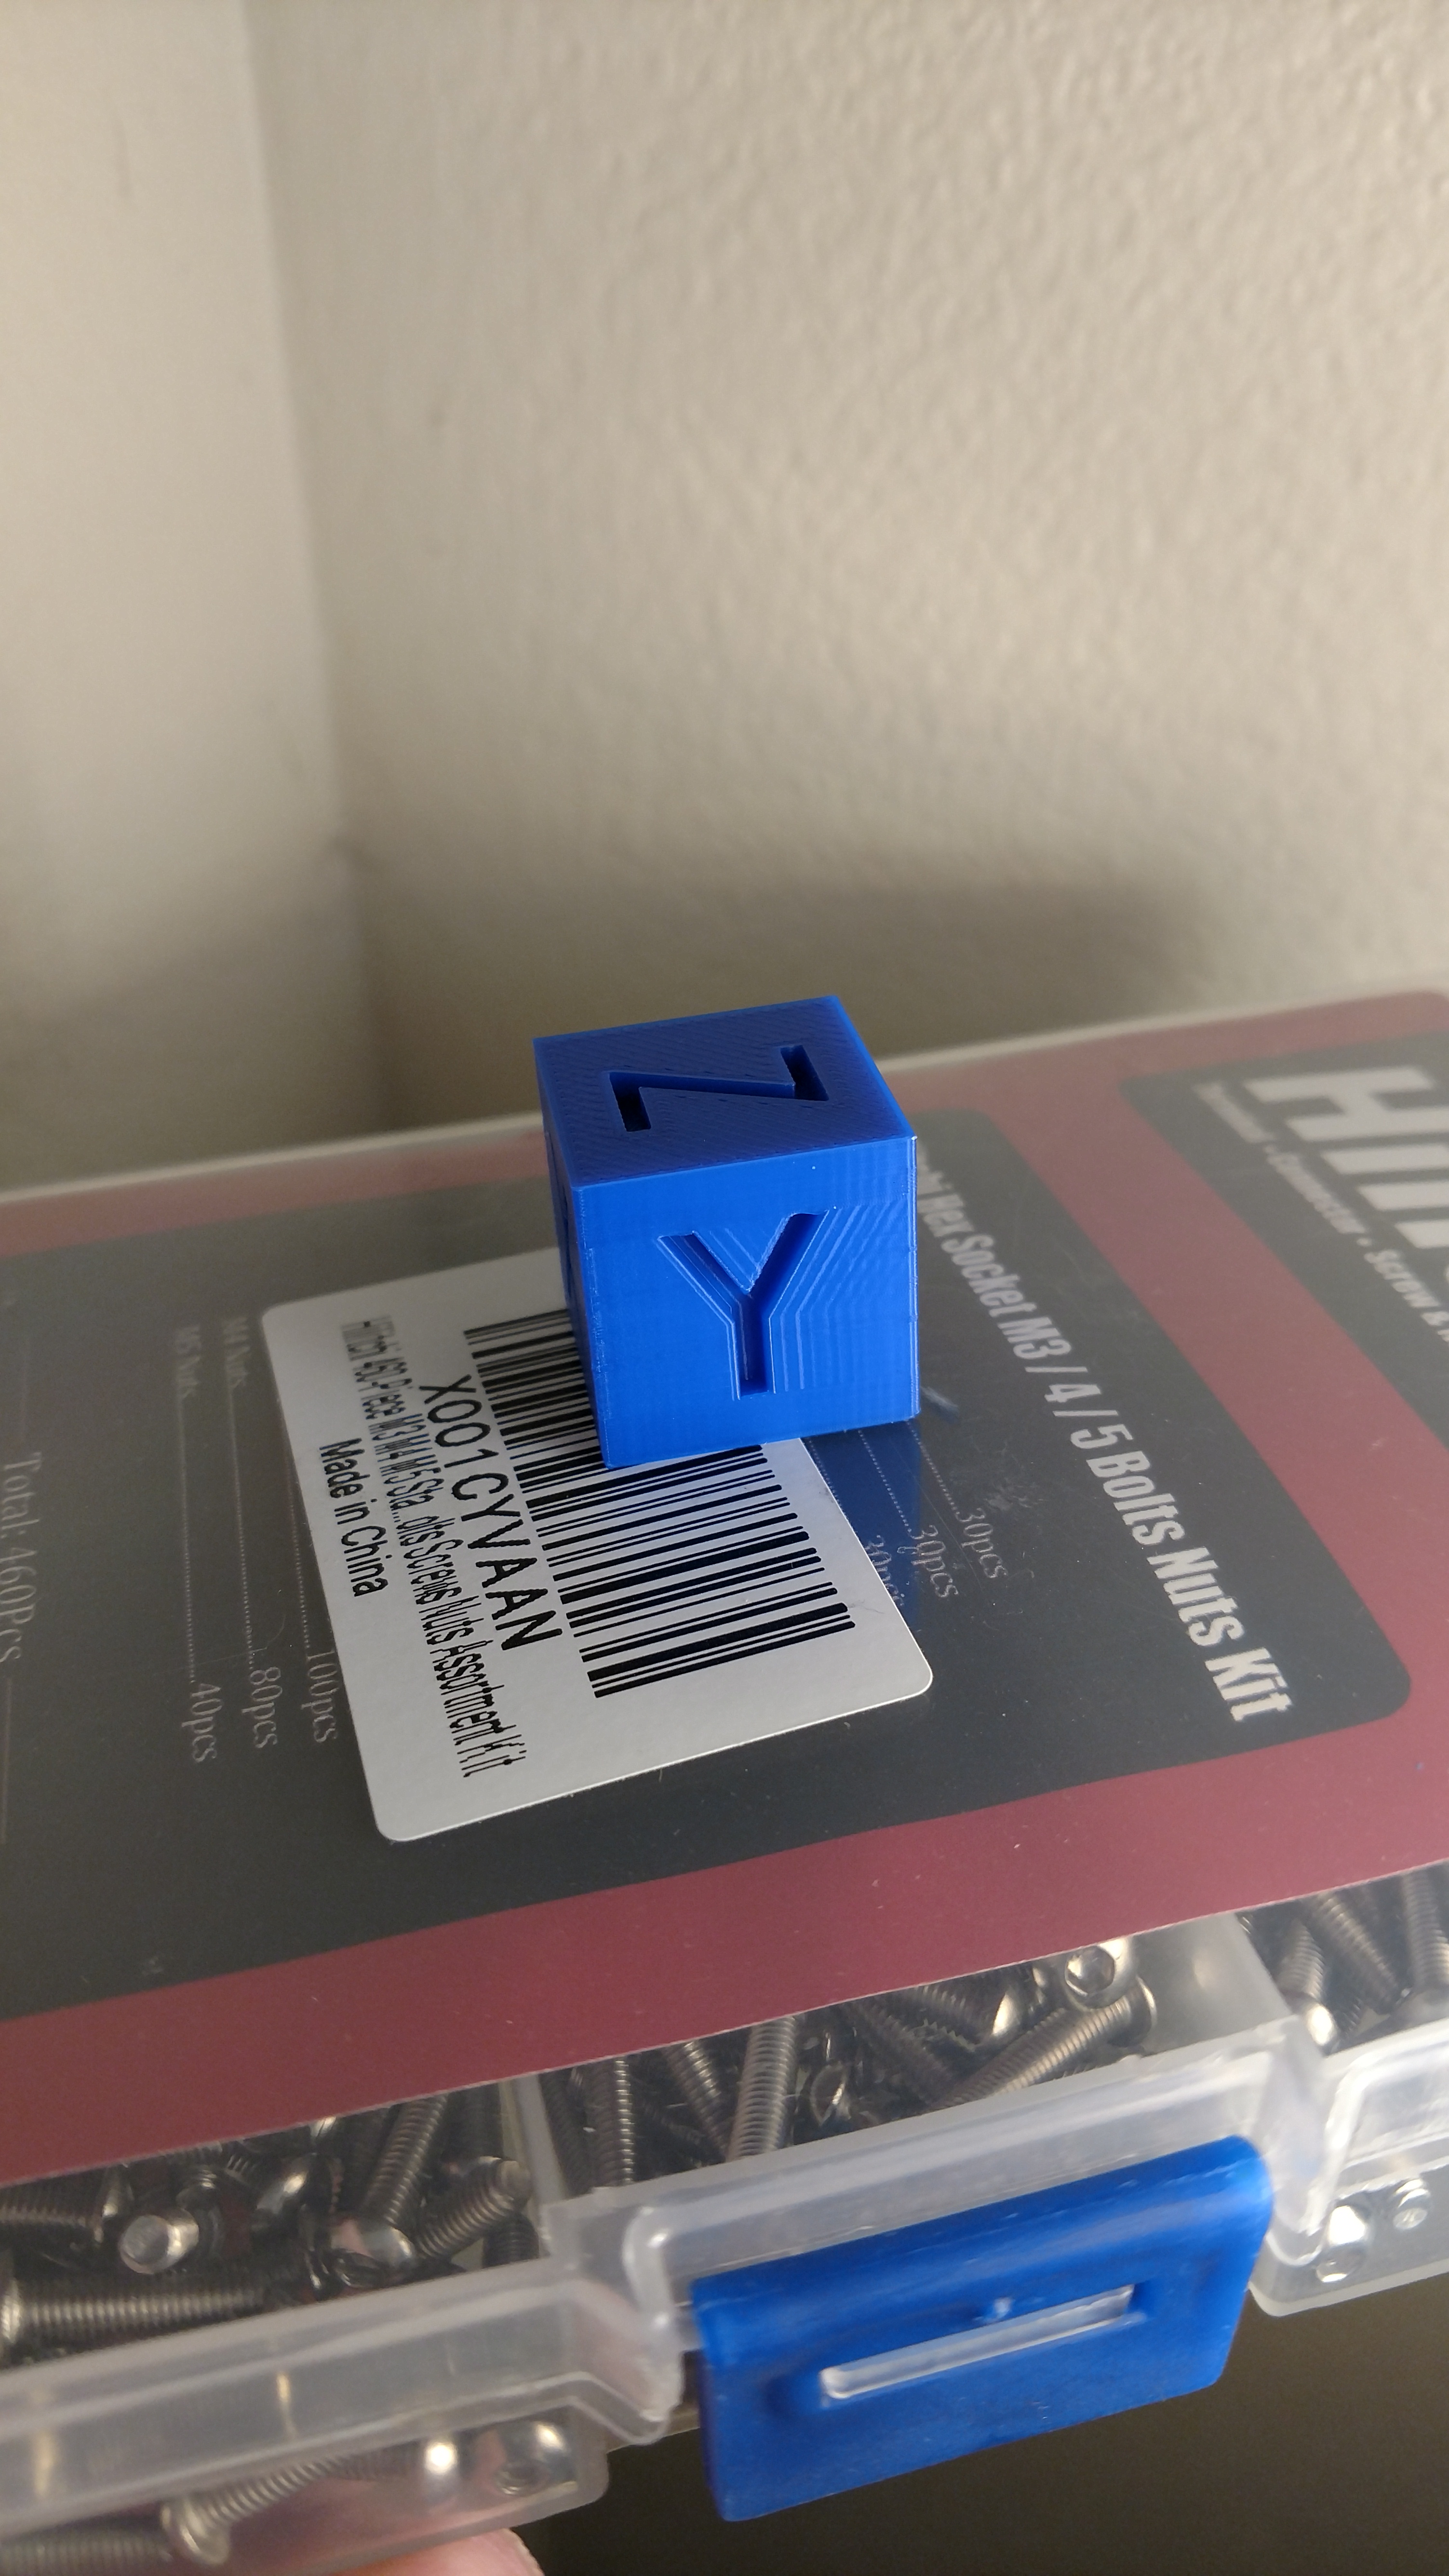
2. The second thing that helped was realizing that I did not need to print everything in super high resolution. As I said, I work with computers and when I heard that .06mm height is “better” than 0.2mm, the first thing I did was crank the settings to .06. I believe this was my first, and most significant mistake. I now believe it is not necessary to print at “Insane” resolutions. Ever since I started printing at 0.2mm, I have been happy. See attached image. This was printed at 0.2mm. In my opinion, this is a beautiful print. If I need better resolution for a print, I use Simplify3D’s multiple processes and print the specific layers at higher resolution while the rest of the model is at 0.2 or 0.15mm. I think I just had to learn the limits of my printer. I still print at .15 and .1 sometimes, but I know what to expect. I will get a little bit of blobbing on the lower layers that will need to be cleaned up. Since Simplify3D made the blobbing less of an issue, I think I can live with that.
The following is what I have found to NOT be the issue.
1. It is not in any way related to HEAT. I have printed with 0 bed heat all the way up to 84 degree bed heat. I have printed a ton of 20mm cubes with different nozzle heat from 185 all the way up to 230 and higher. Heat is not the issue.
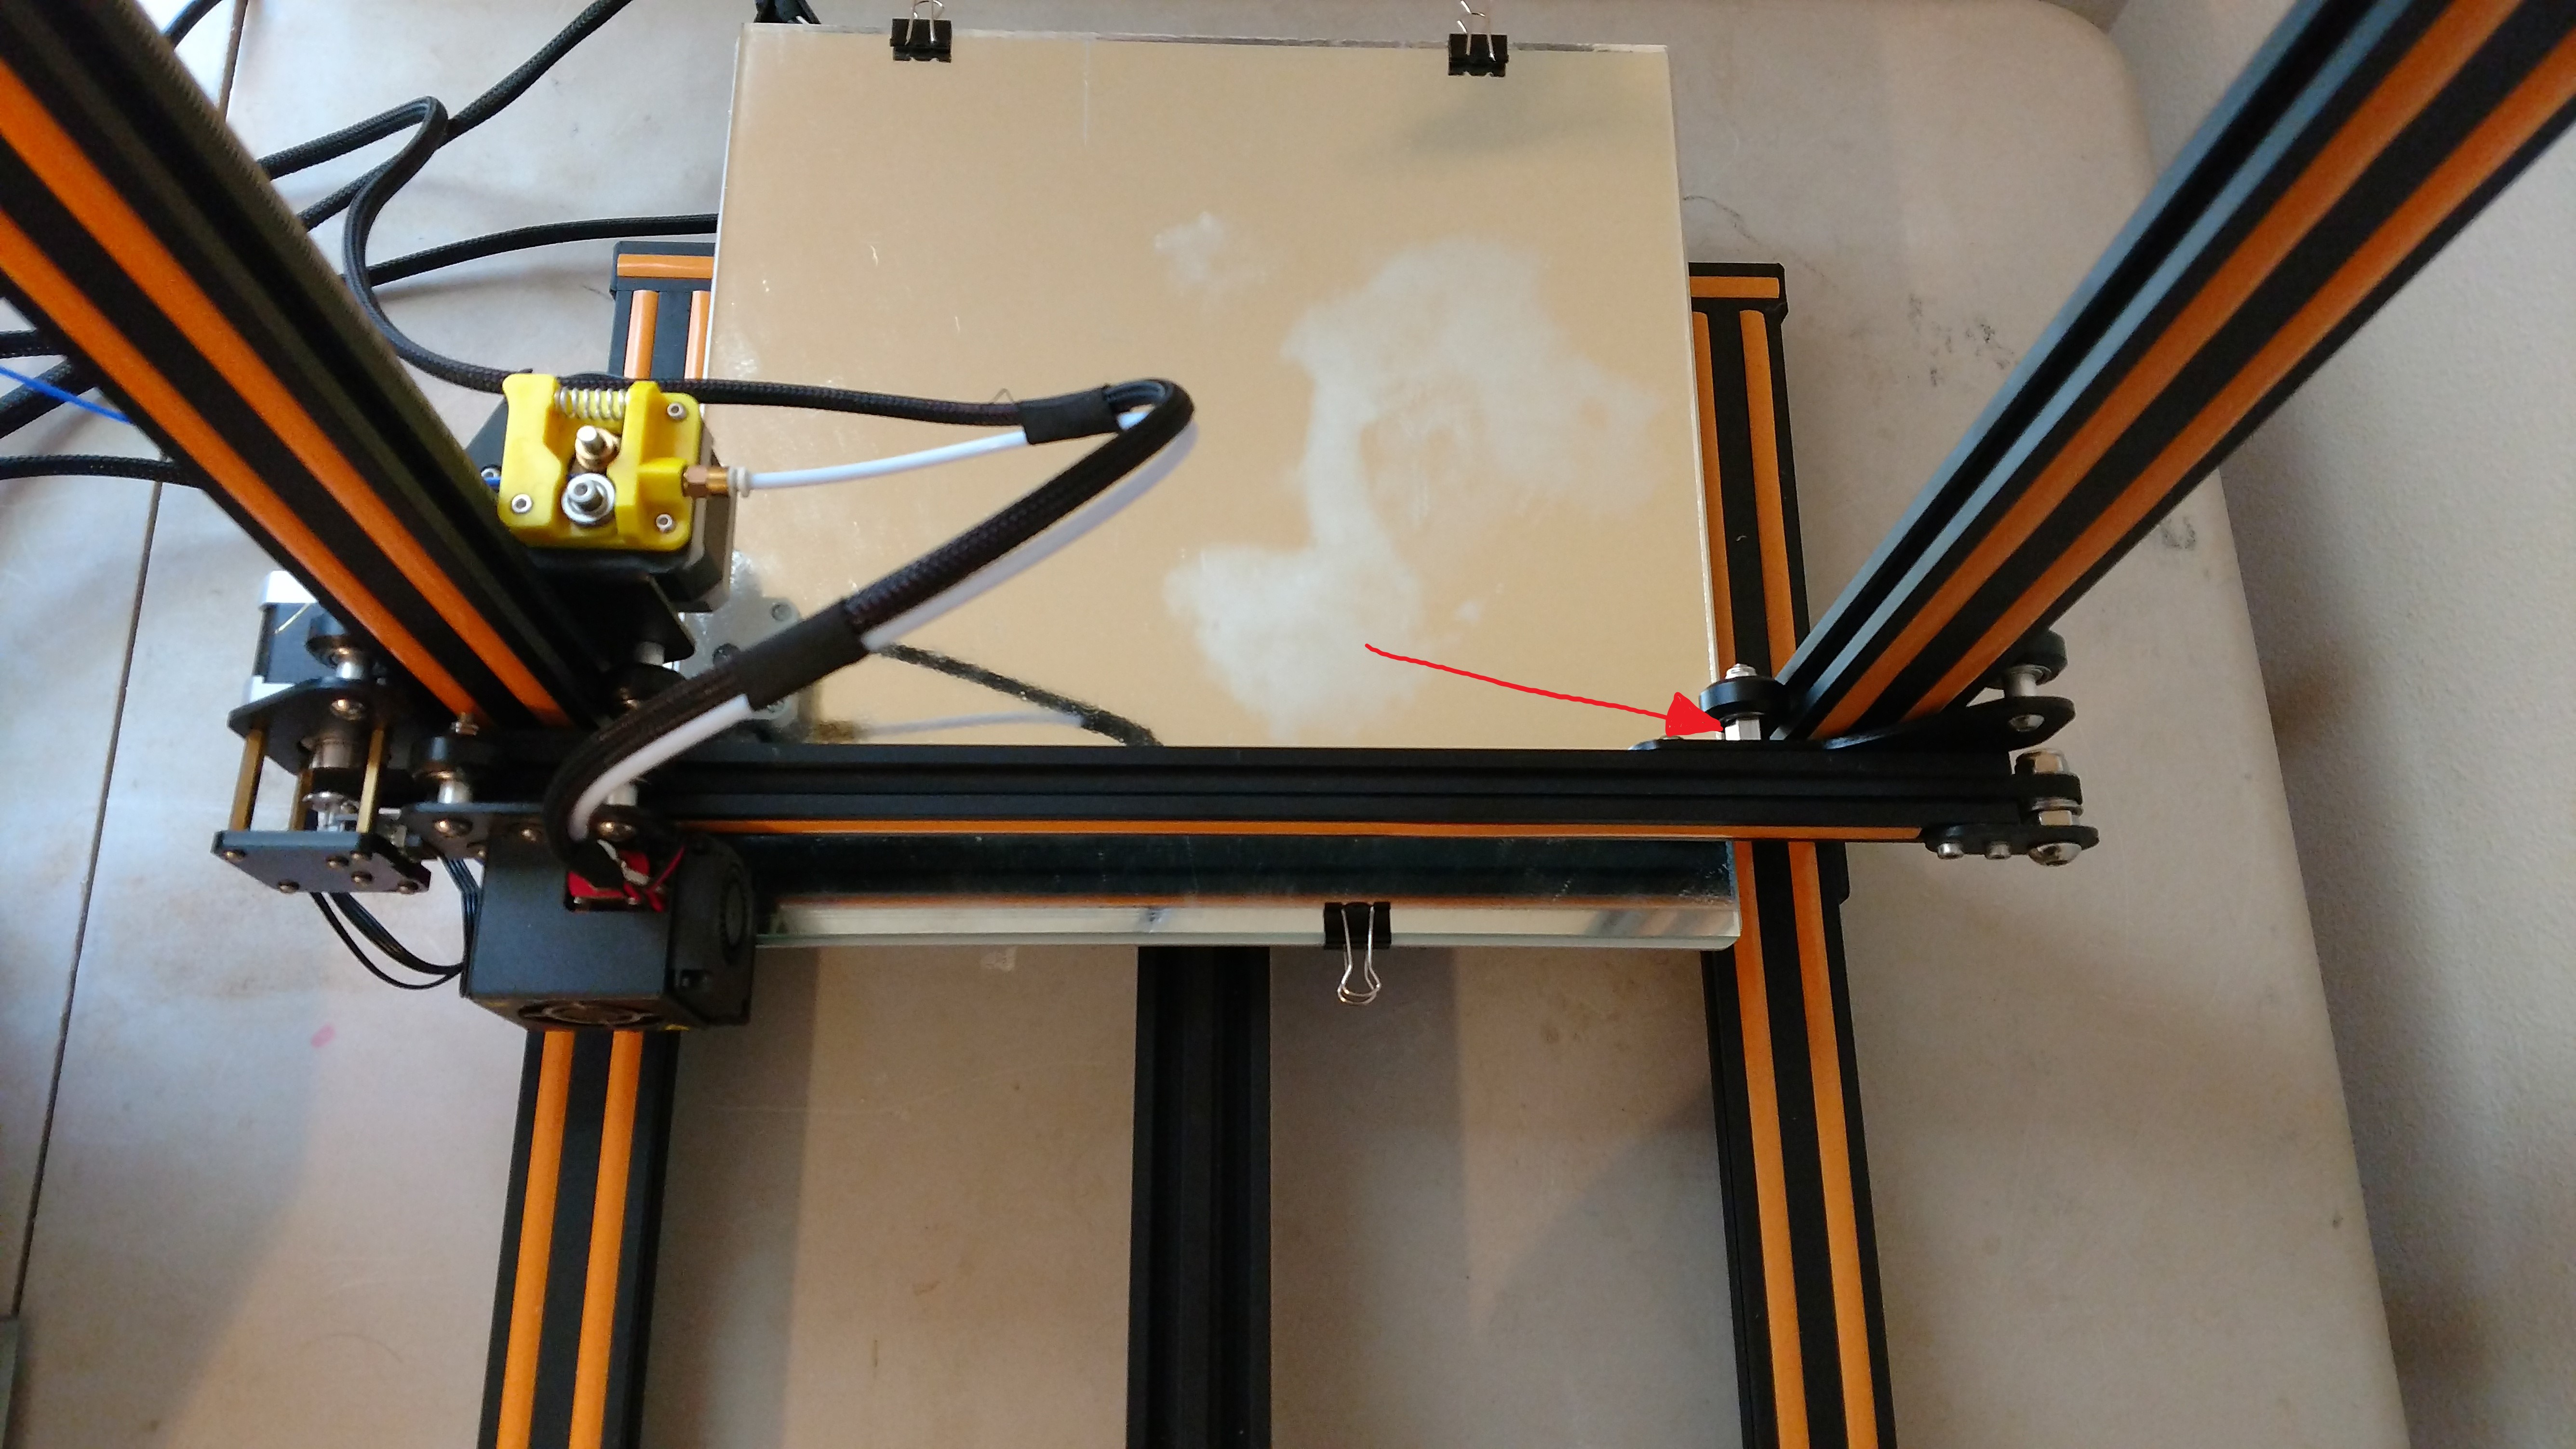
2. It is not the bed level or height from nozzle. I have printed a ton of 20 mm cubes and tested bed level. I intentionally printed with an unlevel bed and then of course I leveled the hell out of my bed. No change. I also printed with the nozzle too close and incrementally farther and farther away from the bed until the part no longer stuck to the glass. This is not a bed issue in any way.
3. I have tried Hatchbox PLA, eSun PLA+ and eSun PETG. All have the same blobbing at the bottom layers when printing at higher resolution above 0.2mm.
4. I changed the extrusion multiplier from .80, .85, .90… to 1.15. All prints had the blobbing at the bottom layers when printing at higher resolution.
5. I eliminated retraction, Z-hop, and any other feature that I did not need for the print. Same issue.
6. I changed First Layer Height and First Layer Width to 100%. This did help a little, but the blobbing was still there.
If you do find a true solution, let me know.