I just unboxed a FCP with the default software Saltfish,ReplicatorG or something like that. I love 3D printing and would love to print Marvin cos of the design, the meaning and the measage as my first 3D print of my life.
I read the manual and guide so I know the basic setting but I would appreciate it very much if someone here has the experience printing Marvin with the FCP and the default software could share me the setting and some tips/guidances. I would like to print with PLA at the moment.
Before I give you my tips I think you should understand that marvin is a what I call a calibration piece. Yes he looks cool, but he serves a functional purpose too. He tests your print settings. So expect that the first one you print will not be the prettiest. anyway… Tips! level your print bed.
First, I would recommend moving away from replicator G and trying another slicer. I know you want to use the default software but it is slow, awkward and extremely cryptic. I use slic3r. It is free and it slices far faster and offers much more control over your print while only being slightly less cryptic (sorry). 3duniverse.com has a great tutorial on how to set it up. http://www.3duniverse.org/2014/01/05/using-slic3r-with-a-flashforge-creator/ 1 . I think it slic3r is great. However, it does have a steep learning curve. There are other options out there many will tell you to get simplify3D. I hear it is great but I could never justify the cost. Level your print bed.
Third, change settings and repeat step two…a lot if necessary. Level your print bed.
Fourth, Be patient with the learning process. When you see other marvin prints that look perfect, try not to believe the lies you are telling yourself. Fro example, “That is too perfect. They must have cheated somehow!” or “Maybe if I printed mine on printer ‘x’ or with material ‘y’ then mine might look awesome too”. With time and experience you too can make your marvin look awesome. Level your print bed.
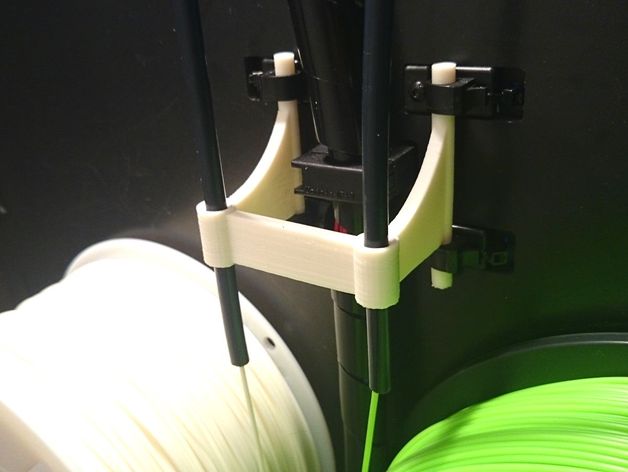
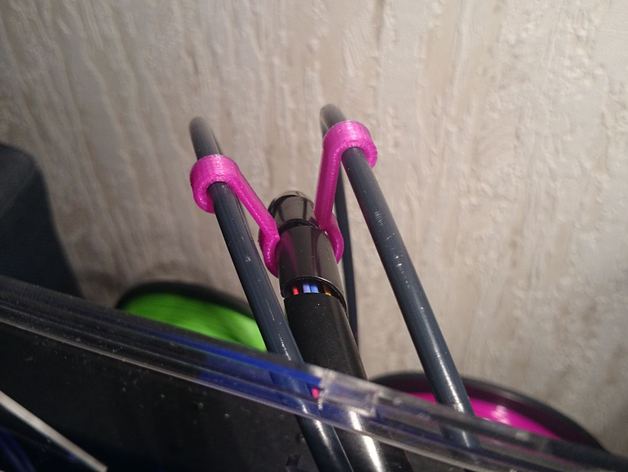
Fifth, when you feel pretty comfortable with everything start modding the printer. including but not limited to:
Level your print bed.
Last, challenge yourself. Printing hard parts is…hard…but it forces you to learn your printer. Level your print bed.
I have found that I have printed marvin a lot. and he seems to get better with every try. Just keep working at improving. and have fun. You chose a great printer.
If you insist on using RepicatorG, I will say it is a good place to start but it is slower and feels more clunky that other slicers. I like Slic3r more the Simplify3D. I get better results from slic3r but like James said it isn’t easy to learn and takes some time. Use the tutorial link for 3dUniverse, (if when using Slic3r the print head doesn’t warm up before it starts printing, use “M116;” before the M104 and M109 commands in the custom Gcode header you got from 3dUniverse.)
PLA prints best at between 190 to 210 degrees C (start at 200 and test print altering 5 degrees either way at a time.) Rough flat areas and separating layers means you are printing too cold. Stringy bits on the print, and holes in flat areas mean you are printing too hot. Your build plate can be left off, but if you have a hard time keeping the print on the plate you can turn it up as high as 60 degrees, but it should be find using about 45 degrees.
If you use RepG, you click on the generate gcode button at the bottom of the right hand panel. Here you set which extruder you want to use, if you will use a raft and support materials (I try to design so I don’t need support materials, but if you print something with overhangs and holes sometimes you need it.) Leave the the start/end code and print-o-matic boxes checked. Now, you will want to set your infill to something between 10 and 30% (100% is a solid object, infill helps save material and the print should still be strong enough.) Layer height can be tricky, I’ve found my 0.4mm nozzle will print between 0.33mm and 0.065mm layer heights. I use a value between 0.3mm and 0.1mm though, (the thicker your layers the faster your print, but the lower your quality of details.) 0.2mm seems to be the best middle ground for most prints. For number of shells I normally use 2 or 3, this is the number of perimeter loops that are made for the models walls, more loops thicker walls. Feed Rate is how fast filament is feed into the extruder head to be heated and pushed out, I have printed at 100mm/s and as low as 20mm/s, the sweat spot I have found for the best quality is around 50mm/s. Travel feedrate speed is how fast the print head moves across empty space during a print, I set it to 100 but you can push it to 150 if you like. Print temperature is where you set the temperature for the extruder head you are using, I’ve already mentioned how to find this temperature. Every roll of PLA is different so you need to do test prints to dial it is correctly. You’ll notice that there isn’t a setting for the bed heat, repG defaults this at 110 degrees, WAY TOO HOT FOR PLA. So in the Gcode you have to set this manually. After you generate the gcode, look for a line that looks like this: M109 S110 T0; change S110 to S60 to set the temperature to 60 degrees C, I use S0 or S45 most often. Check that M104 Sxxx T0; is set to the temperature you wanted too… oh and you can set your print temperature in the cgode without rebuilding the entire model just by changing the S values on these two lines.
Lastly build the print for an SD card and use that, DO NOT PRINT OVER THE USB CABLE. You technically can do this, but it isn’t optimal, it is slow and any flutter or hiccup on your computer will kill your print. Use the SD card and level your bed before every print.
Only 2 posts but wow from 2 pros, that’s like 20 normal posts. I just want to say I appreciate your time to share with me all these important tips…yes level the bed. I did level the bed, it took me sometimes as my first time doing it. But I think I did the job well because I sucessfully printed out Marvin. I am happy with it. And I tried to print a 6 angels box with a lid at the same time and the result was very good. I tested the level surface from all the sides and it’s almost perfect. That means the bed is leveled good enough,right?
I actually just purchased Simplify3D a few hours ago and did a test print with the boat of 3D Benchy and it was good. The only think better I noticed so far is the time it takes Simplify 3D to generate gcode is like a million times faster, almost instant when Replicatorg takes like forever. I have not noticed the print time though but I noticed I can not set the feedrate in S3D like with RG. So I hope the default setting is good.
The manual comes with the printer have a recommend temp settings for Abs and PLA. I have used PLA only so far. Bed:50 extruder:220. I noticed that in Simplify 3D it has a setting for PLA which is bed 60 and extruder 230. I used the recommend setting from the manual for the test and the result was good. I might try 60,230 later to see the differents.
Again thank you guys. Now I need to go back and reread your 2 posts again to remember it by heart…level the bed,yes.
P/S: The manual recommend 10% infill so I only used 10% so far. I can tell 15 or 20% will makes these things much better.