Hi guys,
On behalf of 3D Hubs and the 3D Printing Community, I’m writing to share my first project developed for 3D Printing.
To all the readers I wish a pleasant time and I hope you can get inspired and design your own creations. Enjoy!
Past days
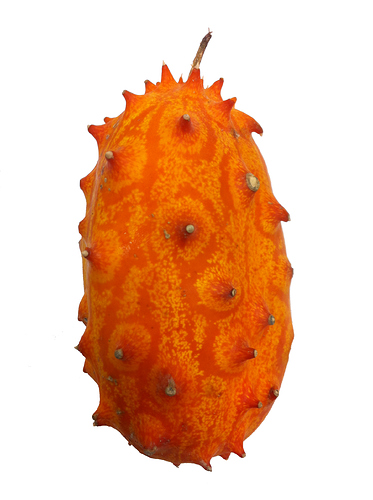
It was about a year and a half ago while I was in college, that my Product Design teacher gave us a project in which we had to confront natural shapes with digital processes. The idea was to choose a fruit or vegetable and photograph, analyze, cut, divide and draw it. So I went to the supermarket and started my quest for an exotic fruit which I thought would be the perfect choice for this exercise. After little effort, I find myself in front of the perfect “specimen” for my study, it was Kiwano.
"Cucumis metuliferus, horned melon or kiwano, also African horned cucumber or melon, jelly melon, hedged gourd, melano, in the southeastern United States, blowfish fruit, is an annual vine in the cucumber andmelon family, Cucurbitaceae. Its fruit has horn-like spines, hence the name “horned melon”. Ripe fruit has yellow-orange skin and lime green, jelly-like flesh with a tart taste, and texture similar to a cucumber. C. metuliferus is native to Africa, and is now grown in California, Mississipi, Chile, Australia and New Zealand."
Phase I
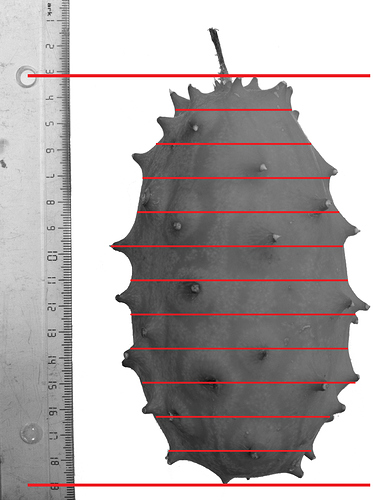
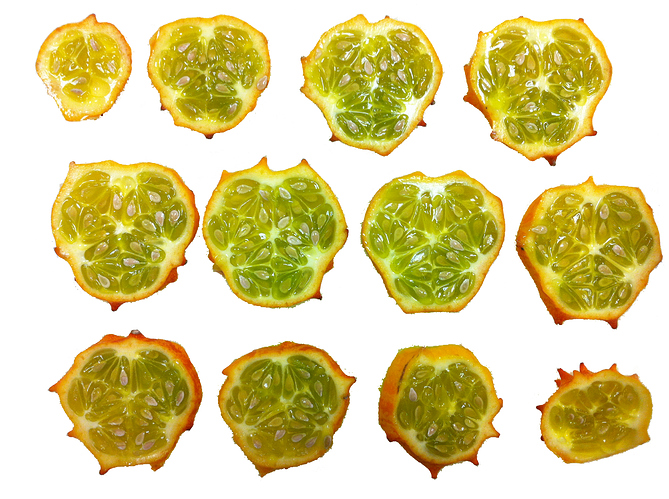
In the first part of the exercise, we had to choose how to divide and cut the fruit. I decided that the best way to do it was by cutting it horizontally. In the images below you can understand how the slicing was done, and the profiles that came out of that cut.
At this moment, I had all the ingredients necessary to start drawing on them. I started to draw some vectors out of all these profiles. I’m sorry, I lost the image for this step but I think you can imagine the experience of opening Adobe Illustrator and drawing some lines for the outlines ![]() . I traced the outline of each element and its seeds as well. I didn’t know then, but I only used the overall shape and left the seeds for another project.
. I traced the outline of each element and its seeds as well. I didn’t know then, but I only used the overall shape and left the seeds for another project.
Phase II
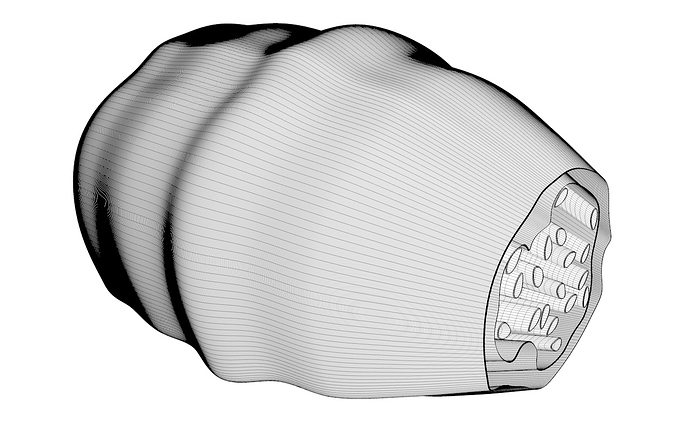
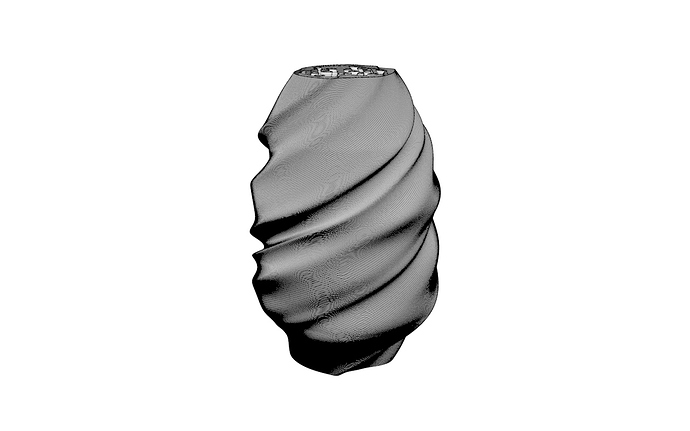
With the outlines traced, I could then start to draw some 3D shapes out of them. The process I used behind the creation of the image you’re about to see was relatively simple. iIts a loft surface created from one of the profiles repeated and scaled and rotated.
To make things funnier, I decided to give a twist on my model and this was the result:
3D Print
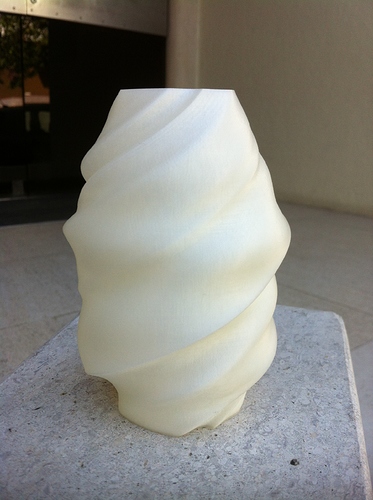
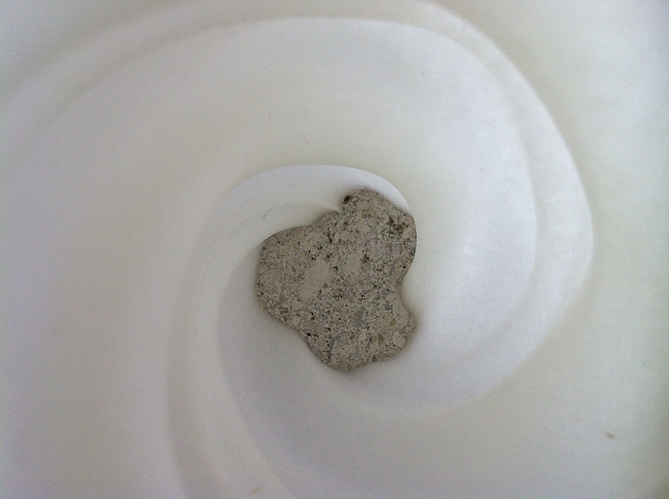
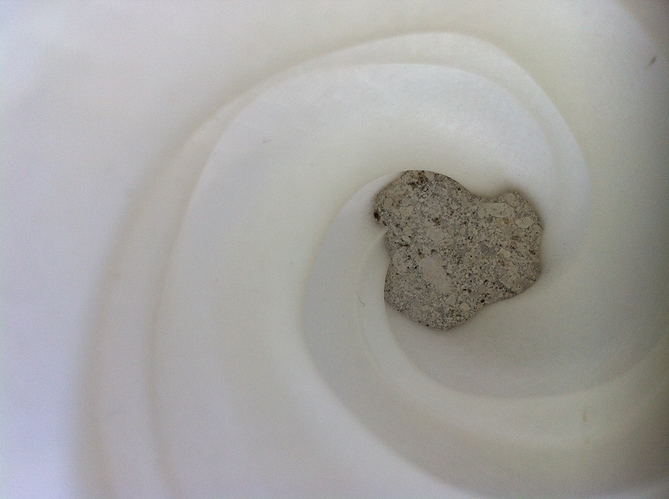
Next, there are some images of my model printed on an Ultimaker Original.
Settings
- Print speed (mm/s): 50
- Printing Temperature (C): 220
- Layer height (mm): 0.1
- Shell thickness (mm) 1.2
- Bottom/Top thickness (mm): 0.8
- Minimum travel (mm): 1.5
- Minimal extrusion before retracting (mm) 0.1
- Z hop when retracting (mm): 0.075
Filament
- Type: PLA
- Diameter: 1.75 mm
- Fill density: 100%
- Support type: none
- Platform adhesion type: none
- flow: 100%
I used Adobe Illustrator for vector drawing and Cinema 4D to build the 3D lofted surface. I can’t remember the exact time it took to build this beauty, but I think that Ultimaker took about 9 hours to do so, I’m not sure.
Hope you guys liked my first thread and I hope they will become better with time :). Here is the link to the 3D model: KiWano by Rudyz - Thingiverse
Thank you for your time and cheers to all!
created
Mar '15last reply
Mar '15- 15
replies
- 2.0k
views
- 7
users
- 12
likes
