I just got an Anet A8 printer and while tearing off all the acrylic paper I mistakenly pealed the paper off the heating bed. Doh!
Is there a way to replace that or do I have to buy another heating bed?
Thanks,
-----
UPDATE: A lot of good information in the comments below. Here is my take on getting going with 3d Printing from tinkering and what I got from it beyond any comments below on specific items. Hope this helps some others as much as it has me.
Starting with a box of parts and knowing almost nothing about 3d printing, this forum really helped get my bearings. So thanks to all for that.
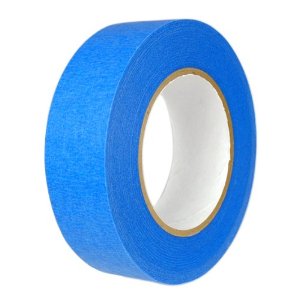
I quit using the Blue Painters Tape for now and moved to using a glass surface (below) which works great. I didn’t see the 3M tape listed below but found Scotch® Blue Multi-Surface Painter’s Tape 2in X 60yds (2090-48N). The 1.88 width allowed me to easily lay down 4 strips across and line up. I started from the center out from a mark I put on each side of the heatbed plate after measuring the halfway point. When I didn’t get the tape to seamlessly align just right, just pulled up the offending side and straightened it out. Pretty easy to not overlap nor leave any gaps. Still, glass works as good as I need, so going with that.
Researched a bit on the bed leveling and I redid it to where the A4 paper was movable but catching when the bed and nozzle were already heated up. I had to be careful moving the extruder around but I read that makes a difference and seemed reasonable to expect expansion from heat.
I was still having some issues with printing and noticed the heatbed was a bit jittery on forward and back motion and I tightened it a bit more and that smoothed that out.
Per below suggestion ordered Glass to replace tape (Heated Bed Tempered Borosilicate Glass Plate 213*200*3mm) from Amazon for about $12 and add some “extra hold” hairspray I guess and hold the glass down with binder clips to the heating bed. Just letting the bed cool and wiping the glass off with a paper towel and some isopropyl alcohol between prints and I was up and running with few failed prints. I did splurge $6 and bought a 3D Print Removal Tool fromToyBuilder Labs on Amazon that works great to pop the designs quickly.
Also, picking the right design with a very solid footprint on the glass really helped at first figure out what works. Something over an inch or two that was thin and flat worked great and helped me see what was what.
Of course I had to level the bed a few times to just it just so the paper would catch just a bit across the new glass bed. After getting the bed level and at the right height, haven’t had to adjust it since.
My final issue was getting blobs of brown plastic dropping on the designs and ruining them. The extruder was leaking above the nozzle and heating element and eventually dropping globs of burned plastic in the middle of prints. I am using a very small tool to clean off the plastic off both as it is printing. Takes a minute every 10 or fifteen minutes to keep it clean on long prints but easily getting through the print cycle many time successfully.
Getting there but it definitely takes some knowledge to do this well. Good to know.
Thanks everyone.
created
Jan '17last reply
Jan '17- 10
replies
- 6.5k
views
- 7
users
- 7
likes
