

Skip to main content
Thanks for the feedback, you’re correct this is not with UP! ABS (because its so damn expensive). I do however have some of the UP eom white ABS left so I will try with that tomorrow.
I do have the temp software mod and lowered the temperatures a bit and they seemed to print a bit better on the backside, see images on my hub page. I also tried one in each corner of the plate/mesh all at the same time on fine sped setting to see if it was a warping thing (heating element is on centre of plate, I have modded that from 50c to 90c for larger prints).
However there is always room for improvement  may I ask what ABS and/or PLA you use in your mini ? Always the UP filament or another that works well ? And where do you order from ?
i have had mixed success with PLA, the extruded can never grab the likes of faberdashery easily and always click click clicks at start of the print, have you found any pla that works well with it (if I start a job and feed it in at same time it works fine, but have to so this for each PLA print) again temps lower via the mod, the output is fine but its a pain in the rear.
Thanks James,
There is the option to print with doors open and a small desk fan blowing in there (the same as I do for PLA printing on this printer, having lowered temps with the software mod). I could also try a lower extrusion temp too. Also the print head has a selector for directing more air onto the print as it comes out which I presume will cool it quicker too, probably a good idea for Marv as he is so small.
I will give thrm all a try tomorrow and report back, thanks again.
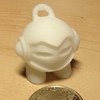
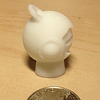
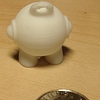
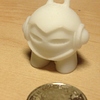
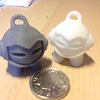
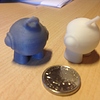
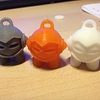
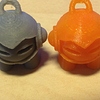
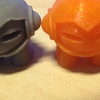
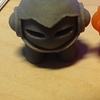
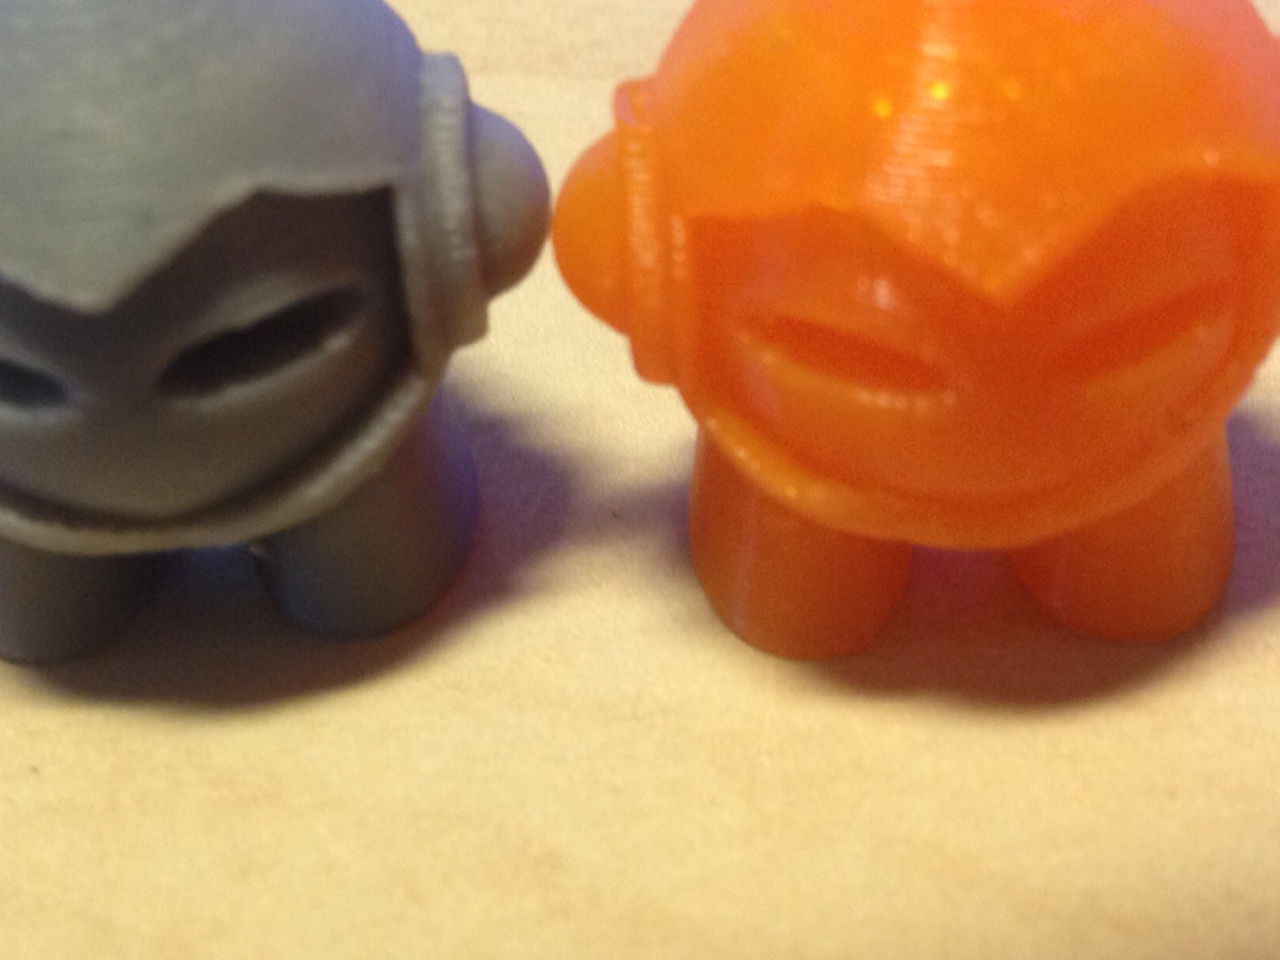
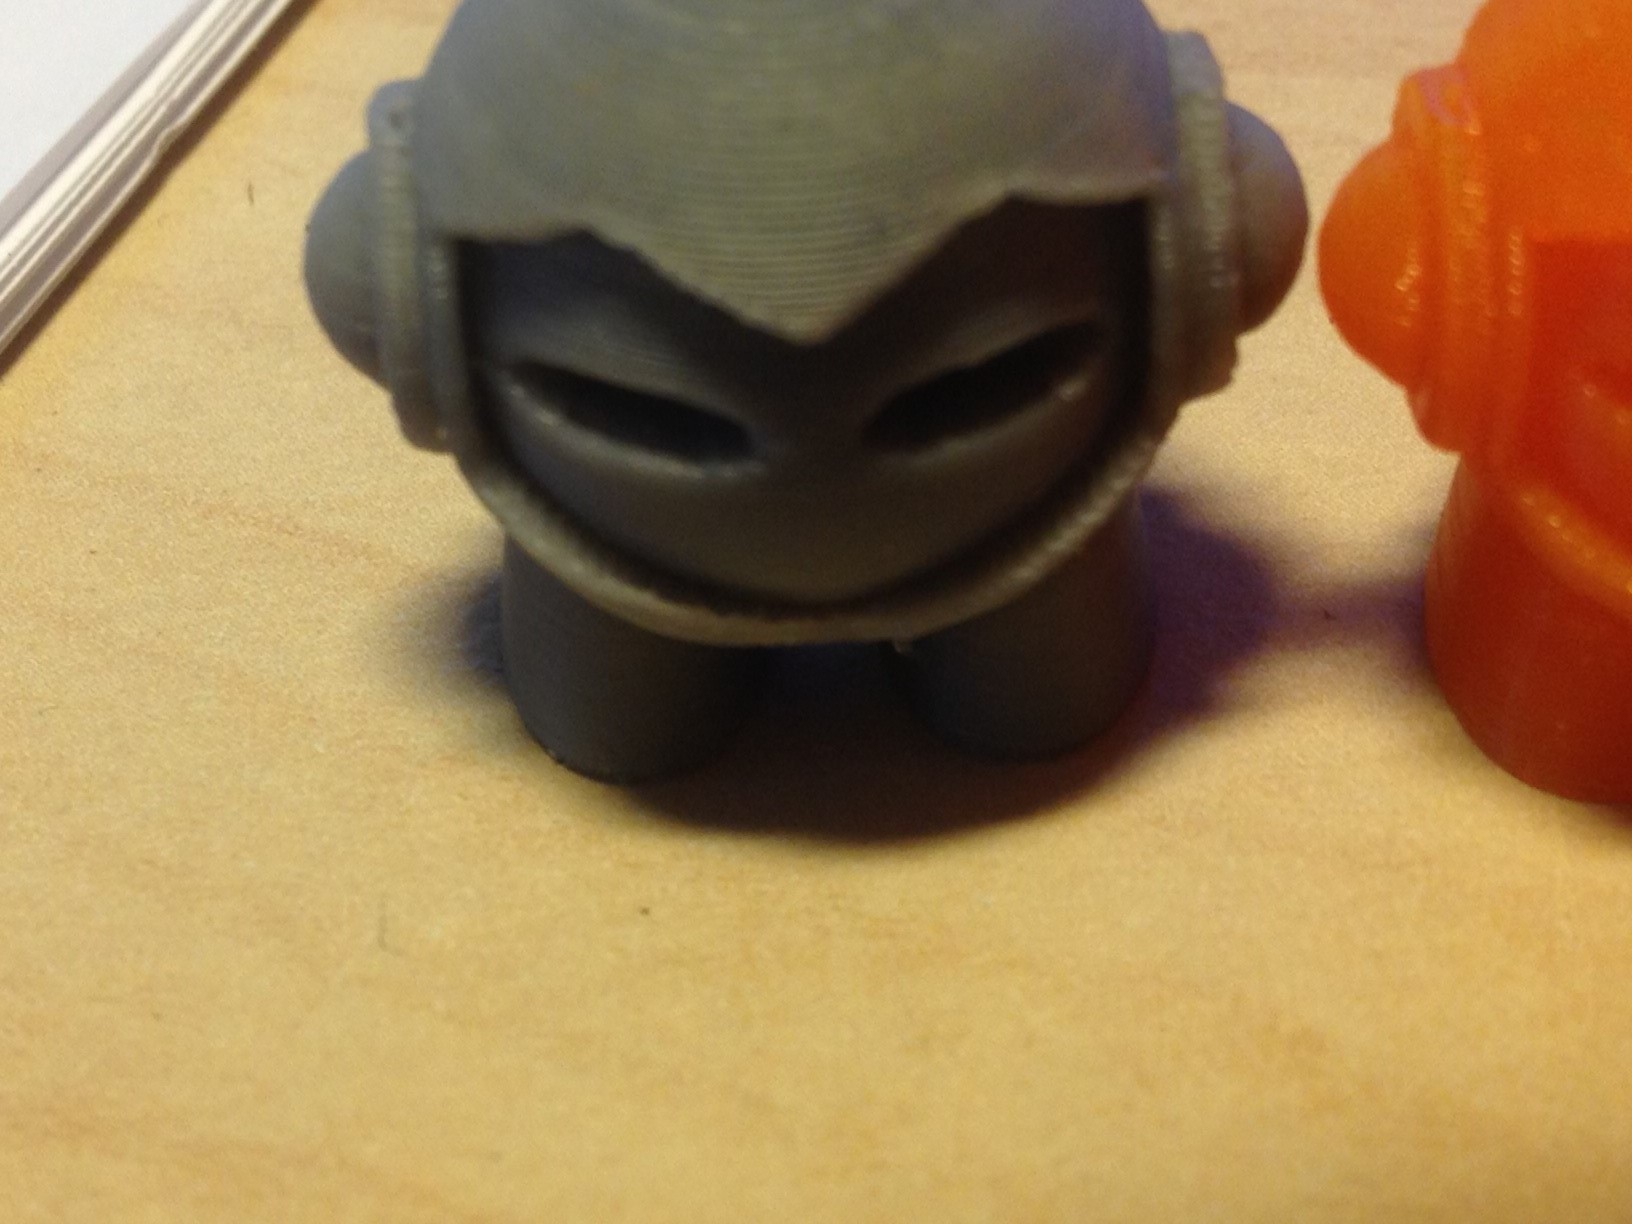
well here is the orange PLA (faberdashery) the first one didn’t print too well using standard UP temperatures, I changed the print temp to 230, the under extruding problem seems to have gone now but its just not quite as sharp on the bottom of Marvs helpmeet, its the only place I notice it really, grey and white are ABS ,PLA orange in the middle, welcome any thoughts on sharpening up the edge of the helmet in the PLA

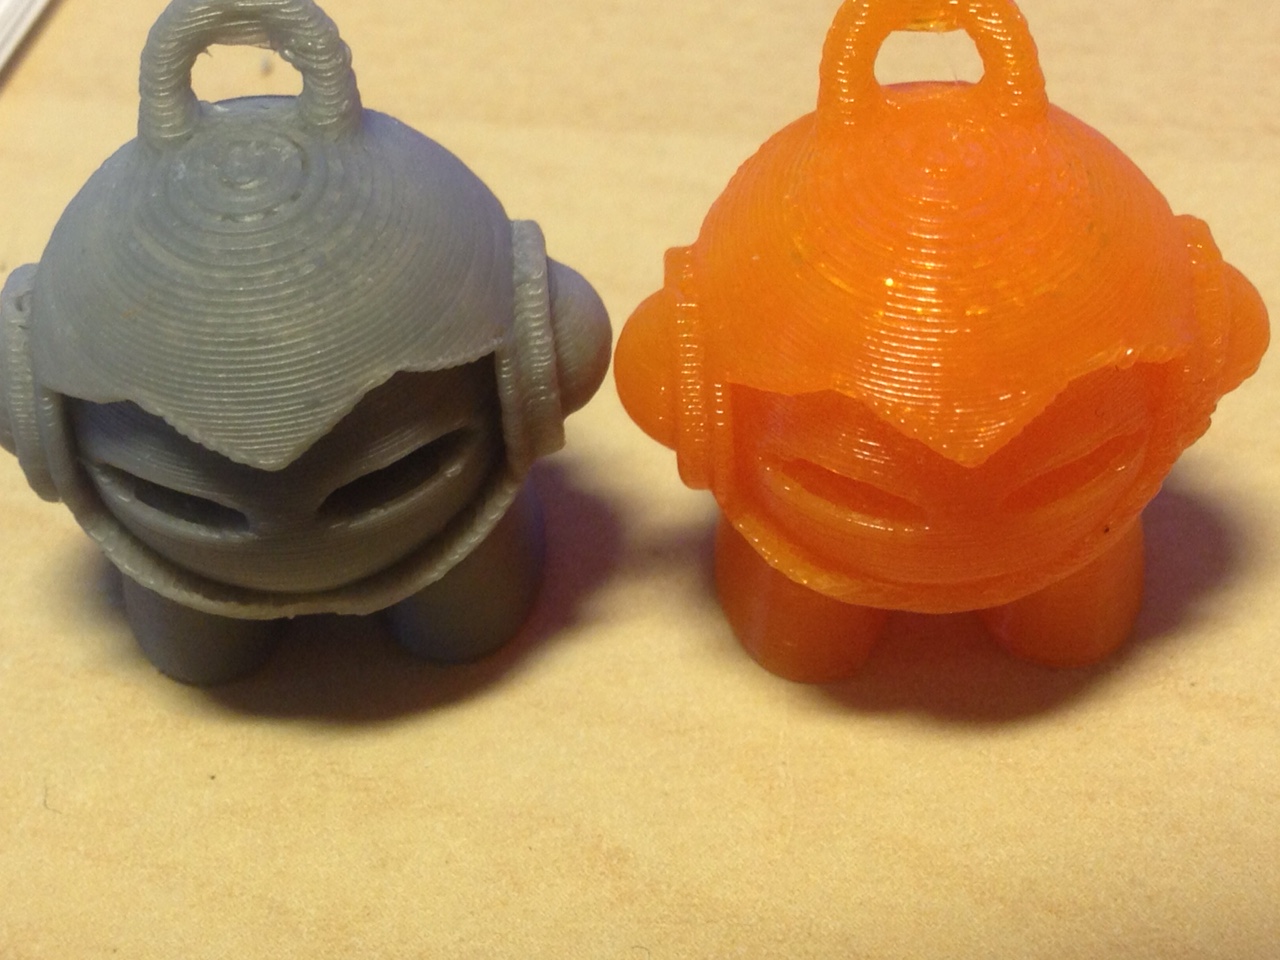
You should eb able to go lower on that temp - 230C is more an ABS temp. Faberdashery stuff is usually a better grade of PLA so it would be on the higher end, like 210C. Just listen for a jam towards the first few minutes so you can catch it early if it’s too low and save yourself having to clean out PLA dust form the jam.
Other than that, front and top open of course and a fan direct on the print (wind barrier fan is not enough). If you can’t direct it well on to the print insulate/screen your hotend and nozzle as best you can. Forcing the hotend to work harder can result in more heat working up in to the top of the extruder.
If I may offer my experience with acetone vapor smoothing for ABS.
I find that using only vapor, the detail of the print is damaged too much by the time the required smooth finish is achieved. To overcome this, I do my treatment as a 2 part process :
I use step 1 to strengthen the part ( using the acetone to better join the layers ), and then step 2 to make it look good and glossy.
Note : I do not sand any part until after step 1. I think that if you sand the part, you are clogging the small gaps between layers with dust and limiting how well the acetone can work.
so step 1 : to strengthen the part, I either dip the entire part in acetone, or if it is larger I use a 1cm wide paintbrush and paint on the acetone. After each I shake / blow off the excess acetone.
After step 1, the part will have a white / light patchy stain over most parts, and you’ll think you have ruined your print - do not worry - you have not.
Leave it for 1 hour for the acetone to evaporate and the ABS to harden. You can then do any sanding that you want.
Step 2 is to give the part the gloss shine - do a hot acetone vapor treatment and you’ll see the discoloration disappear within a few seconds. Vapor treatment only takes about 5 to 10 seconds.
My hot acetone vapor treatment takes me about 4 minutes in total from start to glossy print.
I use an old cheap tin cooking pot, about 2-3 liter capacity. A large deep metal coffee tin would work just as well.
I rinse the pot with a little water, pour out the water, and then heat the pot on an outdoors gas cooker ( bbq ).
Heat until the last of the water has boiled away. This means that the pot is now hot.
Use a small jar to measure about 30ml acetone - keep it covered and away from the gas flame.
Turn off the gas - this is an important step !!
Now pour the acetone in to the pot and put on the lid.
Wait about 20 - 30 seconds for the acetone to vaporize.
Slide off the lid and insert your print ( hanging from a wire or cotton thread ).
You can watch the color return and the gloss appear in a few seconds.
Remove the part and hang to dry for 15 minutes.
Done.
Thanks. I am going to give this a try. I never thought to use acetone to strengthen the layer bond. New tool for the 3D printing tool box.