Sounds like it may be an issue with switching the red and yellow thermocouple wires around, try reversing the order and hopefully that works! Good Luck!
Ok for the preheating, go to Info and Settings then Preheat Settings, are those numbers set correctly?
Does it go to 230 and stop? No errors? If it overshoots too far and its correctly reading the temperature it would pop up that there is a temp problem. But it sounds like its just hitting a preset temp.
The temp going down while printing could be a number of factors, cold room, air movement it cant keep up with etc, but it could also be a temp reading issue yet with the thermocouple.
If moving the stepper motor wiring doesn’t fix the homing on the X axis you could still have a bad or intermittent X-stop cable for the X axis switch. I have had that happen before as well, it causes really weird intermittent issues, but from what you described it sounds like the problems i had with the interference issue.
I got one print out at a an average of about 220 degrees or so in PLA, at it was all warped and everything, but at least it finished wih no carriage jam or nozzle jam. It was a bit more consistent with the temperature on that particular print. I still think I may have even damaged this thermocouple because it jumps around in temperature like 10+ degrees on the temp screen with no transitions. I can’t actually believe that the actual temperature is jumping around like that. I have a source for a $20 thermocouple, so I’m going to try that. Still had no luck with the firmware update. I tried 20+ times last night and I got the same error. I wonder if it’s just fruitless to update it on this particular board.
What are you getting for an error when trying to update the firmware?
Which version of firmware is in it now?
Also on the thermocouple a new one is probably a good idea but also i would check to make sure its insulated at the heater block. If you have a multimeter set it to the continuity test and unplug the thermocouple from the mainboard and check for continuity from the mainboard end to the heater block its attached to, and check both wires. Continuity from the heater block to the thermocouple can cause some weirdness as well due to static charges and such, its also a good way to blow up the chip for the thermocouple. At the very least if you don’t have a meter to check it make sure the end of the thermocouple is wrapped in a layer of Kapton tape, the gold tape that you use on the print bed, and then it should be electrically isolated. If your thermocouple has a ring terminal on it and its not the factory one i would also wrap a layer of kapton tape around the ring terminal so it covers it completely then pierce a hole in the tape in the center of the ring terminal for the mounting screw and reinstall. A lot of the cheap thermocouples i have bought off eBay with ring terminals were just crimping onto the end of the thermocouple and were not insulated. The way it should be done is the thermocouple is glued into the ring terminal with non conductive thermal adhesive. But its hard to find good ones that were done right!
My stock Makerbot thermocouples are just a bare end wrapped in kapton tape and pinched under the washer on the mounting screw, they still work great, i guess they were a lot better quality then most.
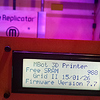
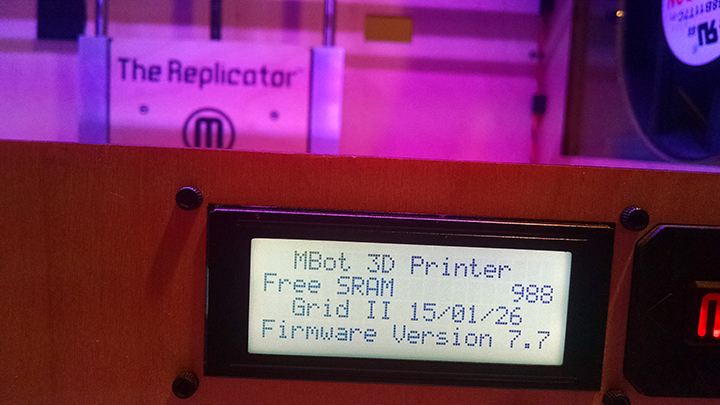
I attached some images of my current firmware. As for an error it simply says “upgrade failed” and says I can try again. So I do, and it is starting to get frustrating!
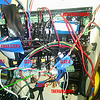
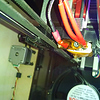
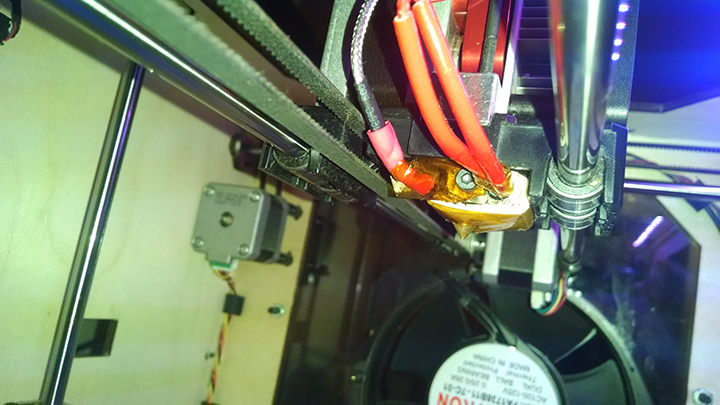
I also attached images of my wiring layout (which seems wrong, but I couldn’t really fit it another way. It Does twist the thermocouple wire quite a bit, so I am wondering if that part is now busted.
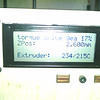
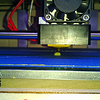
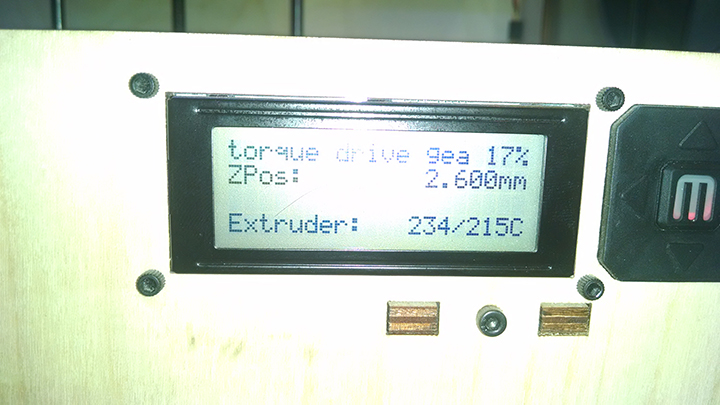
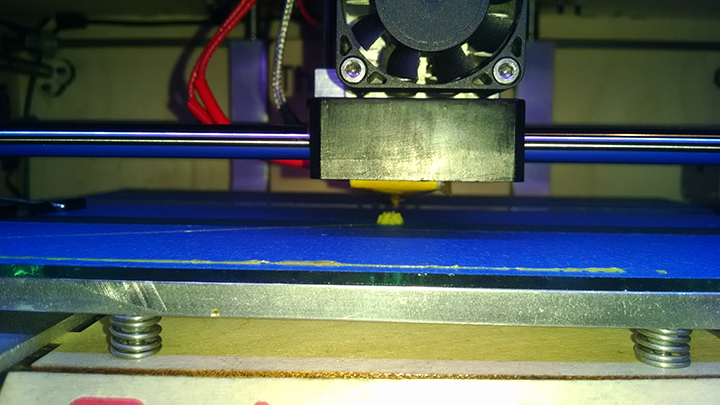
In addition, I also attached an image of how when i’m printing, the nozzle/heaterblock is smoking because the temperature is going up to 230-something while I print. BTW I did wrap the thermocouple completely in the kapton tape I have, and there has been no improvement.
ALSO, when I pause a print, and restart it, it does not continue the print in the same spot. So that tells me something other than the heat is still off.
Ok if i had to guess, its the 7.7 you have in there. I know guys will try and say different on here, but i tried 7.7 on my Rep 1 and it was NOTHING but problems. You also mentioned that it won’t pause and continue in the same spot, i had similar issues with 7.7, it was just totally unreliable, missing steps, jittery stepper motors, lots of weird movements, it was a friggin NIGHTMARE. So i went back to Makerbot’s 7.5 firmware and everything just smoothed right out.
Your going to be burning off stuff at that temp, so no surprise its smoking. At this point i think a replacement thermocouple would be a good test to rule it out, however, the fact that its set to 215 and its at like 234 it should be tripping the overheat warning, normally what i would see if they overshoot that badly is a message that says something like “my temp readings are failing please check the wiring” etc. Apparently the 7.7 firmware doesn’t have any safety cutoffs to it?
Ok for the firmware problem, use replicatorG and get the factory 7.5 firmware, then before you try it, open just Makerbot Desktop and click on Services then Stop Background Services, confirm anything that pops up, then Close Makerbot Desktop. Then open RepG and try the firmware upgrade and select the 7.5 version of stock makerbot firmware for the rep 1. Now the trick is, getting the reset button press on the back at JUST the right time. Sometimes i find if you click the reset button on the printer with one hand while clicking the button on the software with the other hand at the same time works, sometimes you have to tap reset on the printer then click the button a second or so after, it varies. This is why i modified my mainboard, it involves adding a capacitor to the motherboard to enable the auto reset so you don’t have to click the button on the back anymore when doing a firmware upgrade.