


If your Marvin test print came out perfectly the first time, with smooth features and clean overhangs, then you must either be a descendent of Zeus (distinct possibility, obviously), or you have a sentient printer (no bueno, please unplug it!). If it didn’t, you’re in amazingly good company with us mere mortals. Like most, I gravely underestimated the difficulty of printing the simple Marvin. Here are some tips & tricks that I used along the way that hopefully can help you, too!
General Tip #1
The first tip is something I learned from Instructables’ TechShopJim (link at end of article). You need to make sure that your prints stick perfectly to the bed, which is particularly important for objects with small first layers like the Marvin, because the feet don’t provide a lot of sticking area to secure the larger upper portions as the object is printed. To ensure this, use a solution of scrap ABS in acetone, and brush it lightly onto the bed. I make sure that the solution is watery and not too thick, as in the picture below.

Then I brush it onto some blue painters tape. I don’t bother applying the tape to the whole bed, only the portions I know will get printed on. Don’t waste it! As an extreme example, you can see the white ABS plastic dried onto the tape at the front corner. Don’t do it this thick on the parts that get printed on, or your part will never…part…from the tape!

General Tip #2:
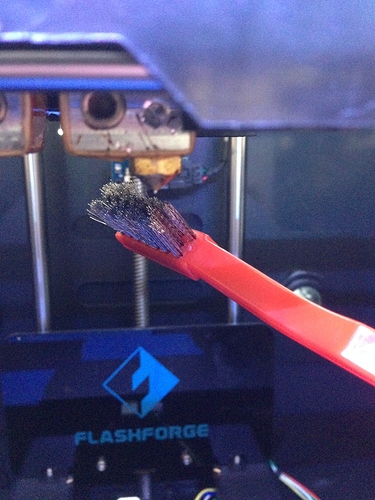
You must never be scared to pause a print should you need to fix something! Things happen, and the only thing that guarantees failure when things go wrong on a print is more time. It’s very common for me to have a lose string of plastic stuck to the nozzle at the beginning of a print, and if I don’t remove it, all hell breaks lose during the middle of the print when the piece finally decides it’s time to dislodge and wreak havoc. You know, just for funsies. Anyways, I always pause my printer if this happens, so that I can brush off the plastic with a steel brush. Printing can then resume safely, without as much risk of mid-print disasters. Here’s a sideways picture of a steel brush gently cleaning the printing nozzle. *formatting struggles are real*

OK! General advice out of the way, let’s talk about specific printing troubles.
For my first attempt at printing Marvin, I imported the STL file into ReplicatorG as-is and generated the gcode with the following settings: (10%, 0.2mm, 1, 60mm/s, 80mm/s, 235C)*
*(infill, layer height, # shells, Feedrate in mm/s, Travel Feedrate in mm/s, Print Temperature in C)
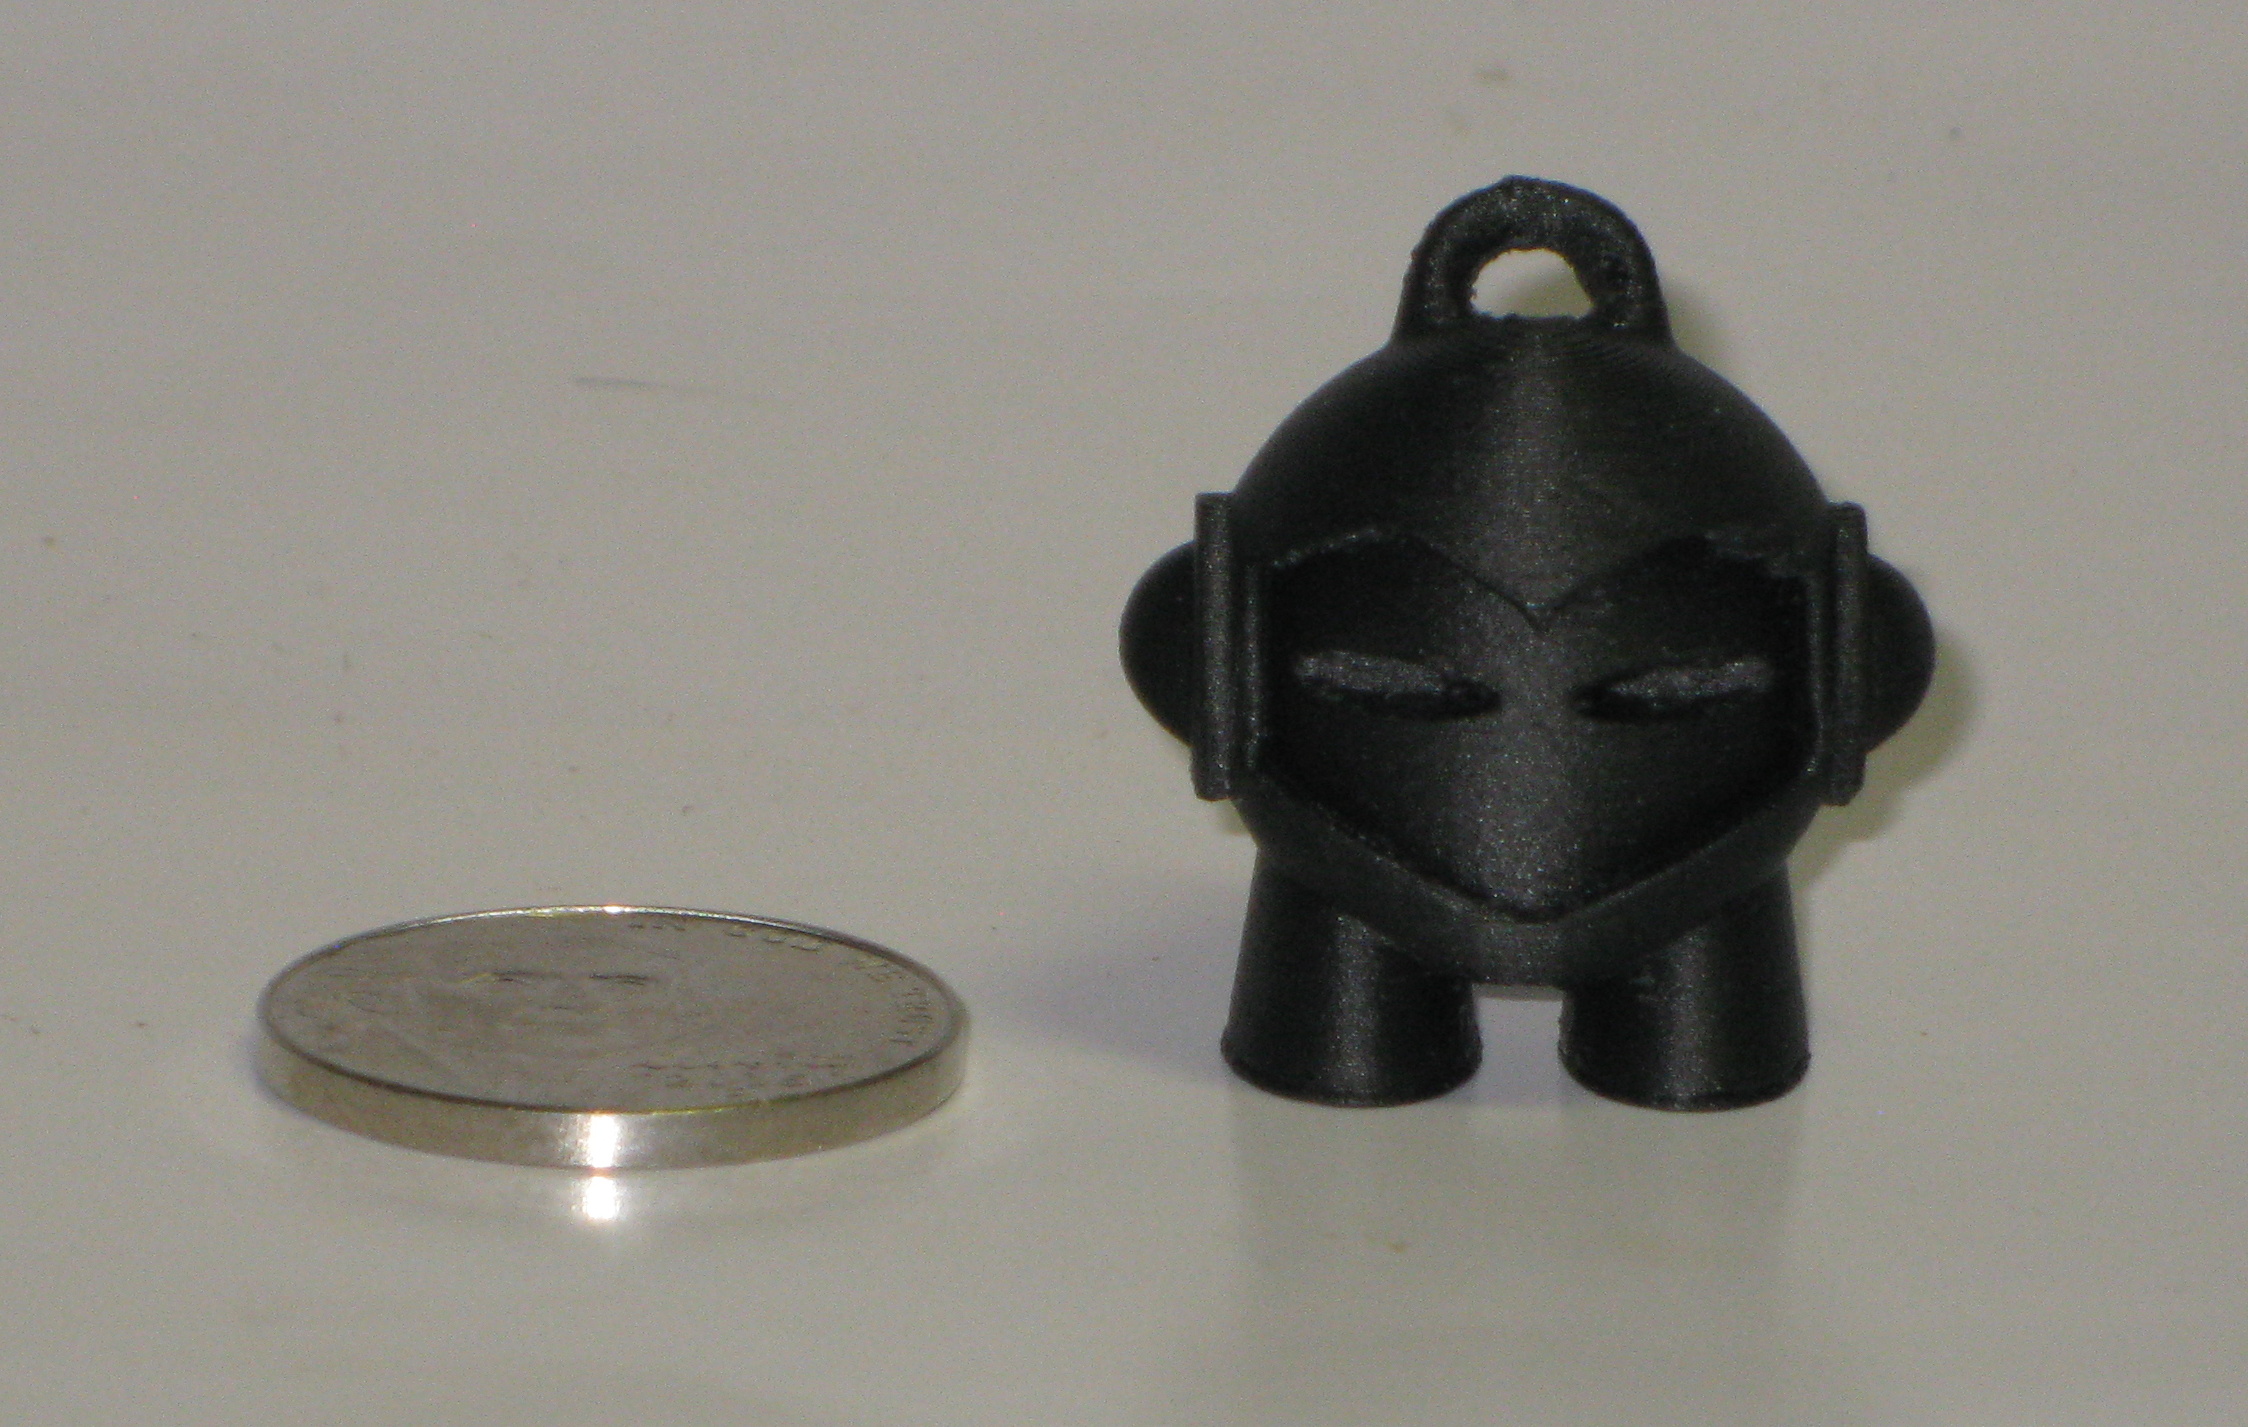
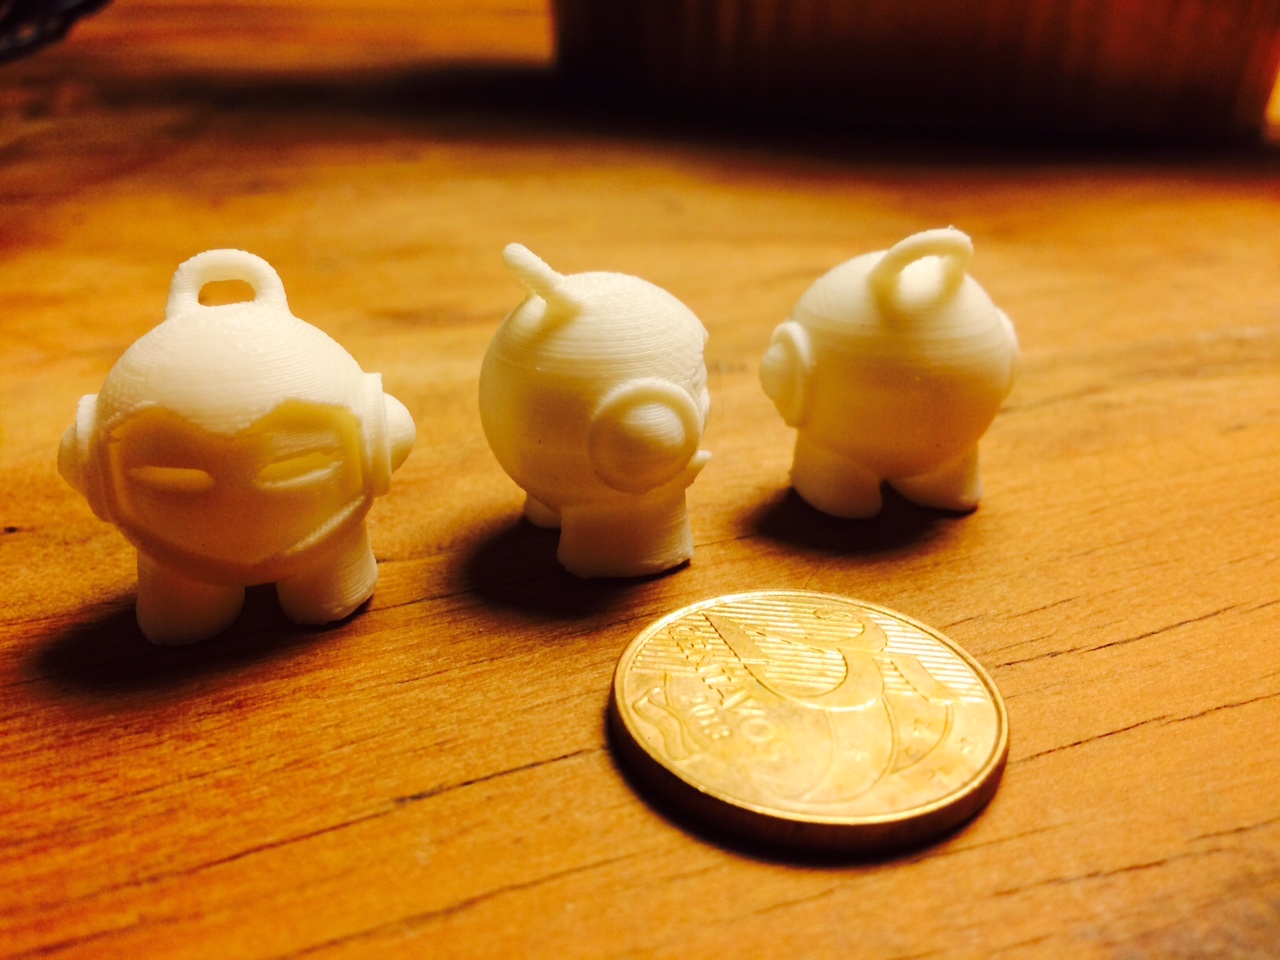
The prints turned out a bit melty around the bottom of Marvin’s mask, and the top wasn’t filled in well. However, the keychain ring at the top was fairly good. Since it looked melty, I lowered the temperature to 225C and tried again. No difference! I could see that when I printed, there was terrible warping and curling happening around the bottom part of Marvin’s mask. I tried upping the infill to give it more internal strength, lowering the temperature to give it more solidity, lowering the layer height to minimize bulky overhangs, all with no success! Check out this impressive lineup of Marvins at various stages of failure due to warpage.

It turns out that the problem is that layers aren’t getting enough time to cool before the next layer is added. This causes warping presumably due to uneven thermal expansion effects compounding through the layers. I found the solution thanks to print enthusiast and blogger, Tailer3D (link below, go check out her excellent article on avoiding ABS warping!) Since the layers need more time to cool, just print a sacrificial part, such as a cylinder, on the other side of the bed! This “distracts” the hot print head away from the Marvin, allowing ample cooling time. It completely fixed my warping problems! Of course, you can always edit the gcode if you don’t want to waste material, but adding a cylinder is super fast and easy. Here’s what it should look like:

Unfortunately, when I imported my STL file into Sketchup so I could add a cylinder, it exported incorrectly, giving me Marvins with incomplete tops. Note that the picture above with the cylinder was staged for this post with a correctly-printed Marvin, so look below instead and I’ll show you what I mean. Yikes! Look at those cuticles! Actually, just look at the fact that Marvin is missing a good section from his top.

At first I thought that this was just another mal-adjusted printer setting, but I came to realize that it was an STL import/export problem, and that I couldn’t use Sketchup to add a cylinder. So, what do we do if this is a problem? Well, just skip the cylinder, and print multiple Marvins from the multiply function of ReplicatorG! (link below to Busybotz 3D Printing YouTube tutorial) I printed four of them, Terracotta Army style, and they turned out great! Plenty of cooling time, and no missing top pieces. Success!

So the moral of the story is that even ‘simple’ objects like the Marvin can test your 3D printing knowledge and skill, and that 3D printing requires the help of the community and lots of patience (and the occasional use of very questionable language) But, if you stick with it, learn from others’ experience and knowledge, and give what you learn back to the community, you can definitely succeed! Best of luck to you, and happy printing!
-David (Trudy’s hub 12)
Here were my final print settings:
- 10%,
- 0.2mm,
- 1,
- 60mm/s,
- 80mm/s,
- 225C

Link to TechShopJim’s Instructable for acetone bed wash:
Link to Tailor3D’s article on avoiding ABS curl: https://tailor3d.wordpress.com/2015/02/18/9-ways-to-avoid-abs-curl/ 78
Link to BusyBotz 3D Printing’s tutorial on using multiply in ReplicatorG:

created
Mar '15last reply
Jun '15- 13
replies
- 12.2k
views
- 10
users
- 14
likes
- 5
links