


@Alex3DHubs is this something you can help with? thanks
Skip to main content
Hey there,
if i understand you correctly you don’t own a 3d printer and want these coins/disks to be made, right ?
First of all to print you need a 3d model. There is software, that can creat a 3d model out of a screenshot but these won’t work for this thing as it is not just a flat model.
For amounts going towards 1000 pieces (with the same text) it could be too much for 3d printing as injection molding is cheaper then,
but with the variation in models (you said 4k different texts) and two colors, injection molding is very difficult/impossible.
What do you think on how much of those disks you will need at first and where should they be shipped to ?
I would like to take the challenge and use my dual extrusion (two colors) printer to give this a try.
Do you have a special wish on what material should be used for printing this ? I’d recommend standard PLA as it is easy to print,
available in very much colors and -most importantly- cheap.
Regarding the actual printing:
What are the tolerances on this ?
Does it have to be this text or could i change for example the text style for ease of printing ?
Specific colors that should/shouldnt be used ?
I offer blue, yellow, red, green, metallic grey, orange and white PLA at 0,4€ per cm³ (cheaper price/cm³ when your order demands much filament)
Please contact me if you are interested, i could send you sample parts with all colors listed and will start modeling the disks upon your response.
-Marius
Hi mark,
Diameter and the ridges should not be a problem . If you make a print run be sure not to print one at a time but but in series of ten.
Ridges an different diameters should be any problem but to fit you should always keep in mind the tolerance in printing. Printing filament always deviates from your original paramaters in design.
3greetz
John
Oh injection molding is only intersting above 10.000 pieces because moldcosts are high!
Hi Mark,
i have started printing the coin part. Due to the very high contrast of the colors the black shines a little bit through the yellow color. I’m trying to fix this by printing the coin flipped on it’s side. Then the second nozzle is never touching the print unless this nozzle actually prints.
As you can see i have used my own font that is optimised for printing it, i have to make a tiny adjustment for the flowrate of the first layer, so that the lines are smoothly fused together. I have other coins which have a smoother surface, but these have more black filament fused with the yellow background, so that they are not really representative for the final prints.
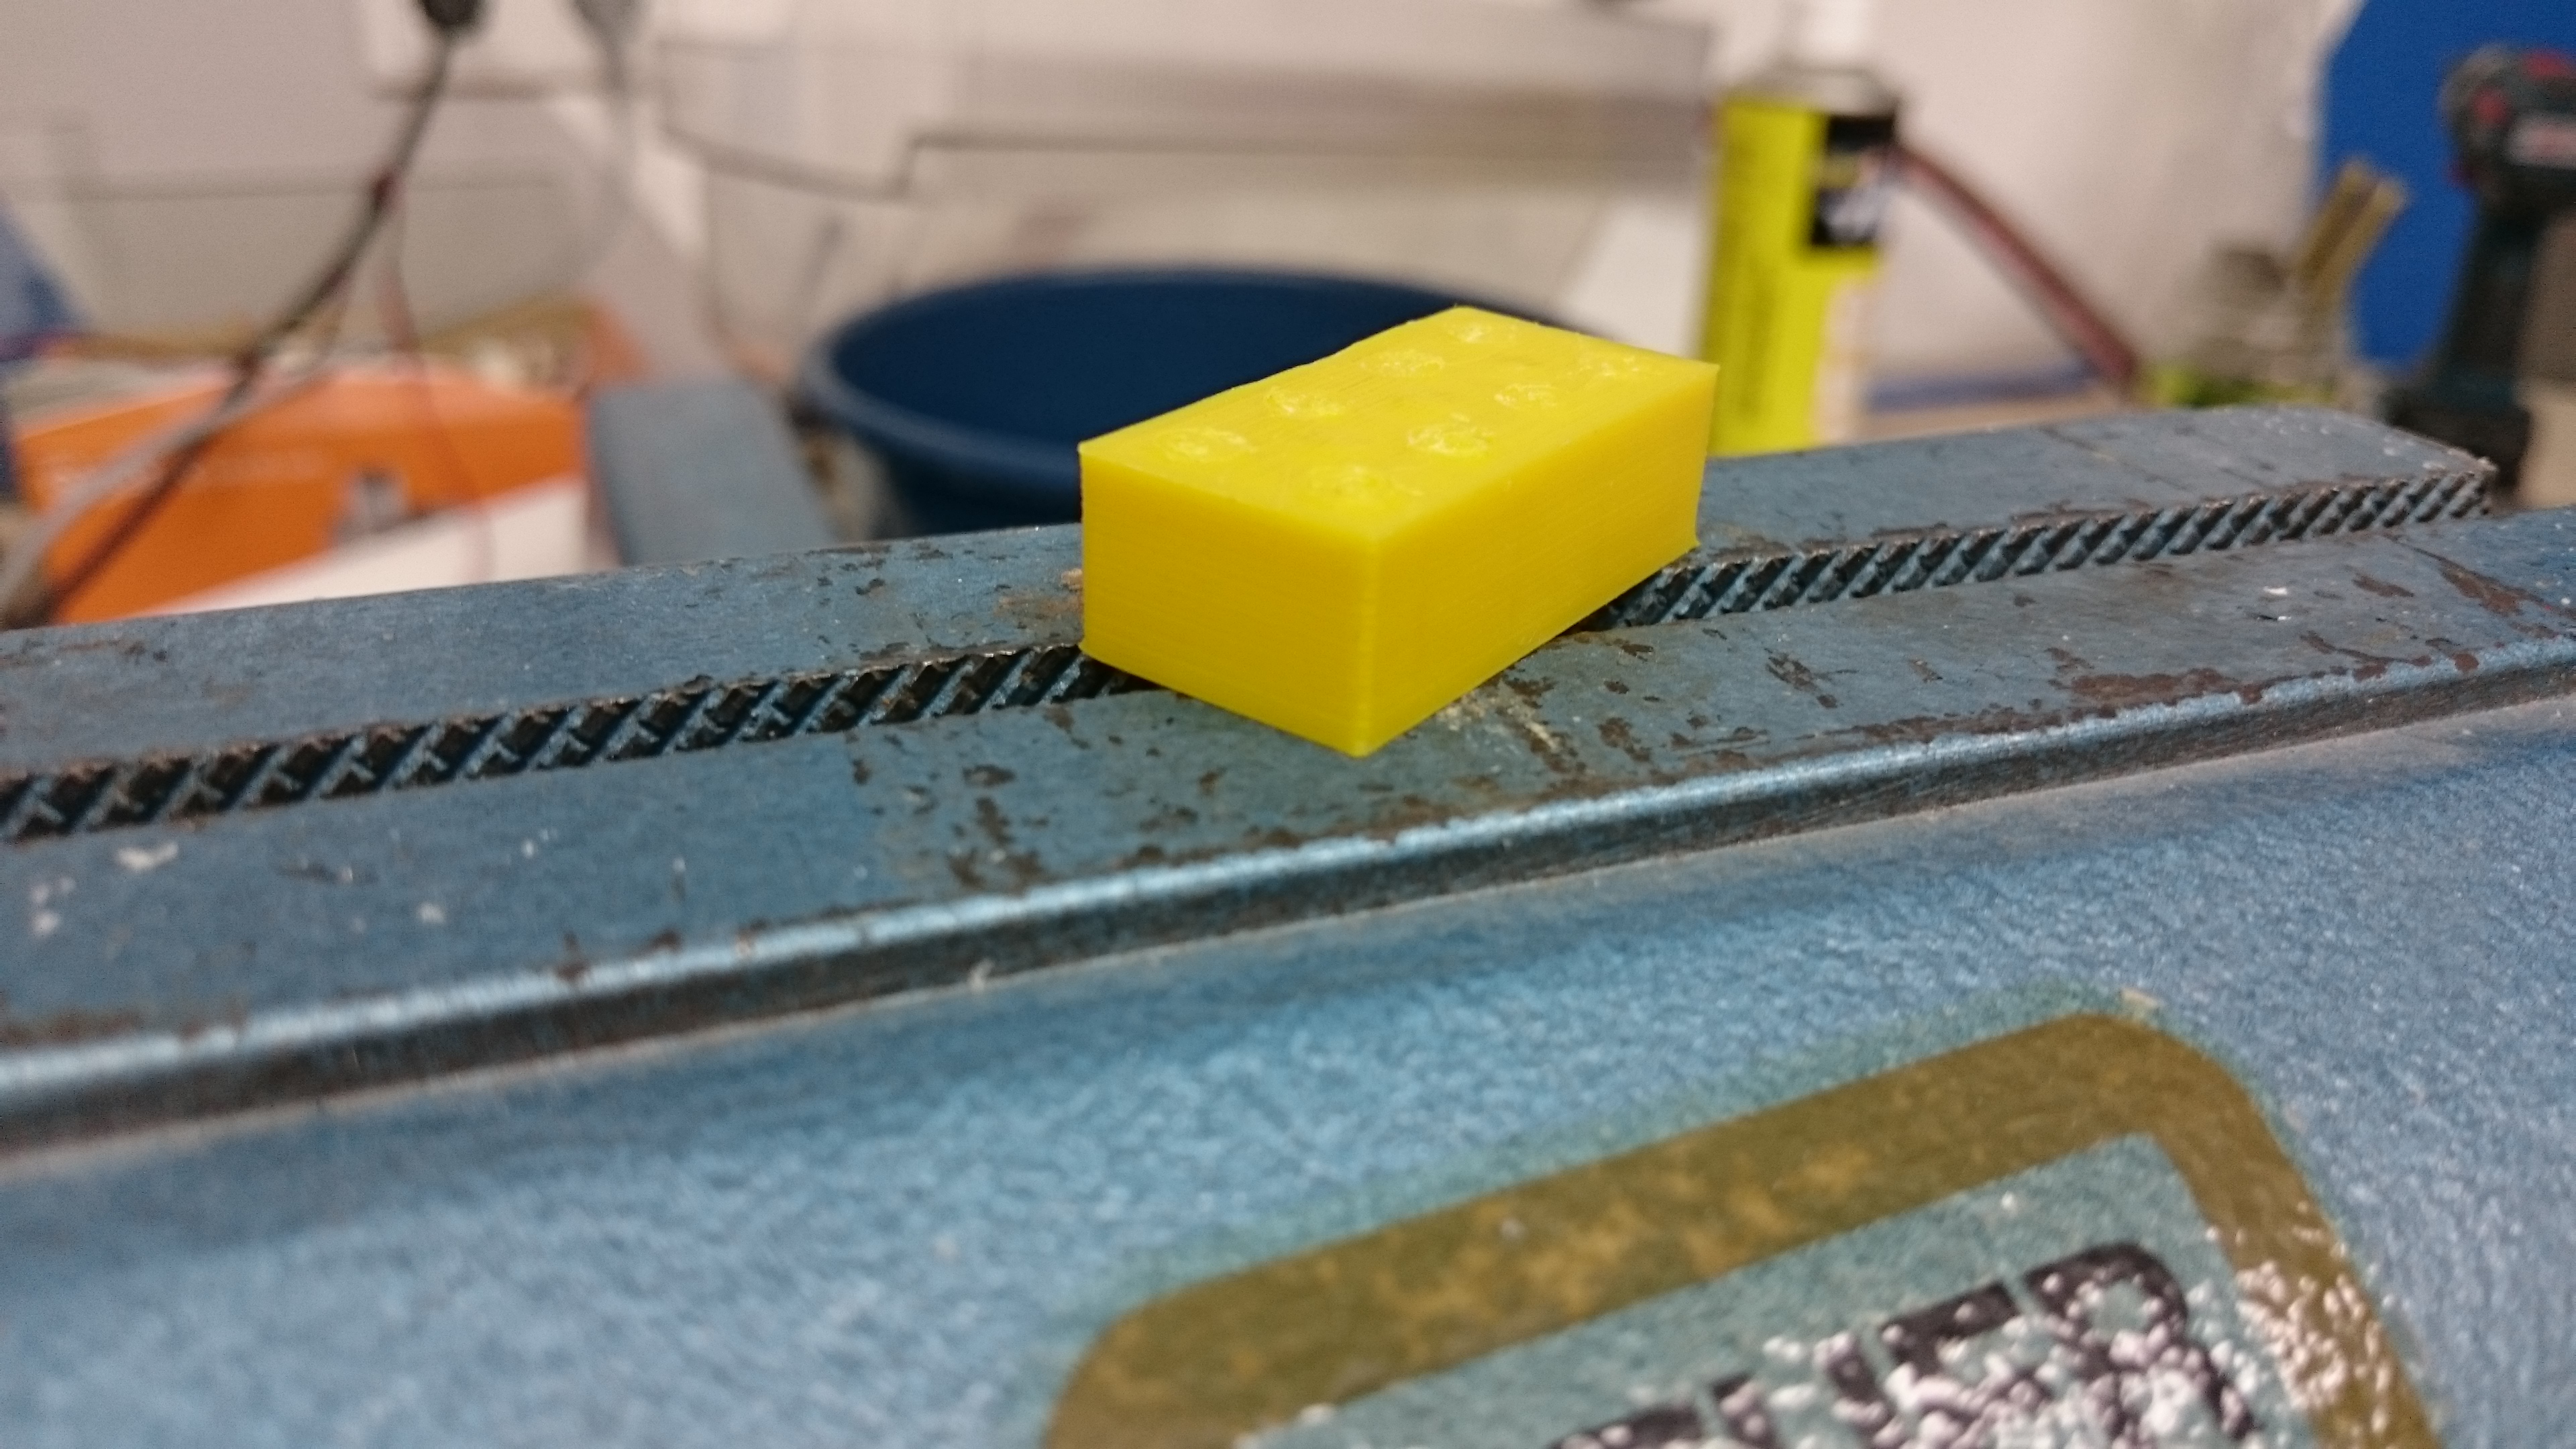
The final version will most likely look like this one, exept that the shadow from the black filament fused with the background will be gone and the lines are smoothly melted together to a solid coin. I have also added another picture of a test lego brick that shows the real yellow color aswell as what you can expect as a smooth surface when choosing my hub for printing. (I broke the knobs off the lego brick to test layerbonding)
I’ve printed the coin slightly larger then supposed to be, so that i can figure out the best settings when printing small, downsizing the print is no problem.
The hexagonal shape of the upper part will not be necessary to archive high quality prints.
However i have thought about recessing the letters and having a solid black disc inside of the upper part.
The yellow surrounding would be printed above the black disk and by that the lettering appears.
I’ve got some other ideas on how to get the cleanest yellow while maintaing absolutely filled black letters.
Please tell me if you are still interested in having these parts printed. Please contact me so that we can discuss further details of the print. Also i then would like to explain further ideas on how to improove the models geometry and design.
-Marius

Hi Mark,
how do you think about the followig color combinations, yellow and black is one of the most readable combinations but as i said in the comment above the yellow color doesn’t cover black spots of oozing (i am working on it with good success, pictures will follow today or tomorrow).
-Black and red
-Green and red
-red and white
-dark blue and white
-dark green and yellow
the list cointains the text color at first, then the background color.
Hope to hear about your progress and opinion,
Marius
Hey Mark,
I don’t want to bother you, but still I’d like to hear from you and want to know, if you still are looking for someone to make these parts.
I’ve had further success printing the part as you can see below, i have added a M6 nut for size reference.
Currently I have some more parts being printed with improoved surface quality (as you might see there are some cavities in the red surface).
The new way of printing the letters allows me to use any colors without them mixing in the surface, there won’t be any little dot of black filament fused into the red/yellow background part.
The colors are very clearly seperated, no colormixing on the letters edges. Even white and black would be possible, for maximum contrast and ease of reading.
By the way all letters are printable with this method, no limitation to just capital letters, same goes for numbers, punctuation and more. (Like the “<” in “I <3 CAKE”, or the “,” in “HI, MARK”).
-Marius


