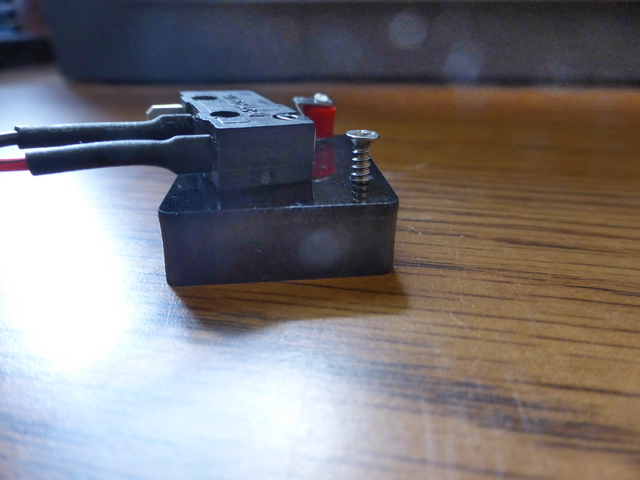
The instructions (printed and video) indicate the use of two M2*12 threaded screws to attach the limit switches to the supporting acrylic piece. However, the screws are too short to pass through the switch body and into the acrylic to the depth required for the screw to “grab” / get purchase in the plastic. The screws came in the appropriately labeled plastic bag, and appear to be the only M2 screws, so I’m pretty sure I have the right ones. If I gently screw one of the M2*12 screws directly into the acrylic far enough to reach a grab point, and then position the switch alongside, it’s clear that the screw is not long enough. I’m hoping that there is a simple answer to my plight (like user error), but if anyone else has run into this issue and solved it, help would REALLY be appreciated. It chagrins me that this is blocking progress VERY early in the build. Thanks in advance!
1. Your instructions could be wrong. You could need longer screws. I had an Anet A8 and my instructions were both wrong, and the kit came with different sizes than it said. You might have more than you need in your kit, just use a longer one for this step and do #2 or #3 if you need to.
2. Your kit could have came with the wrong components, contact the manufacturer… or just…
3. Buy some longer screws. Buy a kit of them, you are likely going to want them for moving parts of 3D prints in the future anyway.
4. Drill a hole a few millimeters into the acrylic so that the M2*12 screw reaches.
I just got started building my Anet A8 and have the same problem. I used the smaller of the supplied screwdrivers to bore out the holes in the switch a little so the screws would get at least a little traction in the acrylic. I believe there are mods around for moving the limit switches. I will definitely be looking into those.