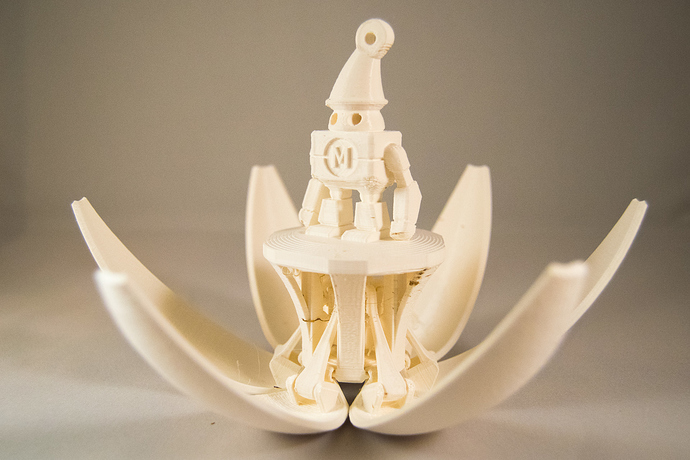
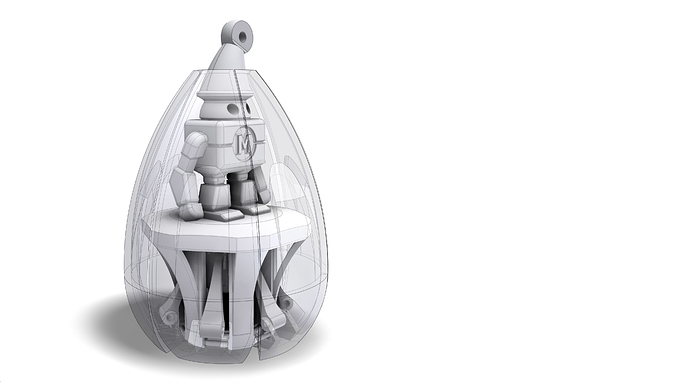
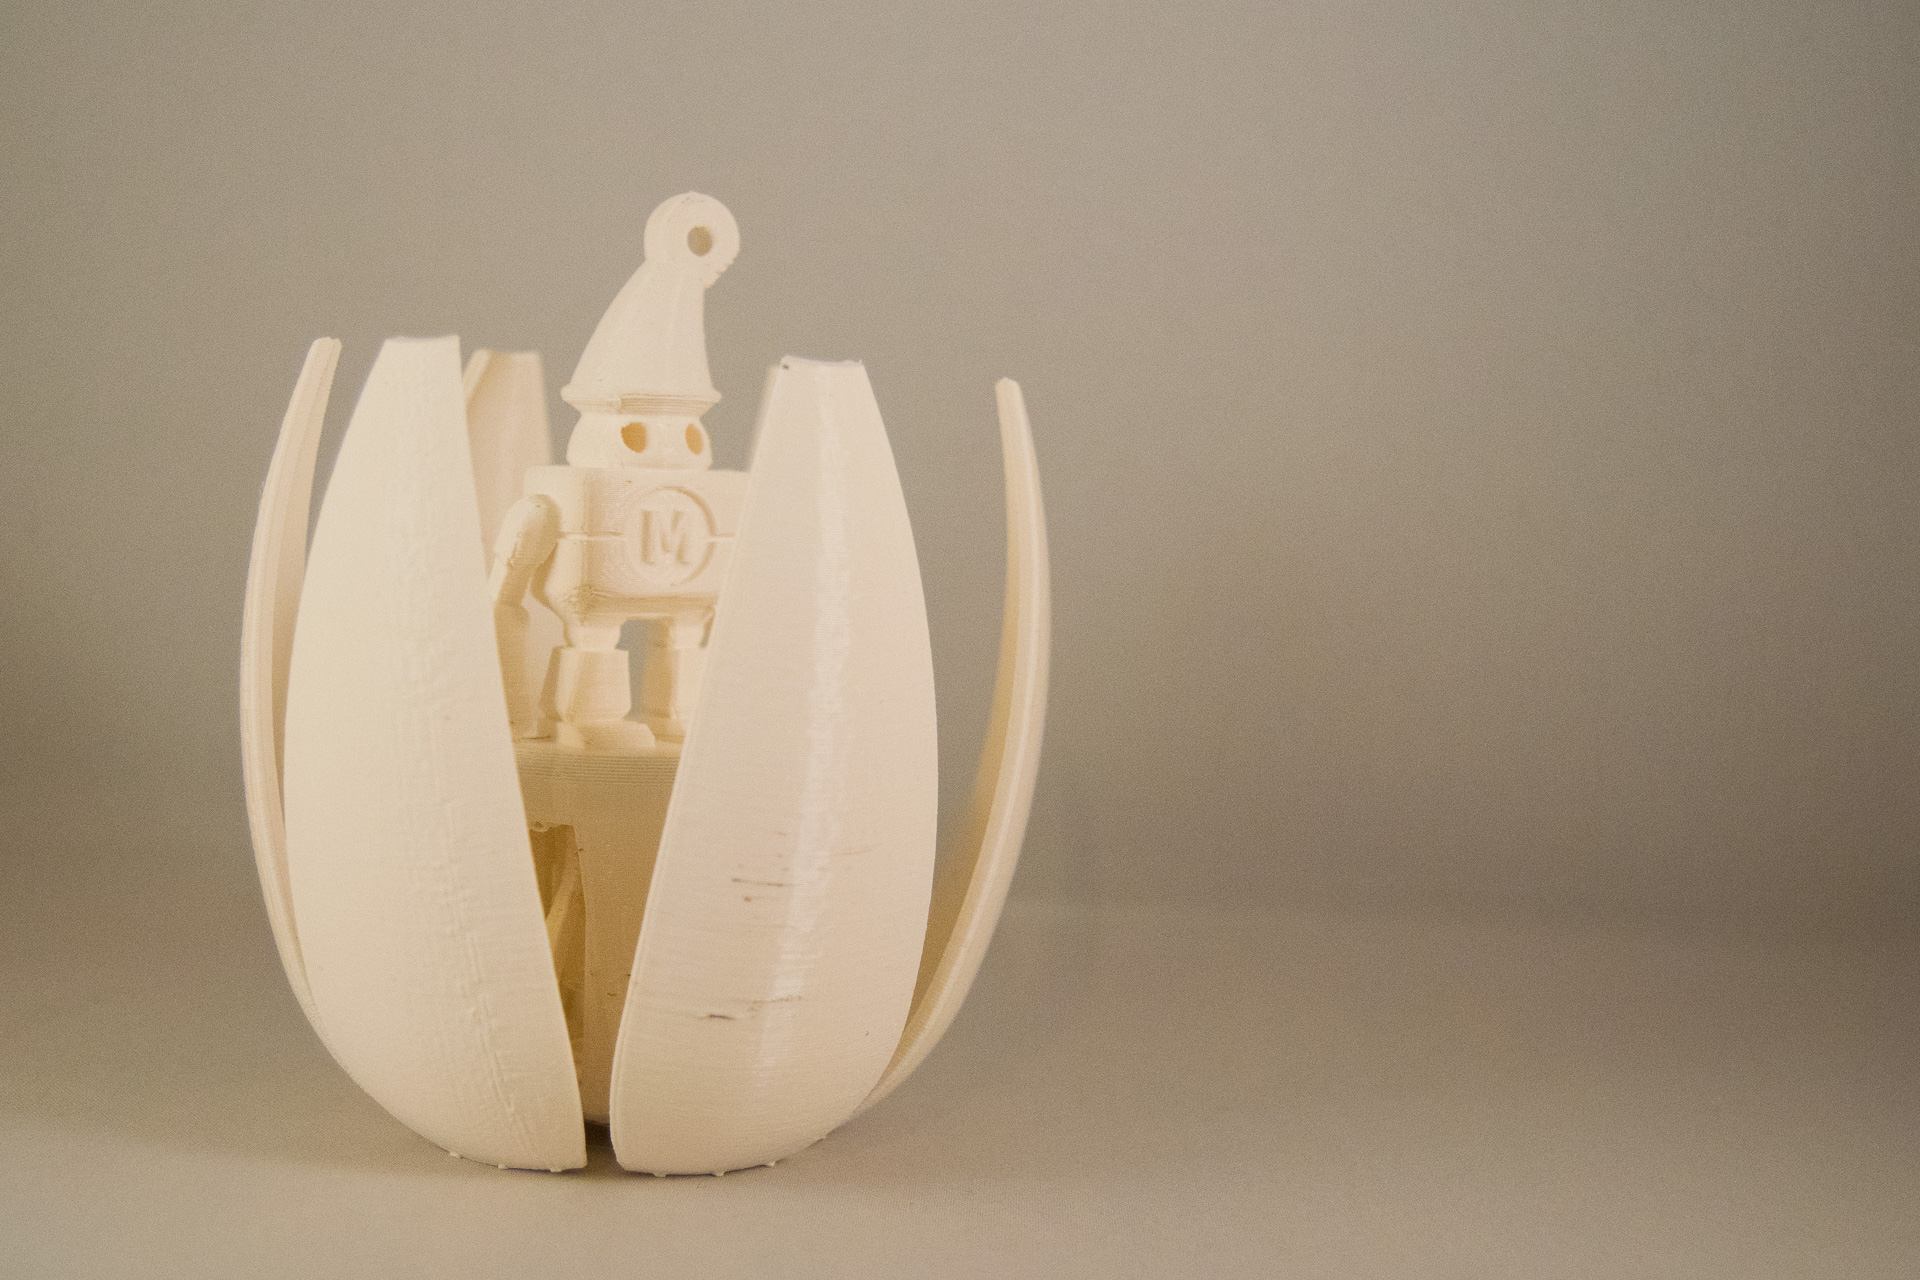
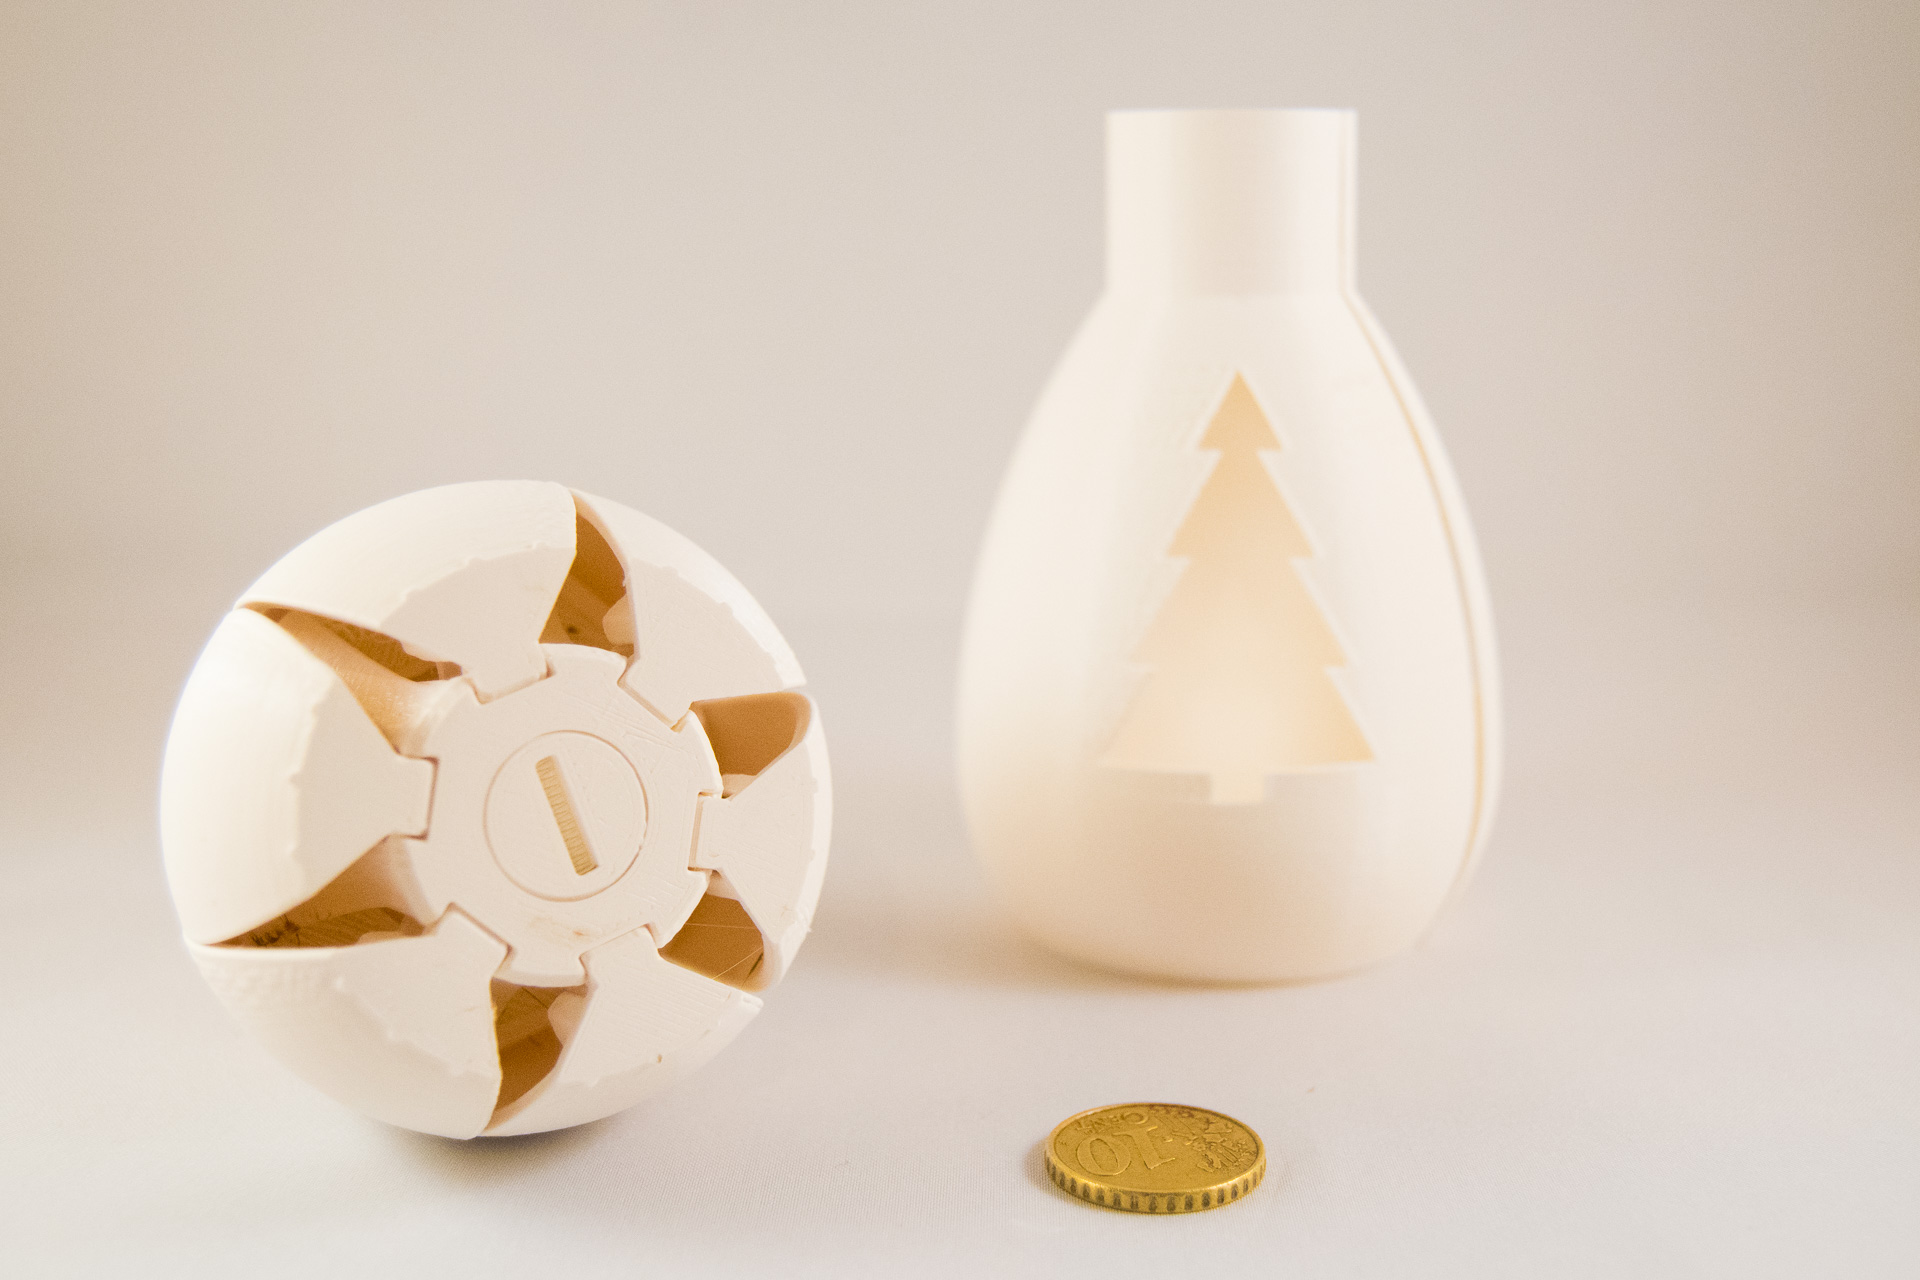
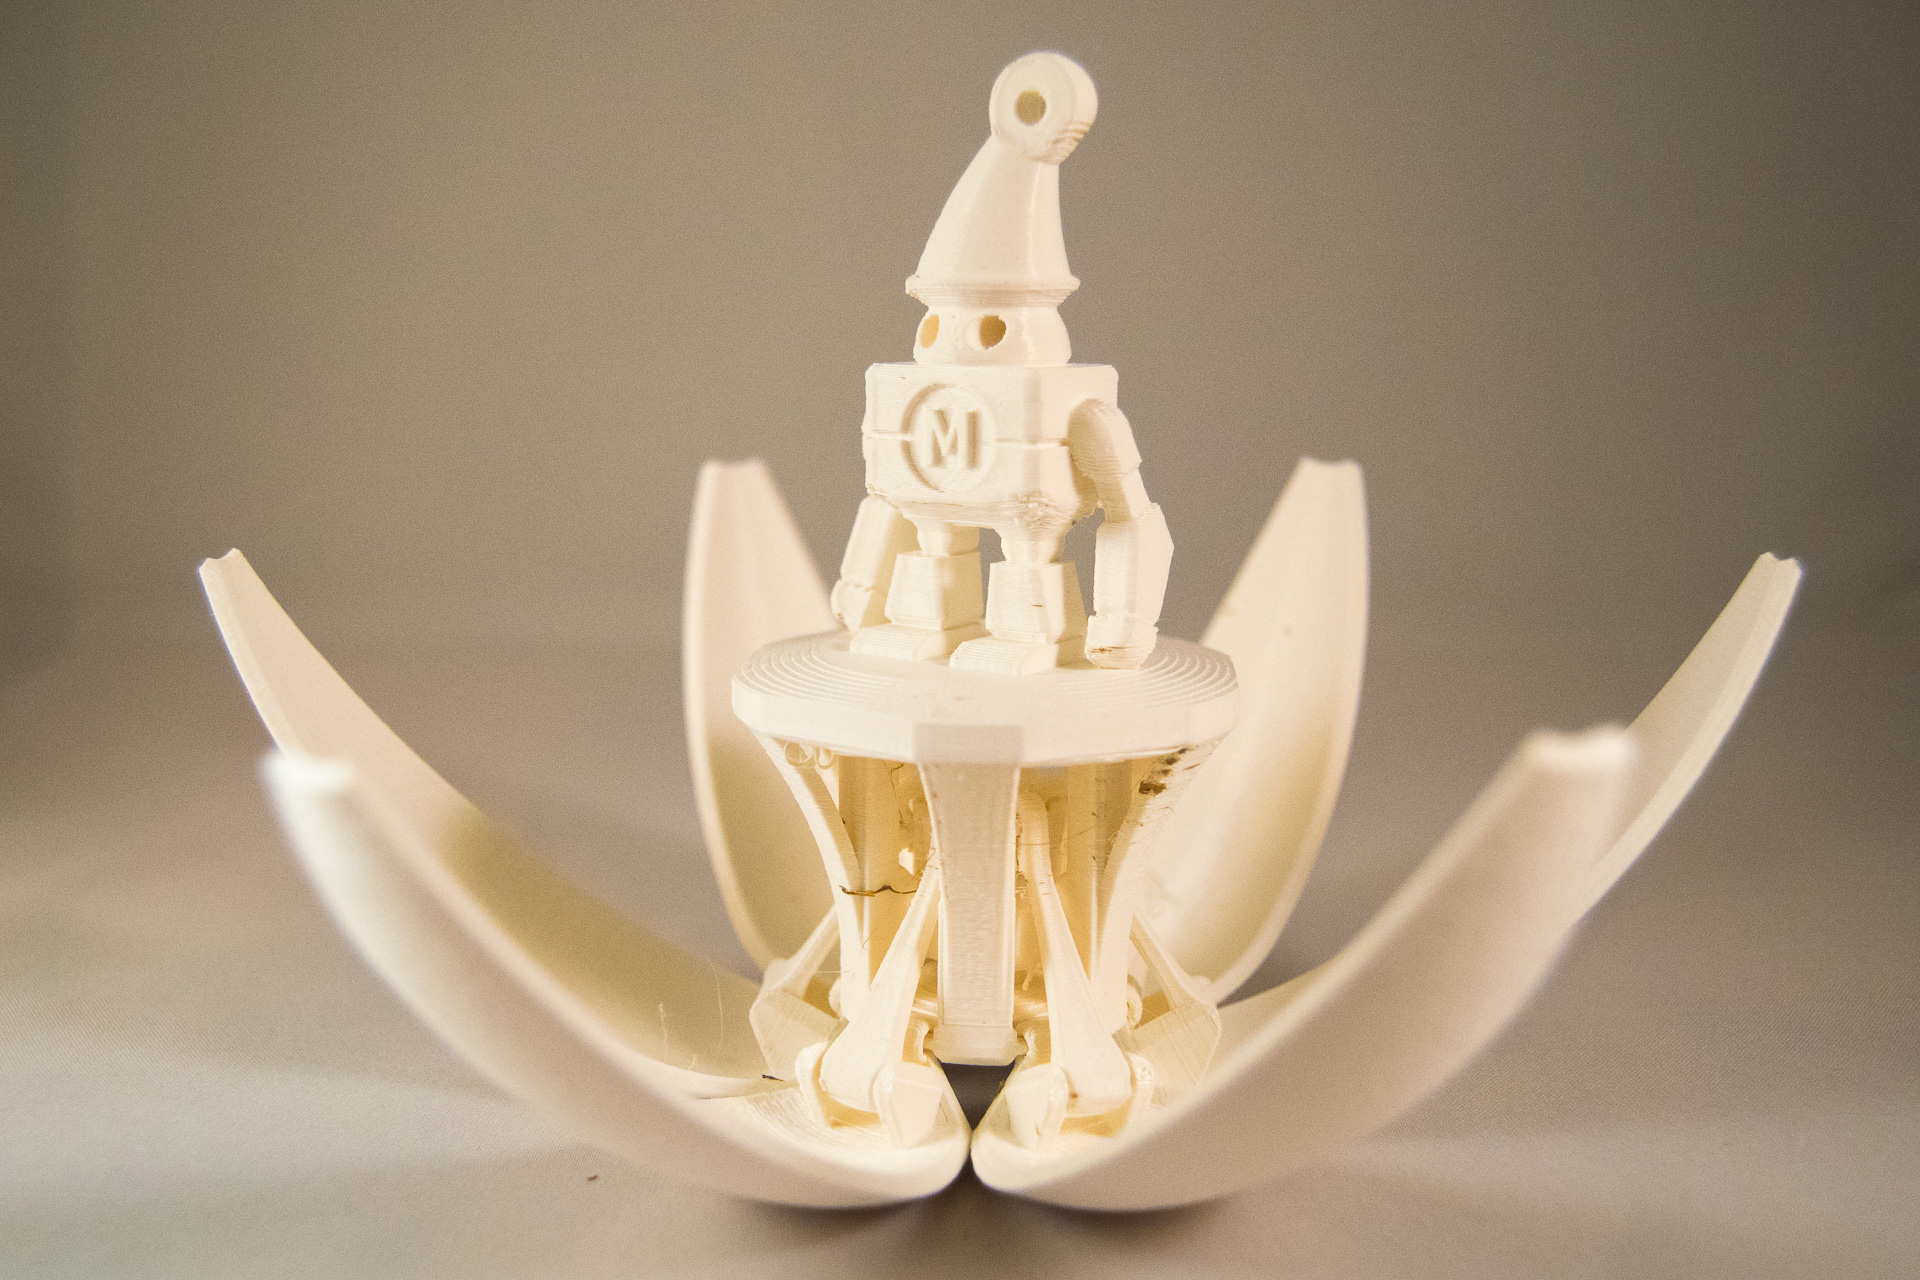
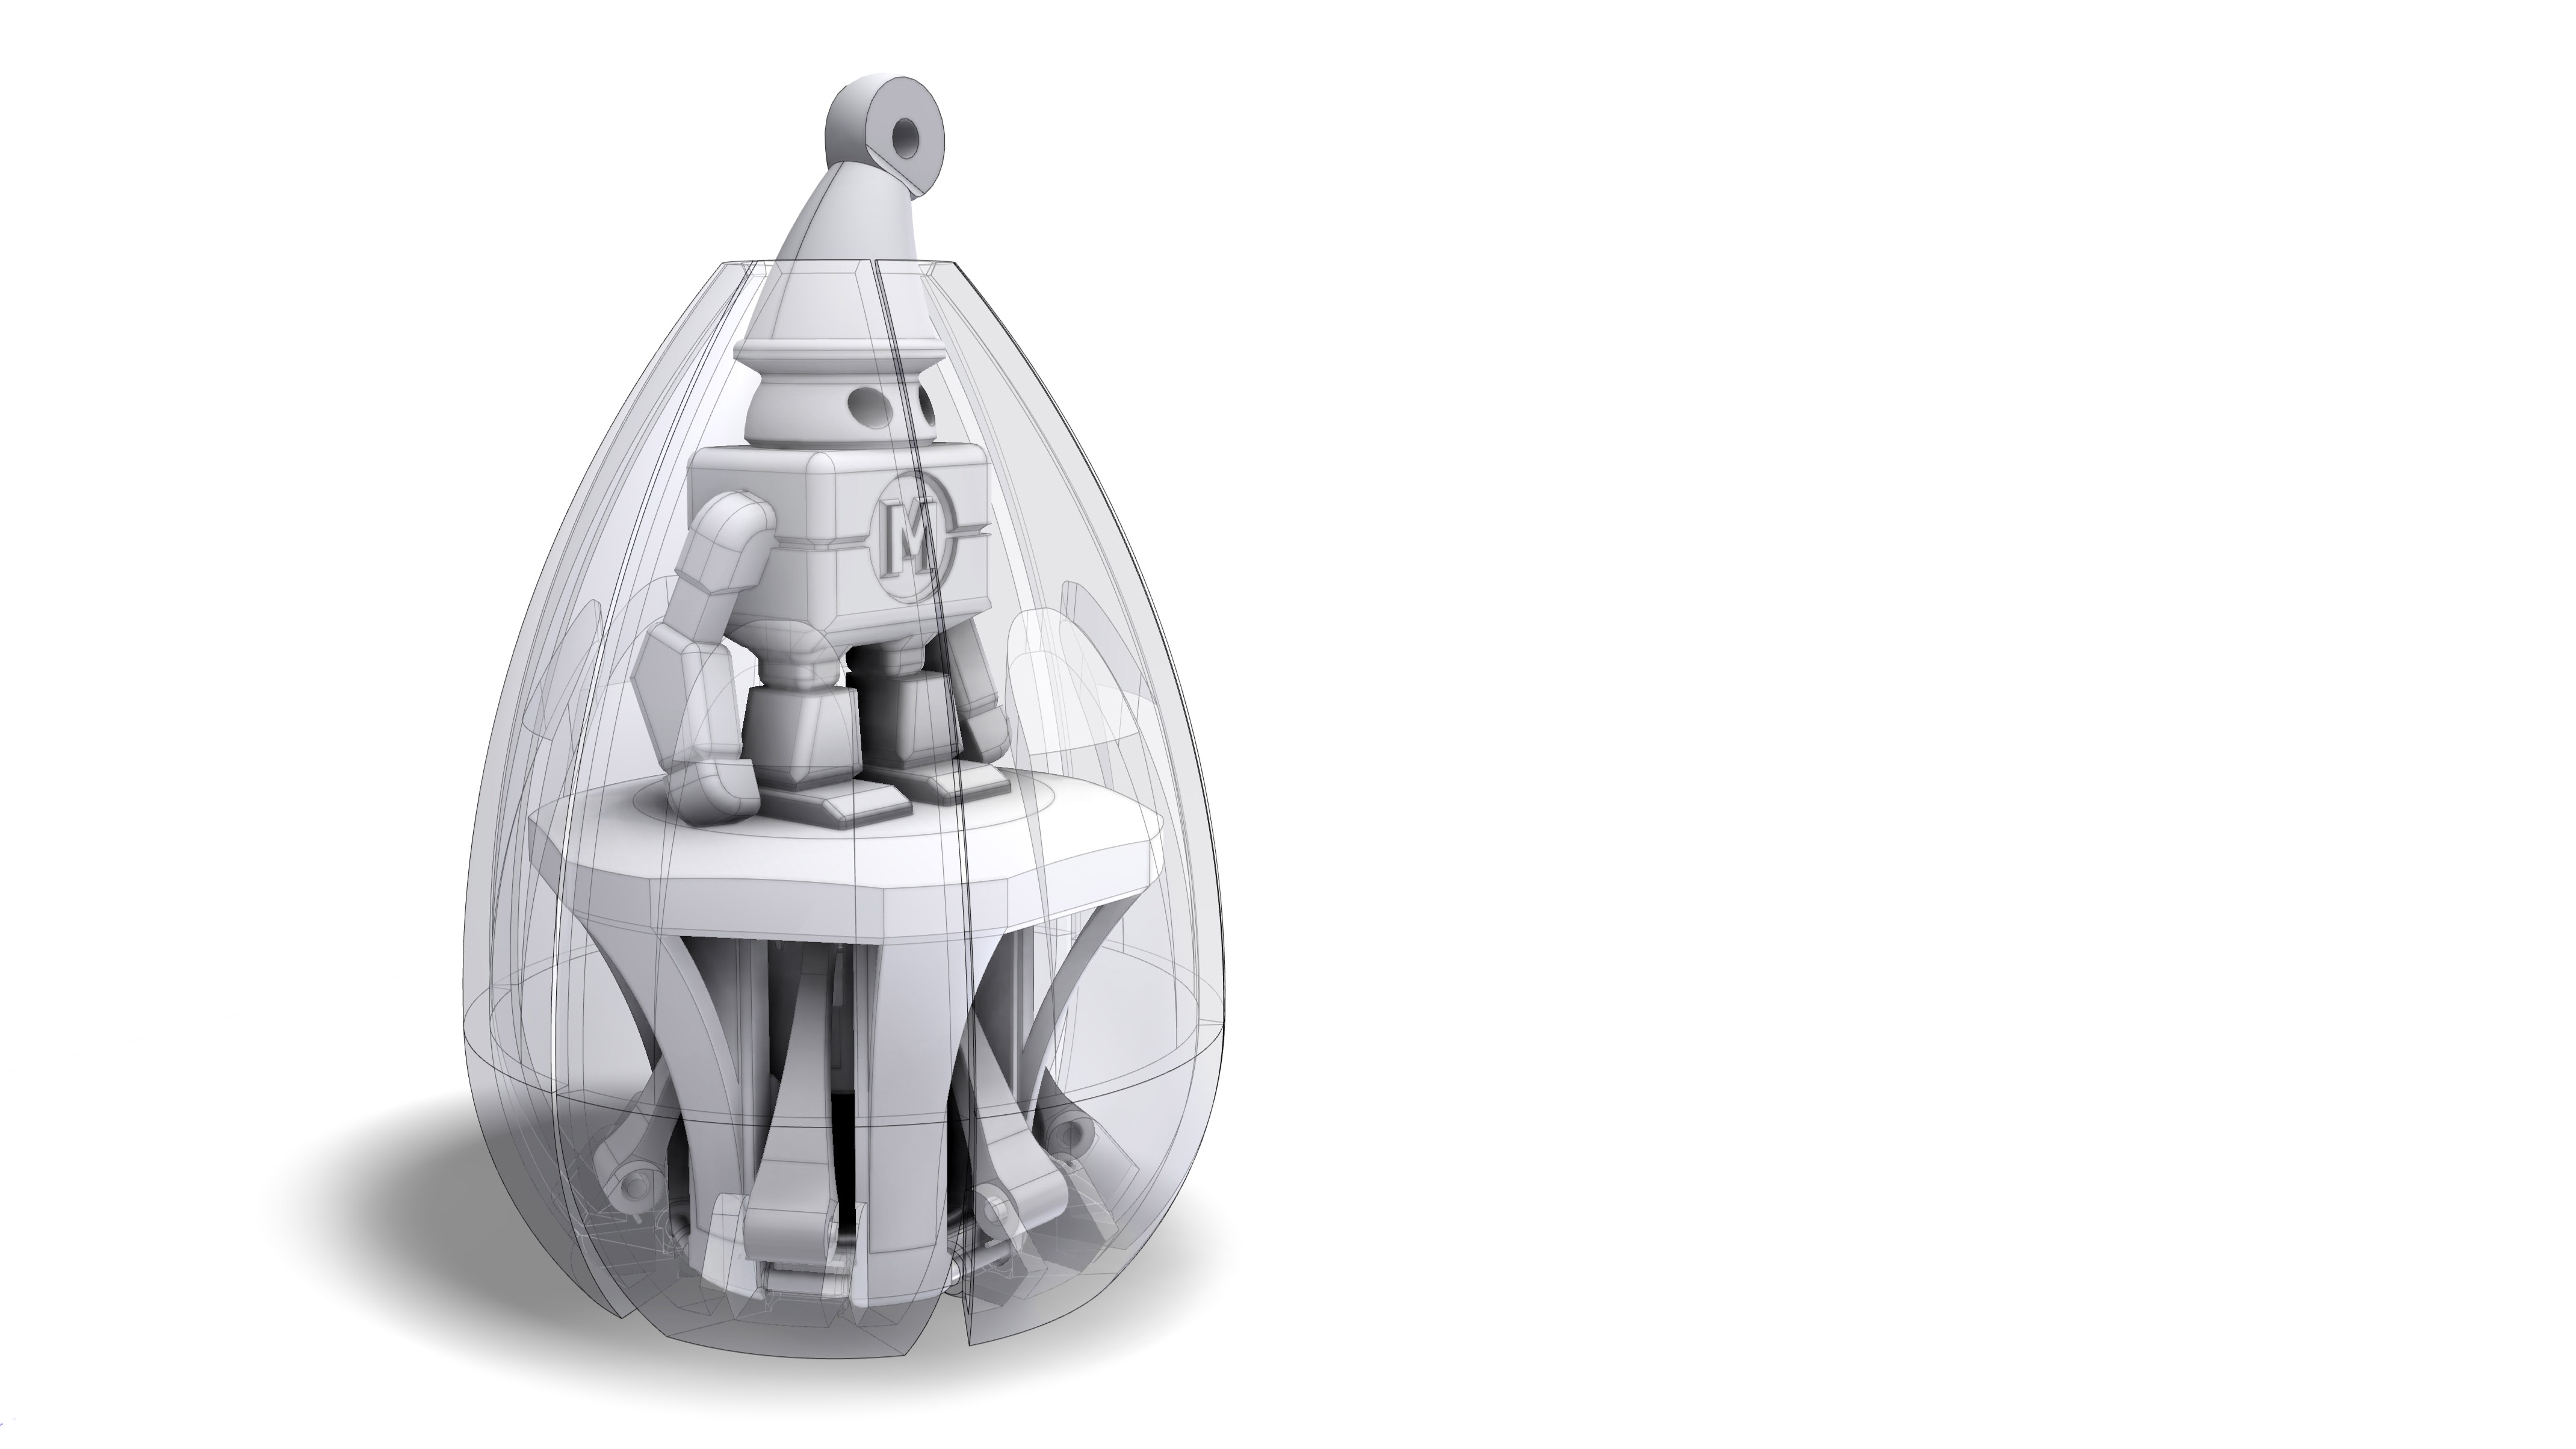
This is my entry for the Make-Ultimaker Contest. It’s a one-piece print with 18 hinges and a screw mechanism to control the opening of the ornament. There are some cool techniques in this model that I would like to show in detail. I named them: SmartBridge and StencilWall
The egg is a one-piece print with 18 hinges and a screw mechanism to control the opening of the ornament. There are some cool techniques in this model that I would like to show you in detail.
The usage is very simple: Print the egg in one piece, grab a coin and open the egg gently. The first time you open the egg there are 18 SmartBridges that will break (it makes a pretty cool sound, if I say so myself). Then you need to screw your coin clockwise to open it.
The first time it will be a bit rough (don’t worry, it won’t break), but after once having been opened and closed, it will open and close easily.
Print Instructions:
This model is printed on a Replicator 2 with standard settings.
LayerHeight: 0.2mm.
No Raft - No Support.
If you use another slicer then you need to make sure that the bottom layer is at 100% or less.
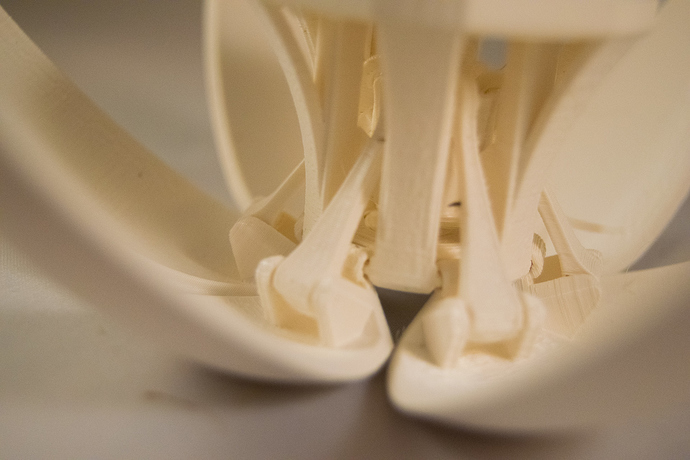
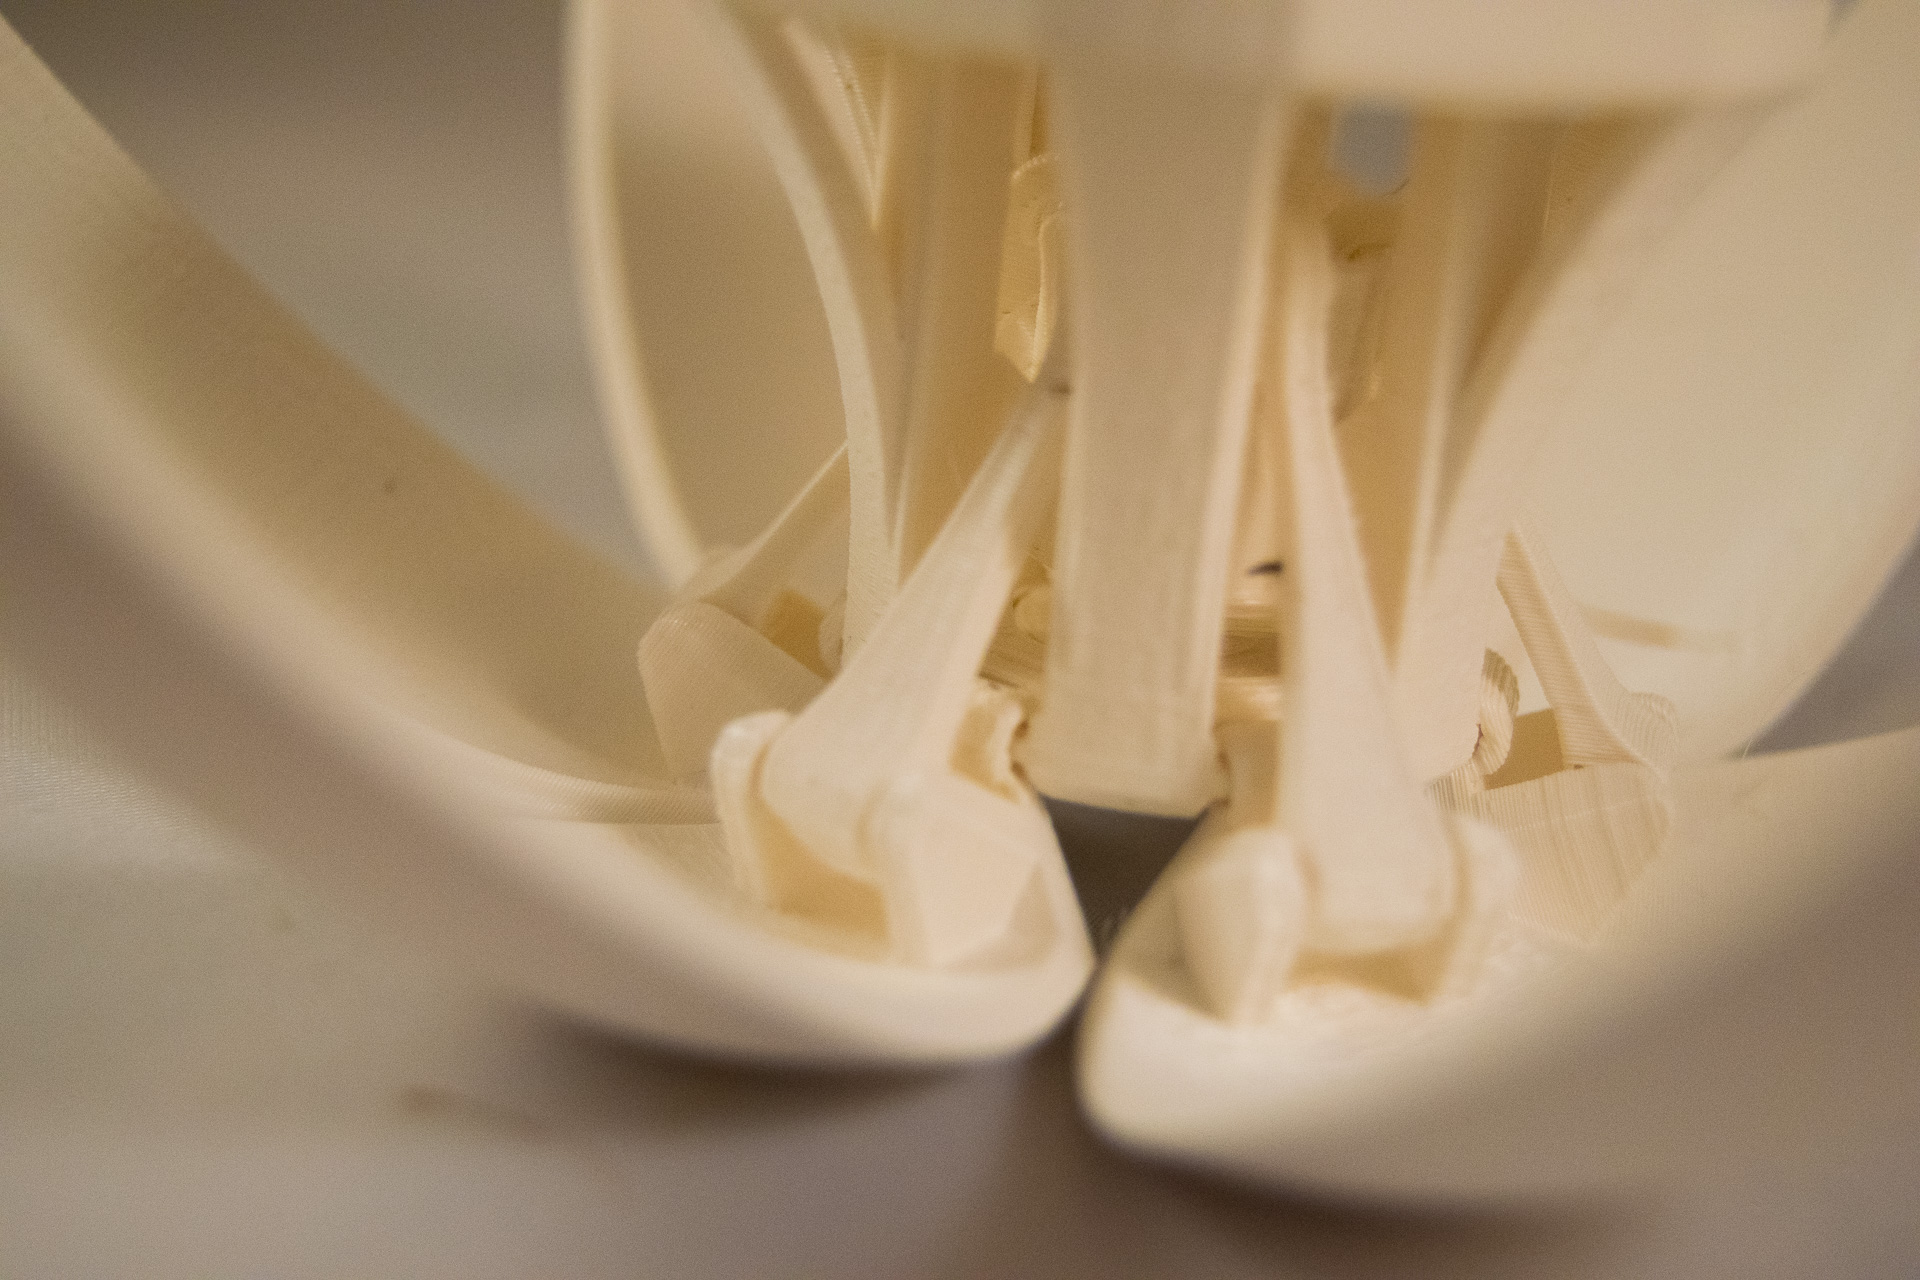
SmartBridge:
I haven’t seen this technique before, that’s why I named it so - hopefully Iam the first one :-). The concept is very simple. To create a horizontal one-piece hinge, I’ve added a small bridge of about 0.4mm right beneath the hinge. Once the hinge is getting moved, the support bridge breaks and the hinge is free to move.
See images for more detail.
StencilWall
A stencilWall is a simple way to add some color to your print. It’s a tight layer around your models with some shape in it. This way it can be sprayed easily. I also created a seam in the wall for easy removal.
See images for more detail.
I had issues as well… took me like 2 min to get it open the first time… had to turn it slightly… and then turn it back the other way… and do this over and over until it turned all the way… Also its reversed… so you turn to the right to open it… turn to left to close it.