3d printers are quite dumb as far as electronics go in the sense that there is a lot going on during a print which is assumed by the electronics. 99% of the time the electronics are assuming incorrectly.
If you want better prints, tune your printer to your filament.
Ideally you would do most of these steps for every print or every individual roll of filament. If you use a single brand you could setup profiles for each material, if you use a single brand and single material you could do this once. You should do this for every spool of filament or every print.
Step 1: Calibrate your extruder (This only needs to be done when something changes)
- Disconnect your hotend from the extruder.
- Cut the filament flush with whatever fitting you have.
- Using whatever interface you use to control your printer extrude 100mm/10cm of filament.
- Your firmware may have a safety temperature preventing cold extrusion. If this is the case you will have to bring your hotend up to temp in order to extrude filament.
- Cut the filament and repeat this procedure two more times.
- Measure the three pieces of filament.
- Get an average (add the three measurements and divide by 300).
- If your average is not close to 100 you need to change your extruder steps per mm. Take the current steps per mm and divide it by (your average/100).
- Repeat until you are happy.
Step 2: Calibrate your filament diameter, do this every print!
Using a caliper, measure your filament diameter at several locations. Average out the measurements, at least 3, and enter that into your slicer under filament diameter.
Step 3: calibrate your z height and first layer. Do this whenever something changes in your printer.
- Print a single layer (of say a 20*20mm cube) with your first layer at 100% height and width.
- Using a caliper measure the print in several places (at least 8) and adjust your bed or gcode z offset.
- Repeat until you are happy.
Step 4: calibrate your extrusion multiplier!
Do this every print, to be a little lazy every roll, to be really lazy every brand and material, if your slacker only once 
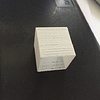
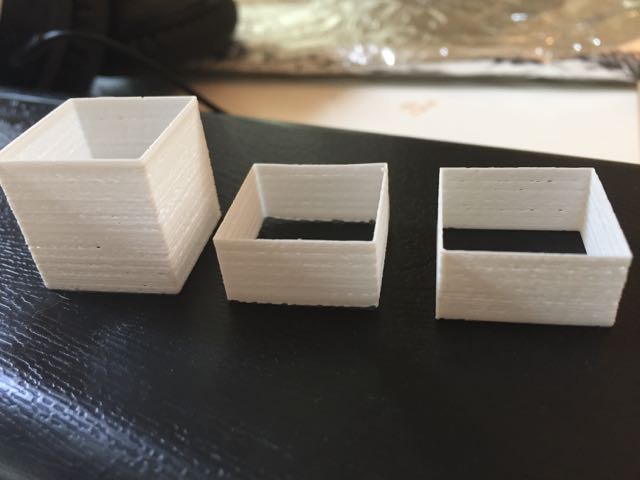
- Print out a cube
- (20mmx20mm would be nice)
- in vase mode (single outline, no infill, no top or bottom layers)
- set your extrusion multiplier to 1
- set your extrusion width to equal the width of your nozzle.
- Measure the walls with a caliper in several places (at least 8) and get an average.
- Change your extrusion multiplier: new multiplier = old multiplier x (extrusion width / average measurement)
- Repeat until you are happy.
Step 4.5: PID tune your bed and hotend.
Before and after you calibrate temperatures and any time you change a fan or move something or a season changes. PID tune your hotend and bed to keep your temperature fluctuations to a minimum.
- M303 E(Extruder 0 for hotend 1 for bed) C(# of cycles 3-8) S(Desired Temperature)
- M303 E0 C5 S180 = PLA Hotend tune for 5 cycles
Step 5: calibrate your temperatures.
Do this for every different filament (color, brand, material, etc)
Step 6: Calibrate your fan speed.
(I have a Delta with three really powerful layer fans. If they all three run at 100% the hotend loses temp)
- Print your calibration tower again but change the fan speed vs the extruder temp.
- Choose the best fan speed for the finish you desire.
Step 6.5: PID tune your hotend again with the layer fan set to the ideal speed!
As noted above if your fans in any way change the temperature of your hotend (all layer fans do) you should PID tune the hotend with the fan set at the most common speed to keep temperature fluctuations to a minimum.
I left a lot of details out and some things are vague. Let me know what should be added and I’ll edit it. Also my formulas may be off.