Thanks! Although I print on an Ultimaker 2 at the moment (do have Makerbot as well) it’s good to see what settings work for you. Willl try some new stuff. Cheers!
Good Tip is print slower at this section. 20mm/s I use and temperature as low as possible. I use 200 degrees.
And use good filament, I’ve a china no name filament and thats a mess. Printing with 205 degress causes filament blocking cause it doesn’t melt correct and with 208 degrees it flows away.
Good Tip is print slower at this section. 20mm/s I use and temperature as low as possible. I use 200 degrees.
And use good filament, I’ve a china no name filament and thats a mess. Printing with 205 degress causes filament blocking cause it doesn’t melt correct and with 208 degrees it flows away.
@zaxis Yes, that’s spot on. It’s always about finding the right compromise between Speed/Quality.
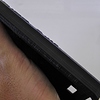
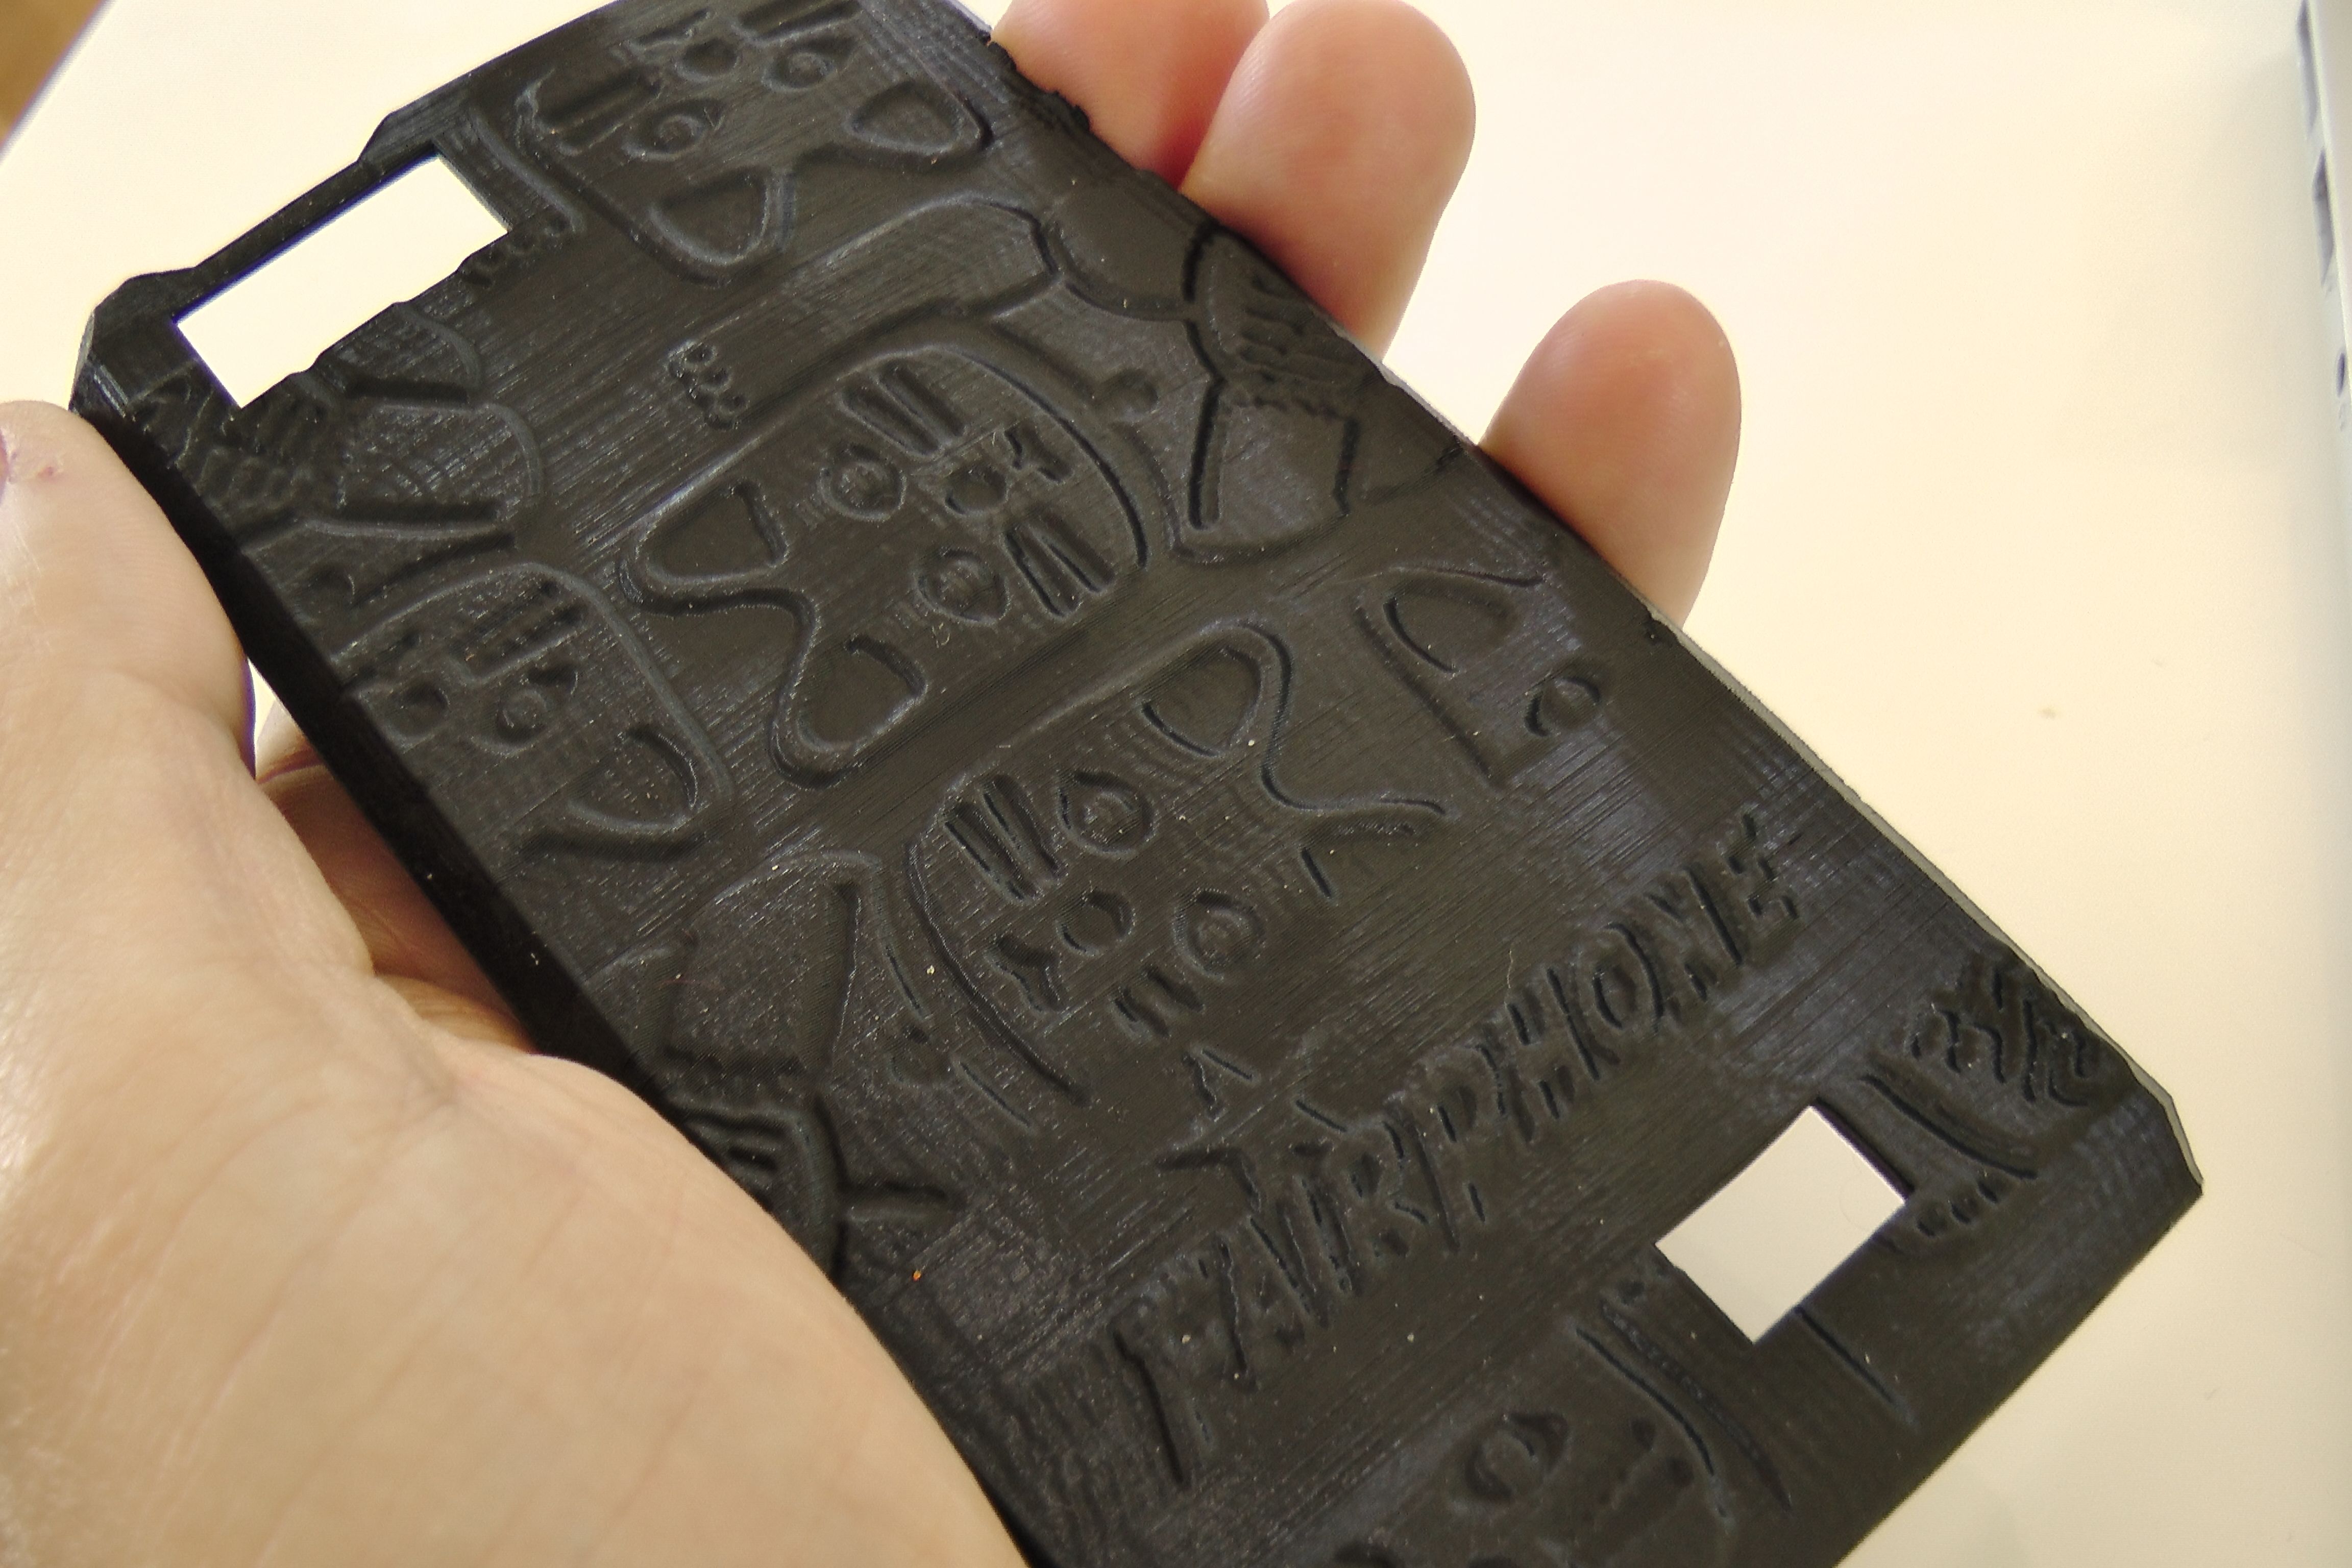
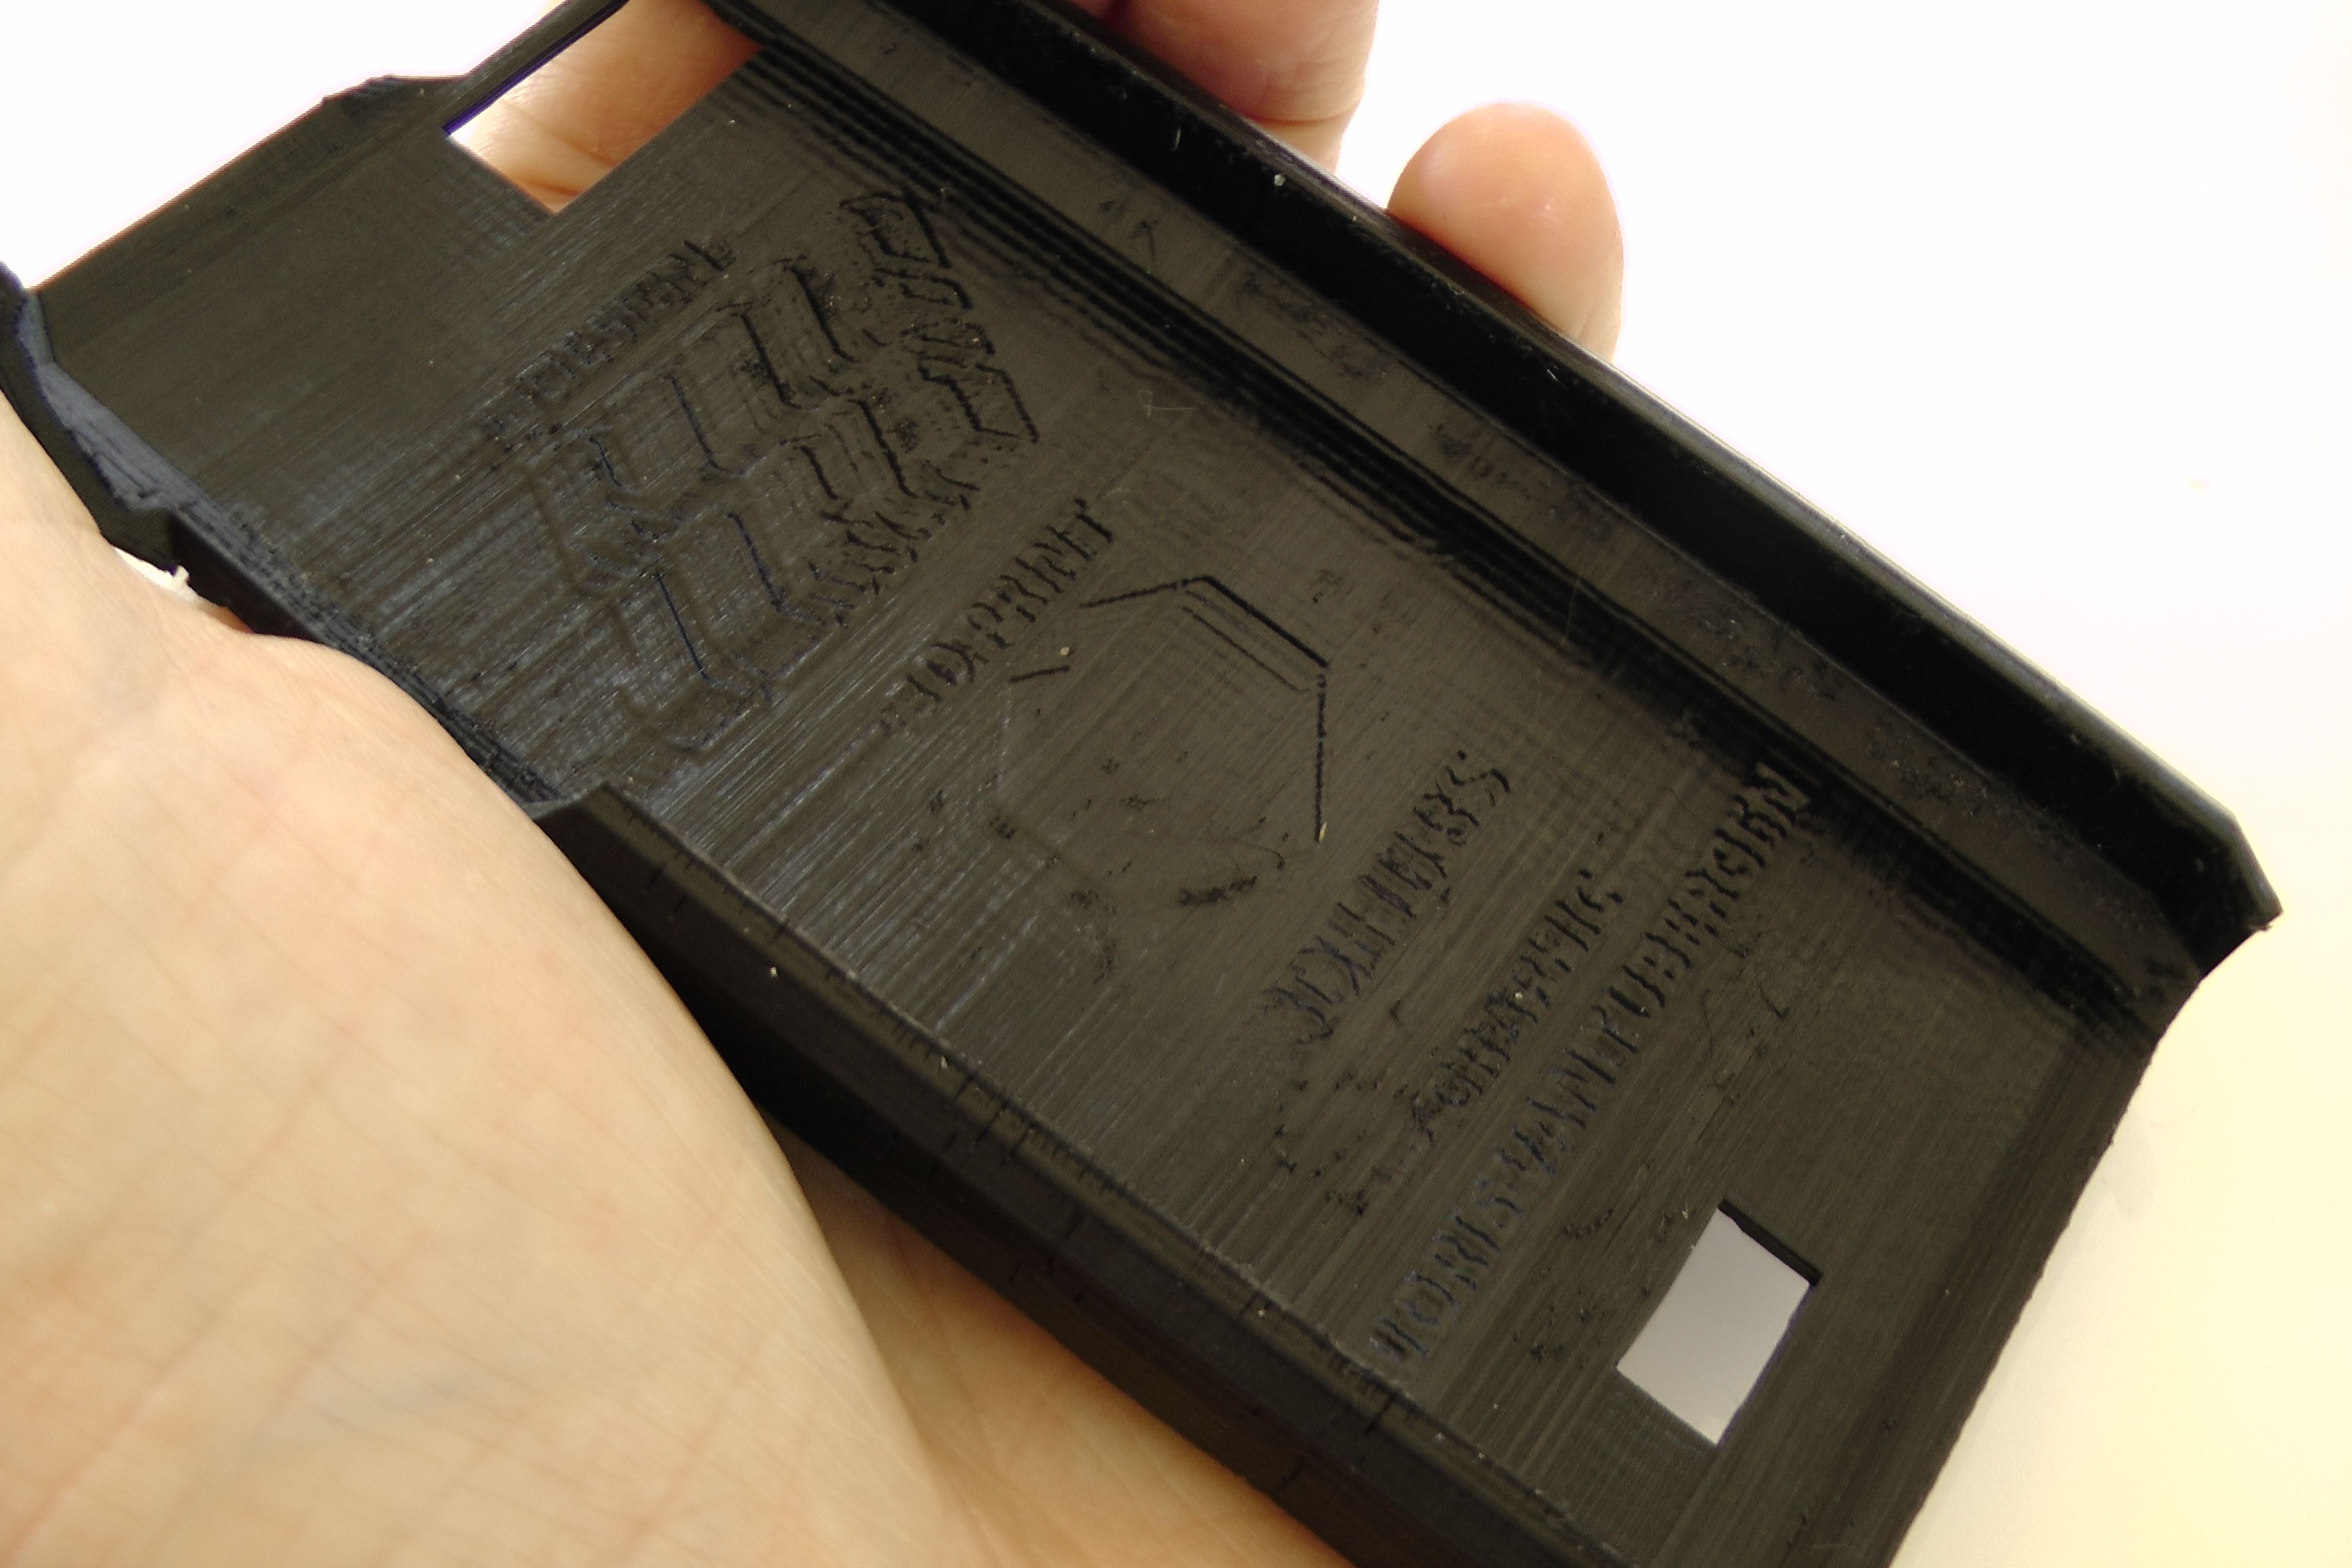
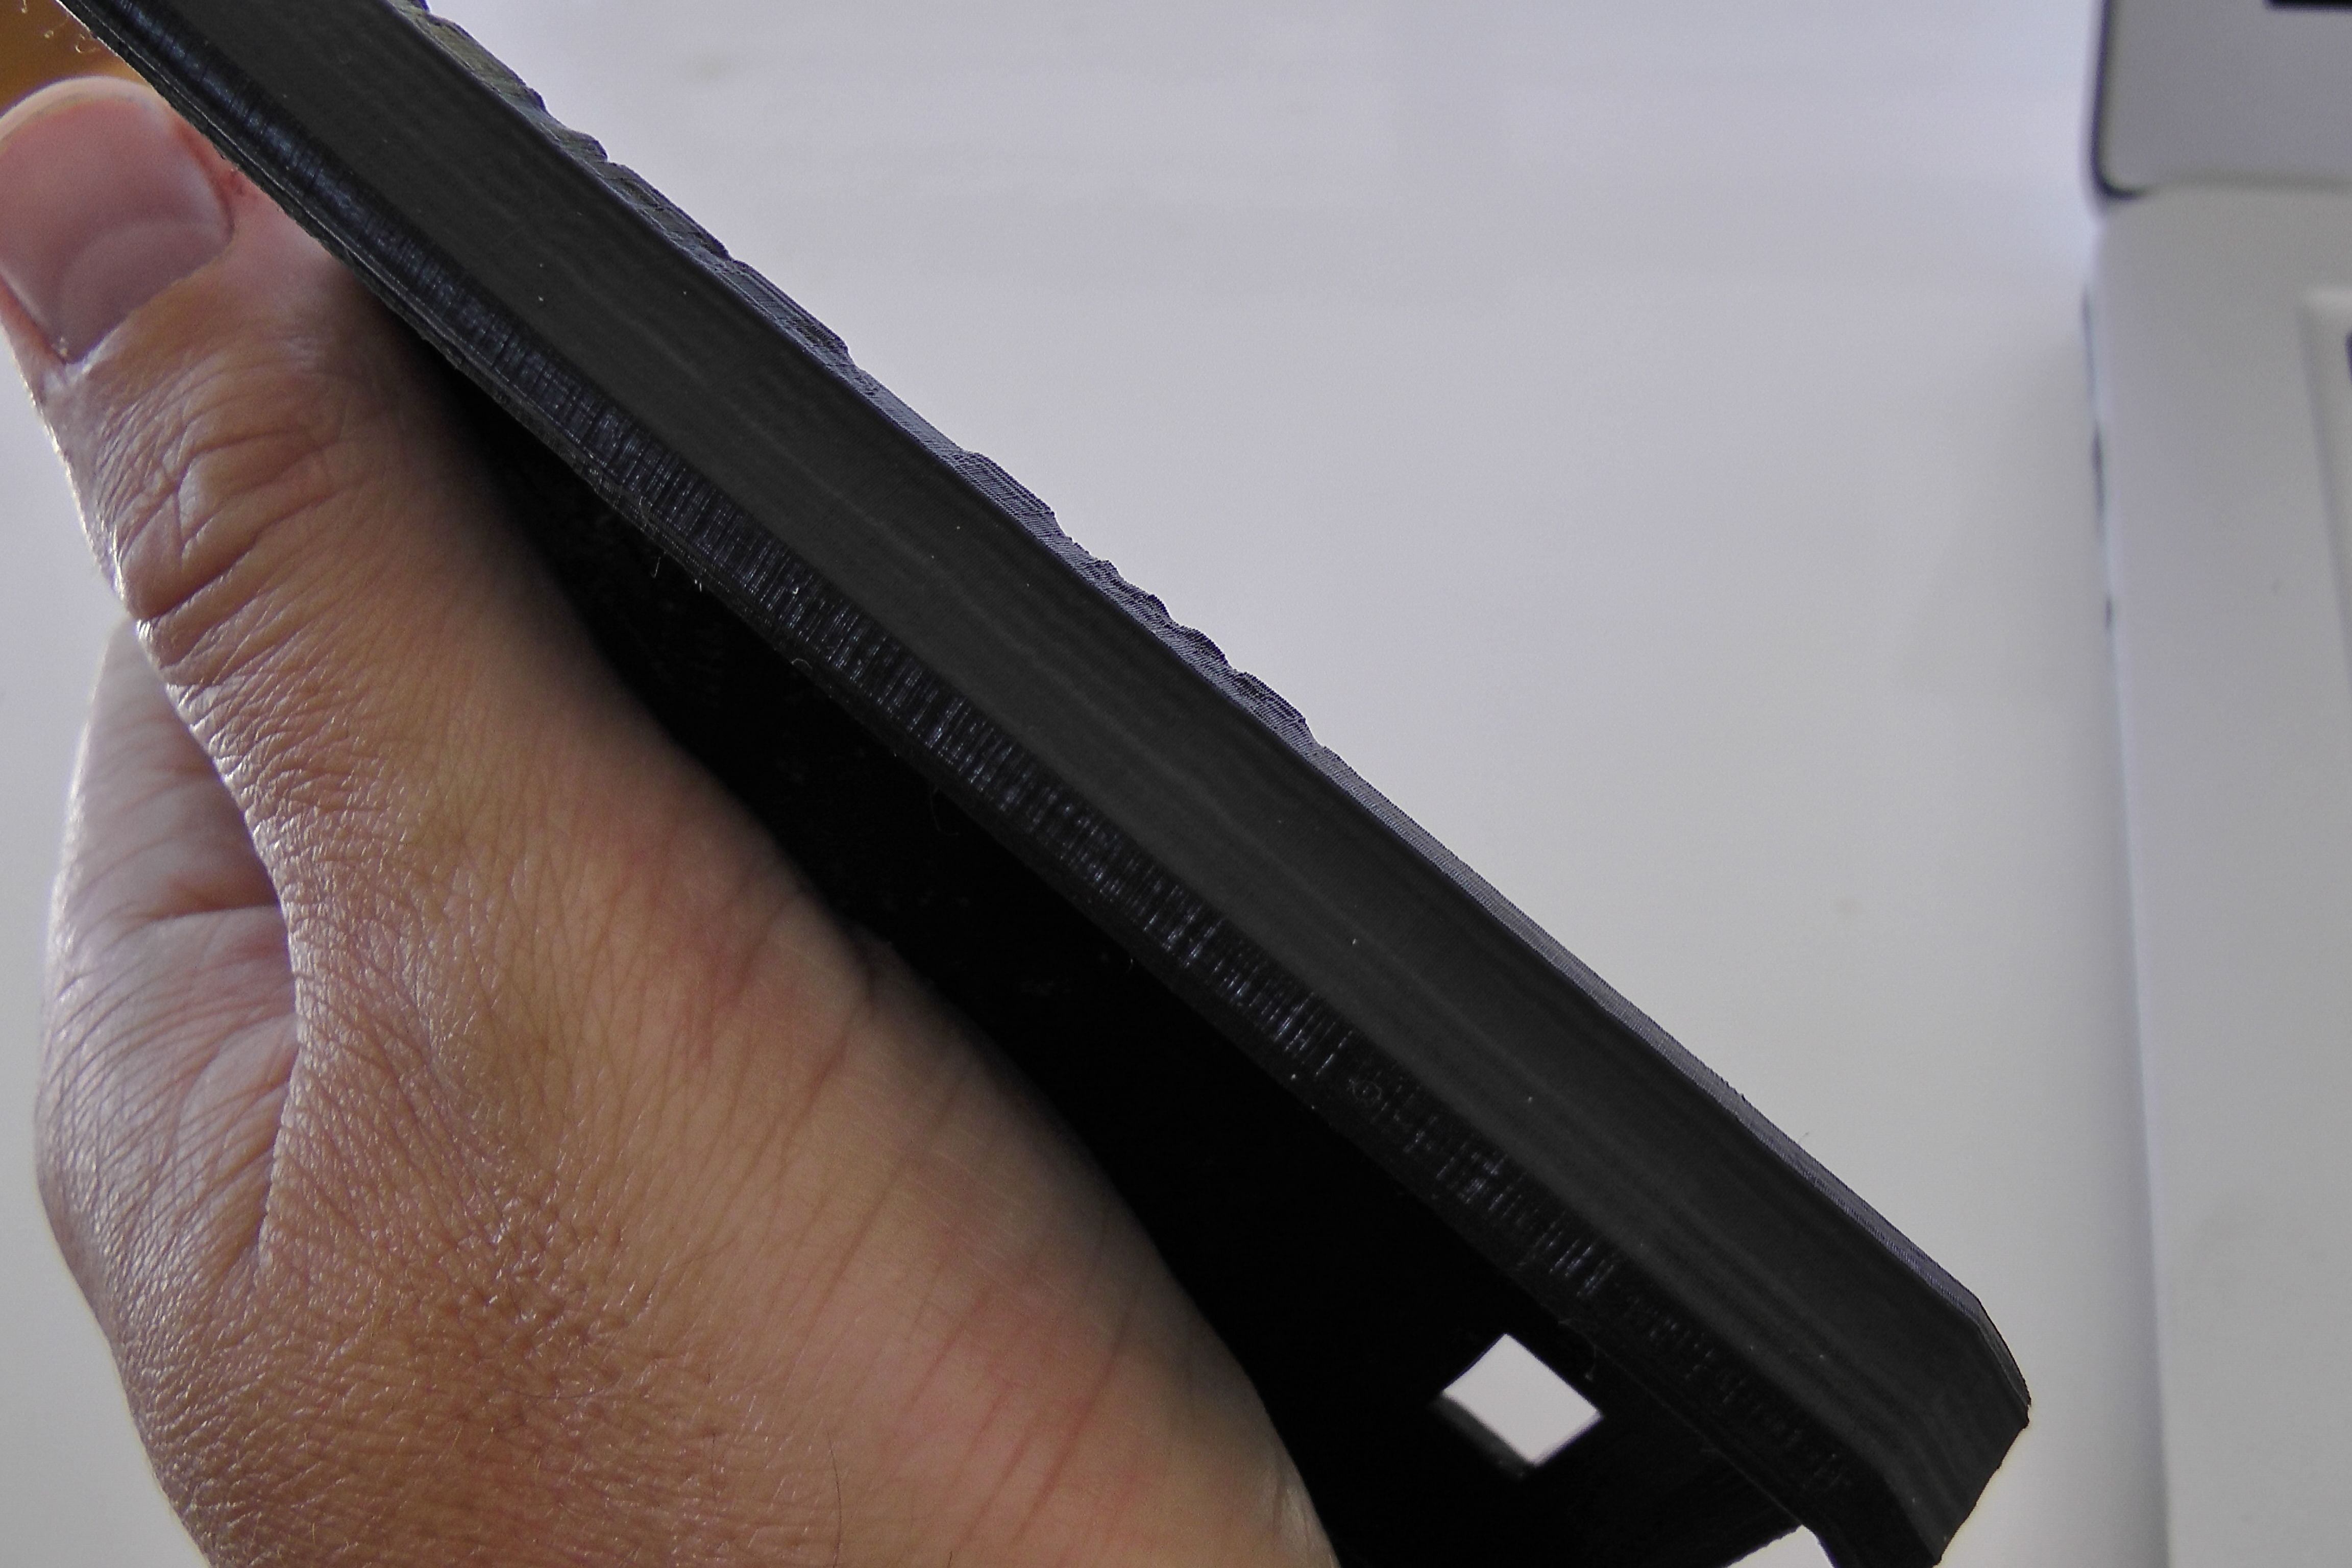
For this case I found I get good result at 200 degrees at 30mm/s whilst also turning the case so the critical overhang is well covered by the fan. Due to the higher viscosity of the plastic it’s sometimes worth increasing flow by 5-10%.
It’s also worth remembering that if the overhang is close to the bed, the bed temp should be kept to a minmum.
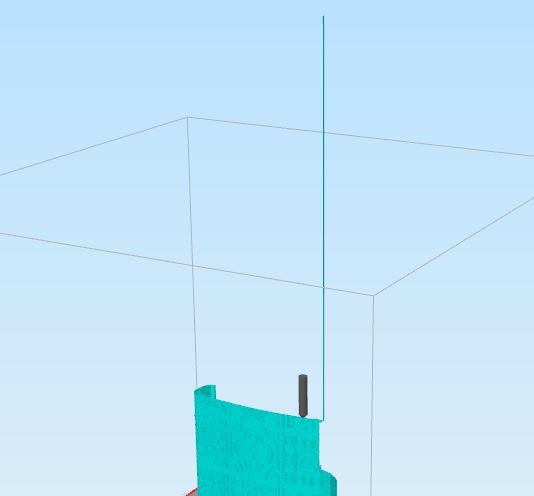
which design is is - I found that one or two of them have some errors in the stl that cause a wierd z shift just on that point and it means that the printer pops up for a second, oozes and then pops down again and then resumes as normal. I contacted Joris but he cound not see a problem - so I fixed one in meshmixer (the lucky cats case - there was a tear there, and the Day 3 case I edited the Gcode where there was a jump in the z and removed it.)
So it depends on whcih design it is as everything else looks good.