OK, looking at your picture, this is not supports, but a raft. Rafts are notoriously difficult to remove. The key is to print it with the least percentage of raft you can get away with.
Ideally, you should get to the point where you print the first layer of your print directly onto your bed, which will make the print better, and remove the pain of the raft and dealing with it.
As for supports, set your offset from the support and the model as large as you can get away with, and with the sparcest % of support you can get away with. It depends on the model of course, but good bridging=less support and better offsets.
Yes you are right, it is better to let them face right where the fan is. There are mods out there to give you a dual fan set up from both sides which can be helpful in some prints.
About burn marks… There are two types. One is the nozzle burning the print, another is accumulated gunk on the nozzle which turns brown and then get dragged onto your prints. In some cases it’s good to pause the print (hold down the knob for around 5 seconds) and clean the nozzle. During unpause the nozzle will purge once more, clean it with tweezers and click on the knob again.
Printing two pieces leaves some extra time to cool after each layer so bridging will sometimes have better results.
Do you mean you can’t turn the front thumb screw because it’s stuck? Or you can turn it but the build plate doesn’t move up and down? This is an important distinction.
Don’t worry the 3D printer looks like a complicated machine when you’ve never taken it apart before. The M200 is quite well designed so you can put it back together easily. The screws and thumb screws can be replaced easily.
If you can’t even turn the thumb screw then you should definitely contact your reseller and get them to resolve it as it may be a manufacturing defect. If the build plate is not calibrated correctly, the prints will not be optimal as they should be. It is quite sensitive as you are talking about layer heights of a 10th of a millimetre.
this blurry gif is what I meant by “depressing the plate”. More like pinching it together, this relieves the pressure on the thumb screw and you should be able to completely unscrew the thumb nut. If that’s possible it means you can use this way (temporarily) with gloves during the calibration to move the thumb screw up and down.
Worst case scenario is that you cannot pinch the plate down as the screw is fully compressed already.
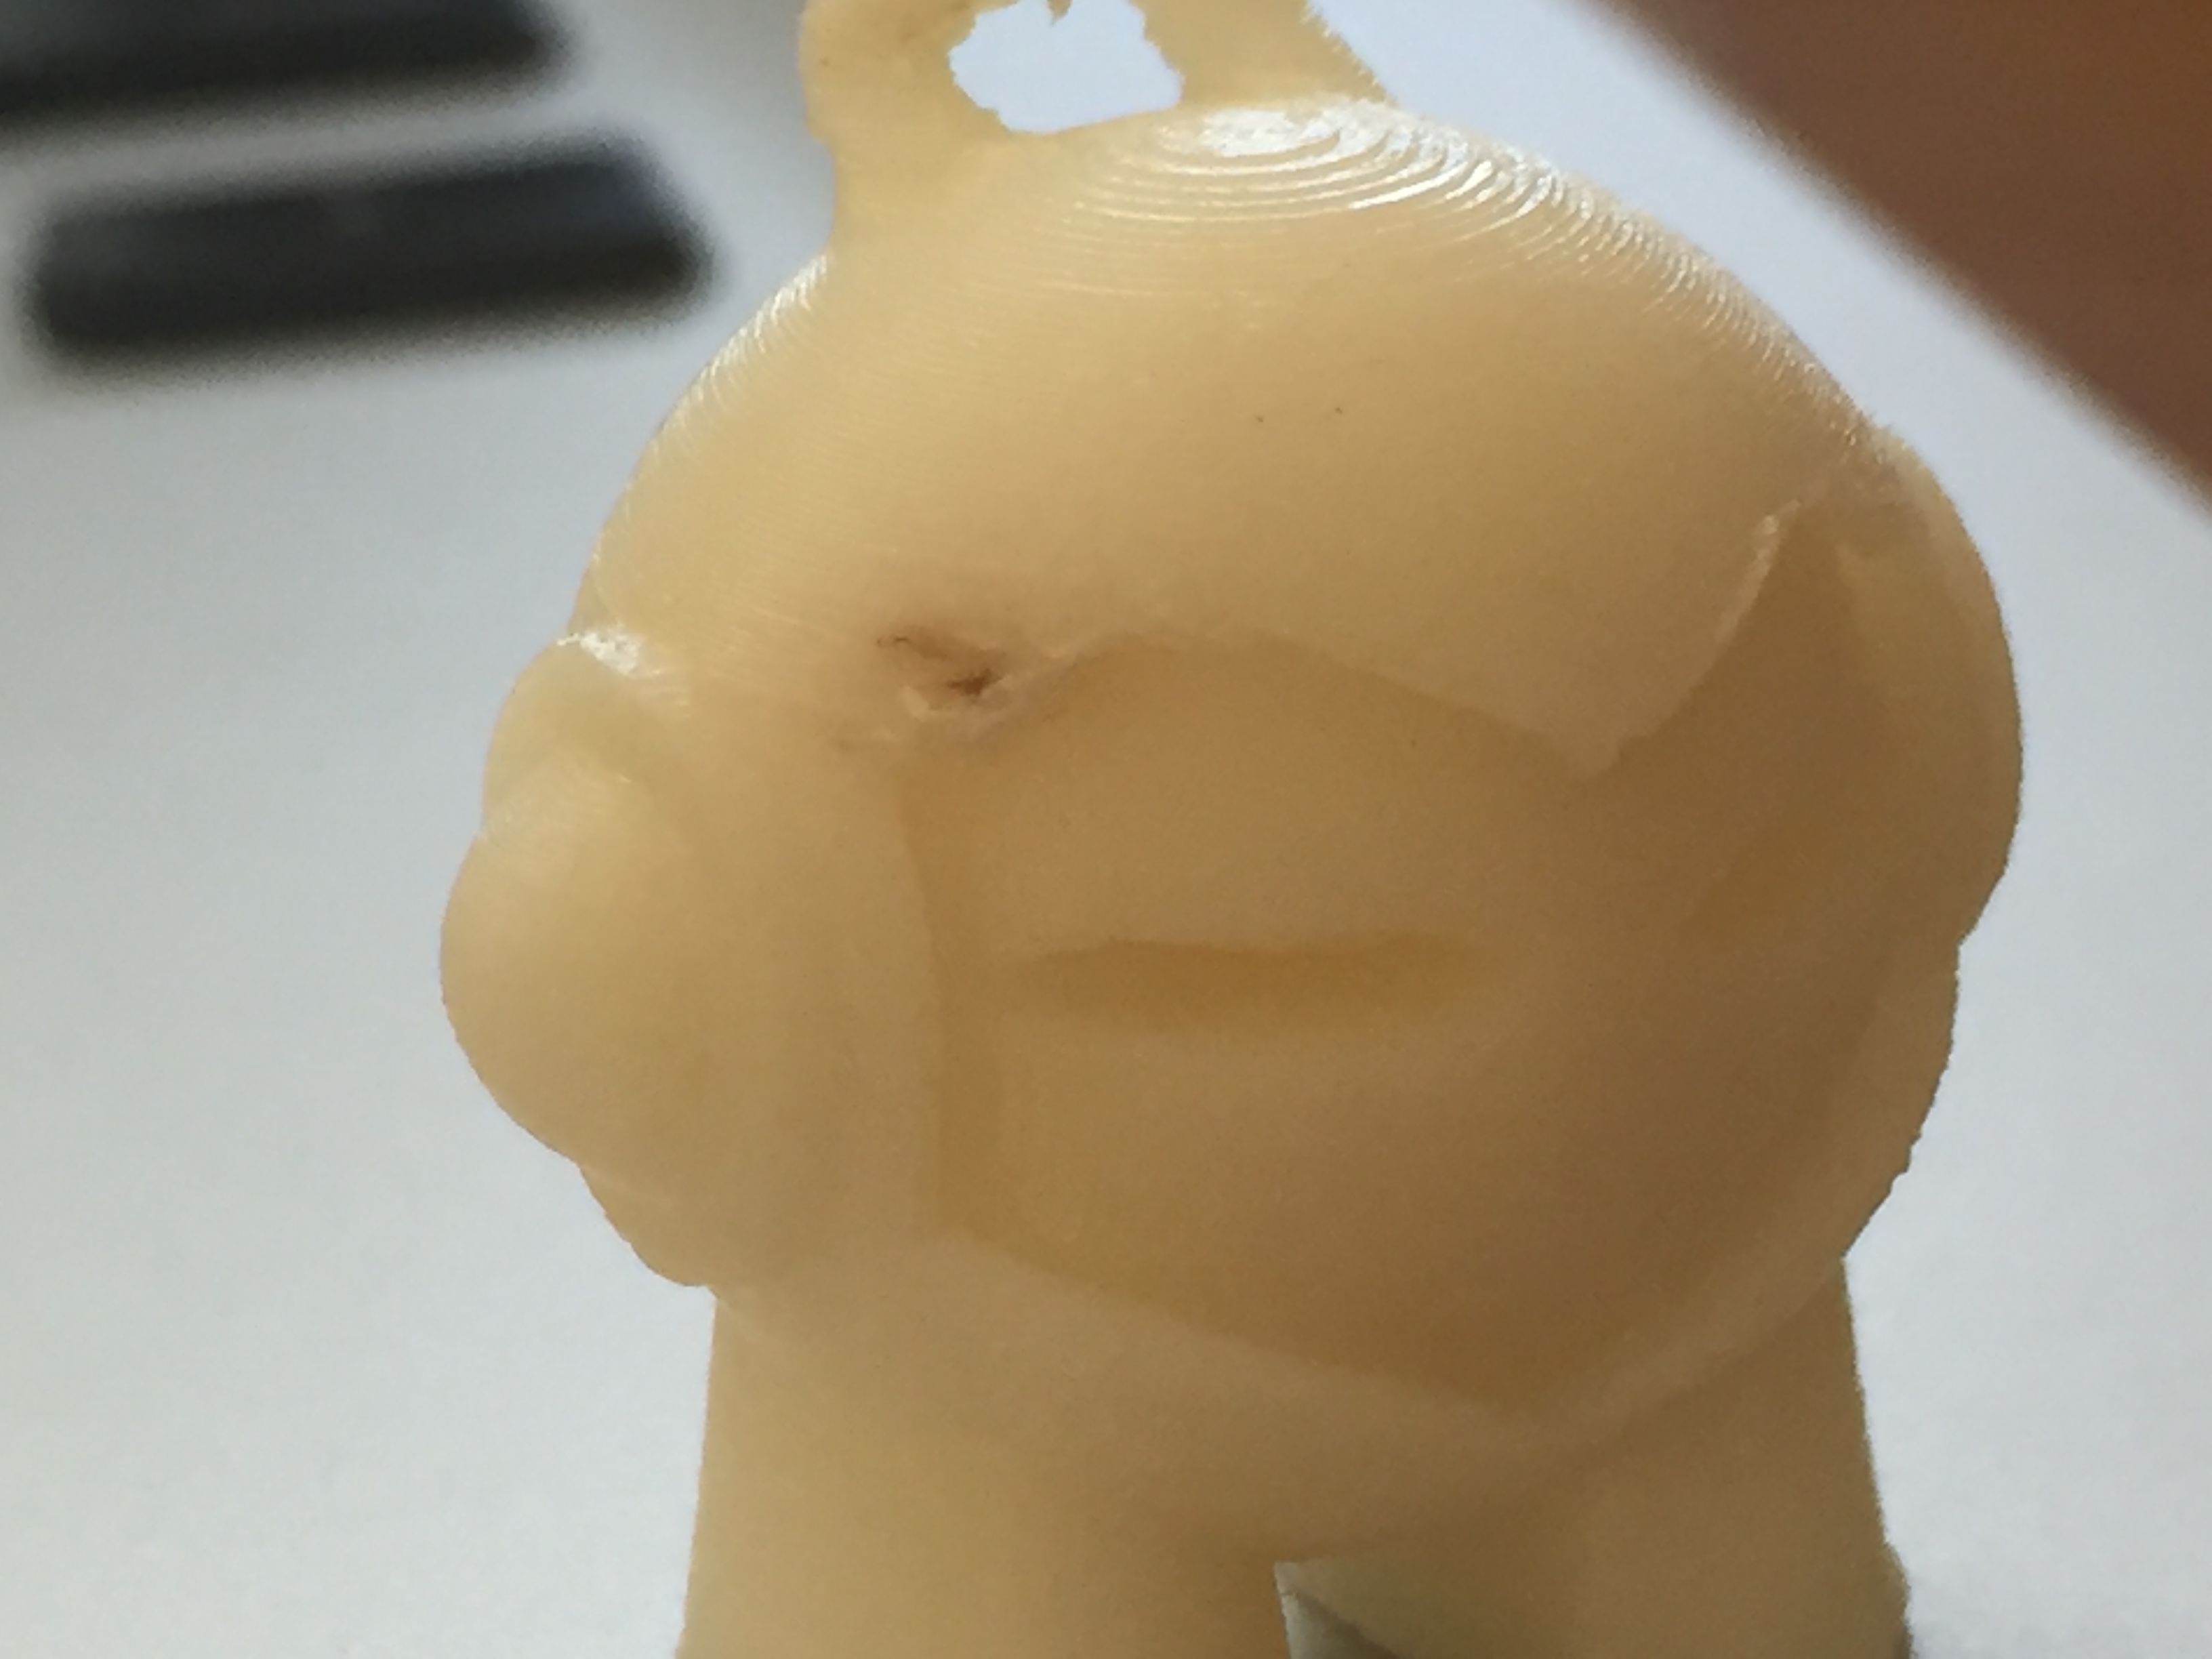
It is helpful to know there are two different types of burn marks. I turned the Marvin to face the fan and I still got the same burn mark in the top-left corner of Marvin’s face.
The Print Settings are:
0.09mm, Infill Max, Support 0%, Fan 100
The burn mark is more noticeable when the Infill is set to Maximum. Given that information, I am guessing it is the accumulated junk?
I guess I don’t really know how much of an effect the Infill has on the model’s integrity, just beyond the obvious. I set it to Max or High because I think the print will be the best quality. Would love to know your opinion.
Depressing the front plate (pinching it) did the trick! Thank you!
I had to dissemble the front thumb screw to see how it works. Once I saw it was just a few pieces, I figured out how tightening and loosening would work if you depress the plate because it creates a gap for the thumb screw to travel more freely up and down.
Cheers for that!
Did you happen to see my last comment? I have been trying to resolve the burn mark.
I checked out your hub. Did you take your printer offline? You’re in Honkers! That’s cool. I love Hong Kong.
My hub is @3DMuse based in Germany, that’s another James
Glad that worked. I can tell you, you’re not the only one with the thumb screw problem. I’ve read about it quite a few times online, lucky the pinching trick works for me.
I still havn’t solved the burn mark on my machine, I find it pretty annoying too especially on white. This is the area where we as users have little control of, I would be interested in seeing what the guys at support have to say about this. Usually I pause the print midway and wipe the nozzle using some folded aluminum foil or steel wool to keep the prints clean. Hope they can fix it either through Z-Suite, Firmware or filament.
You have the same burn problem issue? Okay. Sorry that is happening to you too, but it makes me feel better knowing it is out of my control.
What’s strange about the burn mark, though, is that it is always in the same place! No matter where the face of the Marvin is orientated (towards the fan or away from the fan), the burn mark is in the exact same location. What’s more, I printed two Marvin’s, and again, the same burn mark in the same location.
This to me means that something screwy is going on with the model.


 like if you are printing 0.4mm then the spacing between raft and model should be 0.2mm.