Thanks for the comment @shahramrobotics
You’re saying that the distance between the model and the raft should be proportional to half the model’s height, so would there be a layer of space or just extra support material?
Half of layer height, not the model height
2 Likes
Perry_1
September 12, 2016, 2:17pm
5
OK, looking at your picture, this is not supports, but a raft. Rafts are notoriously difficult to remove. The key is to print it with the least percentage of raft you can get away with.
Ideally, you should get to the point where you print the first layer of your print directly onto your bed, which will make the print better, and remove the pain of the raft and dealing with it.
As for supports, set your offset from the support and the model as large as you can get away with, and with the sparcest % of support you can get away with. It depends on the model of course, but good bridging=less support and better offsets.
1 Like
@shahramrobotics , oh, right… haha… that makes sense. Thanks.
Hi @Perry_1 ,
That makes sense, thanks! I have been recently testing the Marvin stl with various settings to try and get a good quality print.
If the layer height is set to 0.09mm and a maximum infill, then wouldn’t printing the raft be overkill since the model is being printed with a high degree of stability?
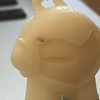
The Marvin part has a slow steady curve from bottom-to-top. I can see why maybe a raft here would not be useful. But, maybe you have an opinion on this.
I guess I’m just wondering how the overhanging material cools after it’s been printed. If the infill is maxed, then the outer surface will presumably “stick” to the inner material, so I couldn’t imagine many aberrations in the topology of the surface?
Cheers.
1 Like
3DMuse
September 13, 2016, 12:34pm
8
Hello @sclouston ,
I own the M200 and have had this problem on some of my prints before but it is mostly a calibration issue. In general, the rafts come off quite easily. There are some cases where the raft from my PC-ABS or Z-PETG prints stuck too well and I had to use an Exacto knife to remove it. The raft is sticking too well because the Z-gap (distance between nozzle and build plate) is too small, sometimes due to the build plate bulging up in certain areas. So, if the raft doesn’t come off easily it is because the platform is either not calibrated properly or is not completely even. Try calibrating your platform and print again. If the problem persists, try moving the object to another spot on Z-Suite.
Regards,
James
1 Like
3DMuse
September 13, 2016, 12:50pm
9
If you would like to see how an FDM printer, specifically the M200 prints overhangs, try this file > Bridge Torture Test by triffid_hunter - Thingiverse
In Z-Suite, slice the file using any layer height, 140 or 190 microns is fine. The thing about overhangs is it depends on how quickly it cools after it leaves the nozzle. In the nozzle it is in the glass transition phase where it is soft and viscous. Once it cools it becomes hard, this is the job of the cooling fan on the right of your M200 nozzle. Sometimes it doesn’t cool quickly enough and you see the layers drooping.
Here comes the fun part: Under “Print Cooling” turn off Auto and try different (fan speed) percentages. Try with no fans @ 0%, try 50%, try 100% and you will notice the difference in bridging. The optimal percentage depends on other parameters as well but in this case you only need to focus on the fan speed.
It’s a fun experiment but keep in mind to put it back to Auto during normal printing. With the M200 you usually don’t need to play with any print parameters as the software side is already as good as a desktop FDM can get. You only need to make sure the hardware is in top condition by keeping it clean, well lubricated and well calibrated. And of course, stick to Zortrax filaments as the ratio of A, B and S is made specifically for the print profiles set in the software. Some people dislike this feature but that’s a topic for another thread
Cheers,
James
1 Like
Hi @James ,
Thanks for file. I will try it out once I get the correct settings for my marvin. I’ve gotten some good advice that printing with the least amount of rafting is best.
When you have overhangs, is the rafting needed, or it just up to the fan to cool the plastic fast enough?
I’ve read printing two of the same parts at the same time, side by side, works like a charm for certain prints.
Thanks again!
Shannon
1 Like
Hi @James ,
Good advice on moving the part to another part of the bed!
I’ll try and get the bed level, but it is incredibly finicky when leveling. I have cleaned the top of the perforated plate and opened it up to clean the insides. It looks like the perforated holes have been filled with filament, but not sure how to get them out, even after using the spatula, sand papering the back side and wiping with the an acetone-dipped cloth. I’m thinking now I should just let the acetone rest over the affected areas…
Thanks,
Shannon
1 Like
3DMuse
September 13, 2016, 7:26pm
12
Hello @sclouston ,
One must first understand the purpose of the raft. In other printers, one has to use blue tape or glue and fiddle around with the first layer height, speed and temperature to get it to stick. If all else fails then they add a raft but that is using more material and might “scar” the bottom of the print if the raft settings are not set well. You see, for the raft to stick very well or not stick at all is only a difference of a few hundred microns, less than a millimeter, so not a lot of people can get the settings just right.
Zortrax is the best Plug and Play printer out there. Why? Because the raft always sticks to the perforated plate and your parts always stick well with the raft. Yes, it uses more material but the software makes removing the raft easy and barely scars the bottom of your print.
The raft has nothing to do with overhangs. Only the fan or any ambient air that cools the filament plays a role. Perhaps extrusion temperature as well.
In some case maybe you don’t need a raft but with Zortrax it is not possible to turn it off. There are some tricks to get rid of the raft but that is the realm of hacking, a topic for another thread.
Printing multiple objects side by side makes sense when you have a small area to cover per layer. Each layer needs to cool down sufficiently so it does not sag. The top part of the Marvin where the keyring is attached is such an example. If you’re only printing one, the layers get too hot and it starts to sag. If you print a 2nd Marvin beside it, the previous layer has time to cool down making it more stable to print on when it’s time for the next layer.
Regards,
James
1 Like
3DMuse
September 13, 2016, 7:30pm
13
Hello Shannon,
can you elaborate on why it is finicky when leveling? Do you get the same screen as shown here?Platform Calibration in M Series 3D Printers | Zortrax Support Center
The new firmware lets you know how much you need to turn the knob.
The filaments inside the holes don’t have to be removed as they pose no serious problems. Try not to use too much acetone unless you are certain it does not dissolve any paint or coatings on your plate. A quick wipe is fine.
Cheers,
James
1 Like
@James ,
During auto-calibration, the Rear-Left and Rear-Right calibration wheels function correctly, and I can get them leveled perfectly, but the one in the front does not. I spent about 20 minutes turning it the direction the machine was asking me to turn and it and it hung on 0.23mm. I then tried loosening it and it again said it was 0.23mm. I then turned the machine off and tried calibrating it and the front plate did not move up or down.
I don’t think the front plate is functioning correctly. I would like to take the front calibration wheel apart, but there are no videos on the Zortrax Support for that.
From the screenshots you should be able to see a few mm in clearance. And, yes, I am using a business card to manually level the front plate.
Not sure what to do, but I would like the front plate leveled.
Thanks,
Shannon
1 Like
3DMuse
September 13, 2016, 10:02pm
15
Hello @sclouston ,
Ok I see what’s your problem now. I can assure you that once you get it properly calibrated using the auto-calibration the rafts will peel off like it should.
What you are experiencing are the terrible thumb screws. You could either replace them but here’s a temporary fix. During calibration of the front screw, push down the plate gently while applying minimal pressure to turn the front thumb screw. You will notice once the plate is slightly depressed, the thumb screw can turn. Follow the instructions on the screen as to how much to turn. Like I said this is a temporary fix but I have been doing this for 9 months already
Let me know the results!
James
1 Like
@James ,
Sounds like a good fix. I will try your method during auto-calibration - thanks for all your help and suggestions!
On a side note, do you know if the direction the parts are facing has an impact on how they will turn out? For instance, when I try to print the Marvin’s, if they face the front door of the Zortrax, there is a slight burning on the top left of the face. I printed one by itself and noticed a slight warp and then decided to print two together and the burn became more noticeable. I am thinking maybe because the fan isn’t able to reach this corner? I guess I read that printing two parts together can help with cooling.
Cheers,
Shannon
1 Like
@James ,
I tried depressing plate while screwing and the screw just won’t budge. I think there’s something just not right with the thumb screw. The back two move just fine and when I manually calibrate with a business card, I can see the resistance increased or decreased when I tighten or loosen them, but the from screw doesn’t do anything either way.
Once the plate is off, I can see the front screw takes an allan wrench. I’m not sure what to expect when I take it apart. And even if I do take it apart, I’m not sure what will come of it.
3DMuse
September 14, 2016, 11:18am
18
Hello @sclouston ,
Yes you are right, it is better to let them face right where the fan is. There are mods out there to give you a dual fan set up from both sides which can be helpful in some prints.
About burn marks… There are two types. One is the nozzle burning the print, another is accumulated gunk on the nozzle which turns brown and then get dragged onto your prints. In some cases it’s good to pause the print (hold down the knob for around 5 seconds) and clean the nozzle. During unpause the nozzle will purge once more, clean it with tweezers and click on the knob again.
Printing two pieces leaves some extra time to cool after each layer so bridging will sometimes have better results.
Regards,
James
3DMuse
September 14, 2016, 11:30am
19
Hello Shannon,
Do you mean you can’t turn the front thumb screw because it’s stuck? Or you can turn it but the build plate doesn’t move up and down? This is an important distinction.
Don’t worry the 3D printer looks like a complicated machine when you’ve never taken it apart before. The M200 is quite well designed so you can put it back together easily. The screws and thumb screws can be replaced easily.
If you can’t even turn the thumb screw then you should definitely contact your reseller and get them to resolve it as it may be a manufacturing defect. If the build plate is not calibrated correctly, the prints will not be optimal as they should be. It is quite sensitive as you are talking about layer heights of a 10th of a millimetre.
Regards,
James
Hi @James ,
The front thumb screw can turn freely. However, when turning the front thumb screw, the plate does not move up or down.
[Edit] The Zortrax Support team are asking for me to make a video. Will let you know the results.
Thanks,
Shannon
3DMuse
September 14, 2016, 5:48pm
21
Hello Shannon,
this blurry gif is what I meant by “depressing the plate”. More like pinching it together, this relieves the pressure on the thumb screw and you should be able to completely unscrew the thumb nut. If that’s possible it means you can use this way (temporarily) with gloves during the calibration to move the thumb screw up and down.
Worst case scenario is that you cannot pinch the plate down as the screw is fully compressed already.
Regards,
James
Hi @James ,
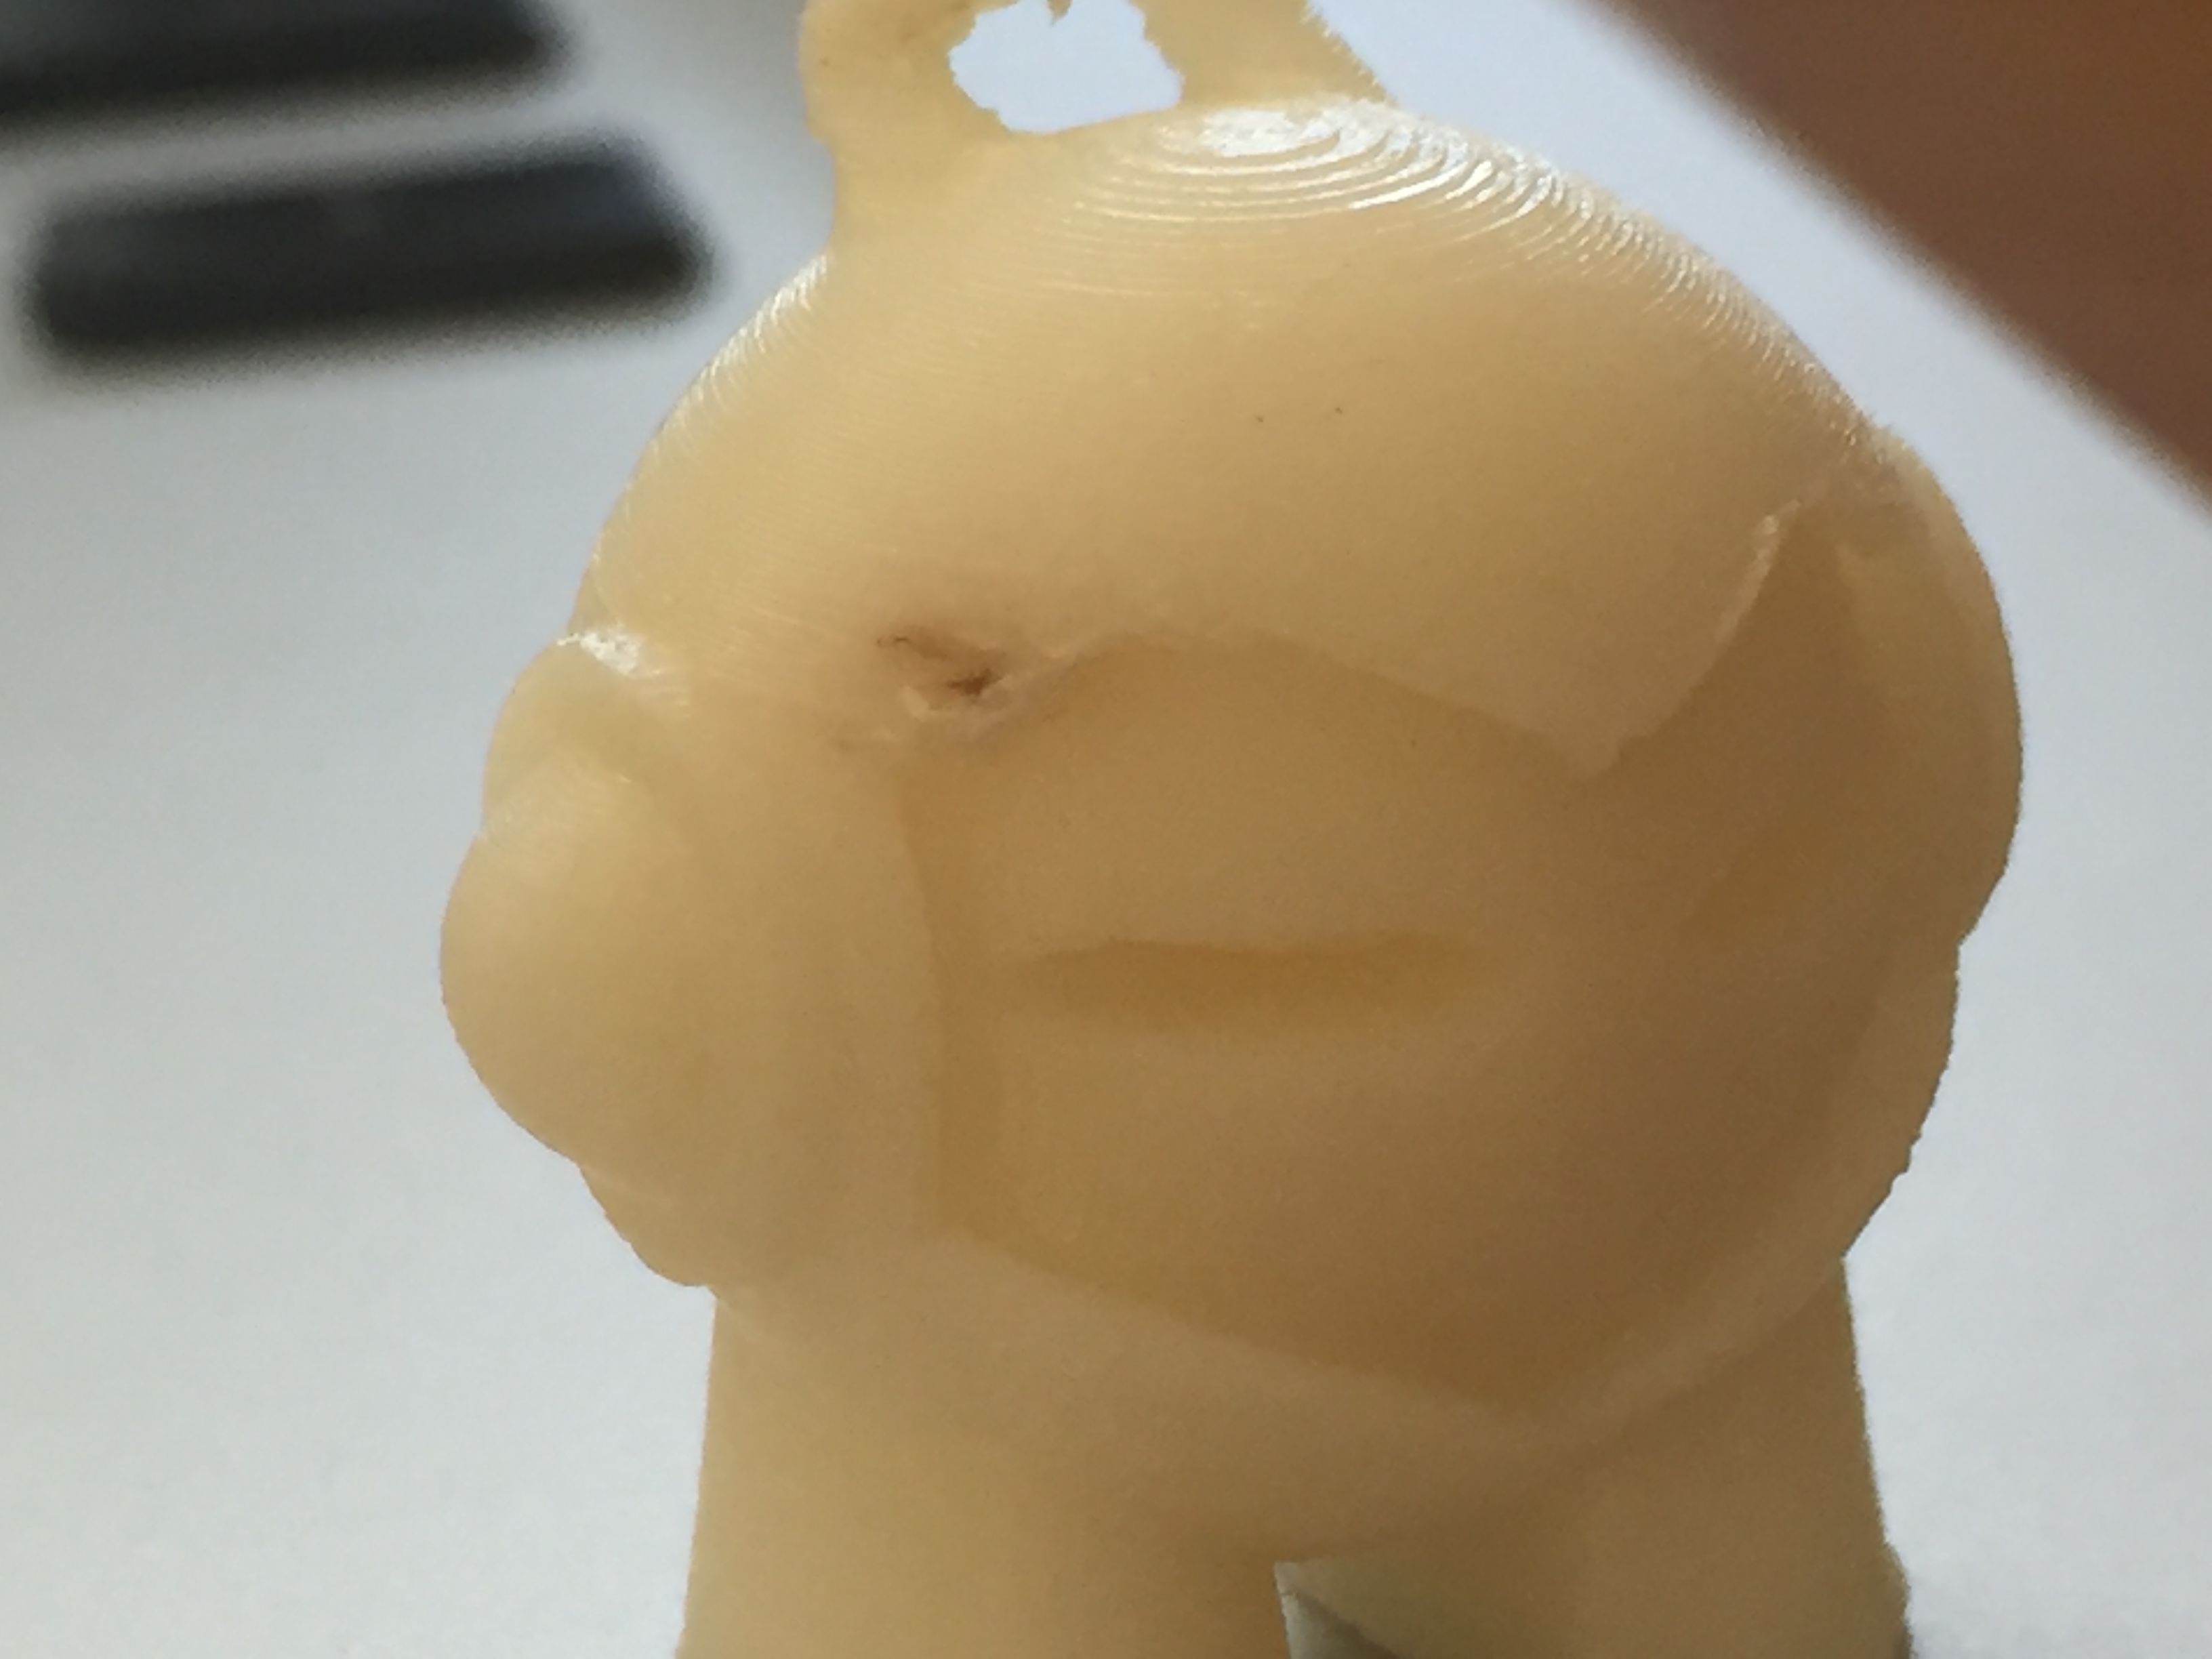
It is helpful to know there are two different types of burn marks. I turned the Marvin to face the fan and I still got the same burn mark in the top-left corner of Marvin’s face.
The Print Settings are:
0.09mm, Infill Max, Support 0%, Fan 100
The burn mark is more noticeable when the Infill is set to Maximum. Given that information, I am guessing it is the accumulated junk?
I guess I don’t really know how much of an effect the Infill has on the model’s integrity, just beyond the obvious. I set it to Max or High because I think the print will be the best quality. Would love to know your opinion.
Shannon