What is anodizing?
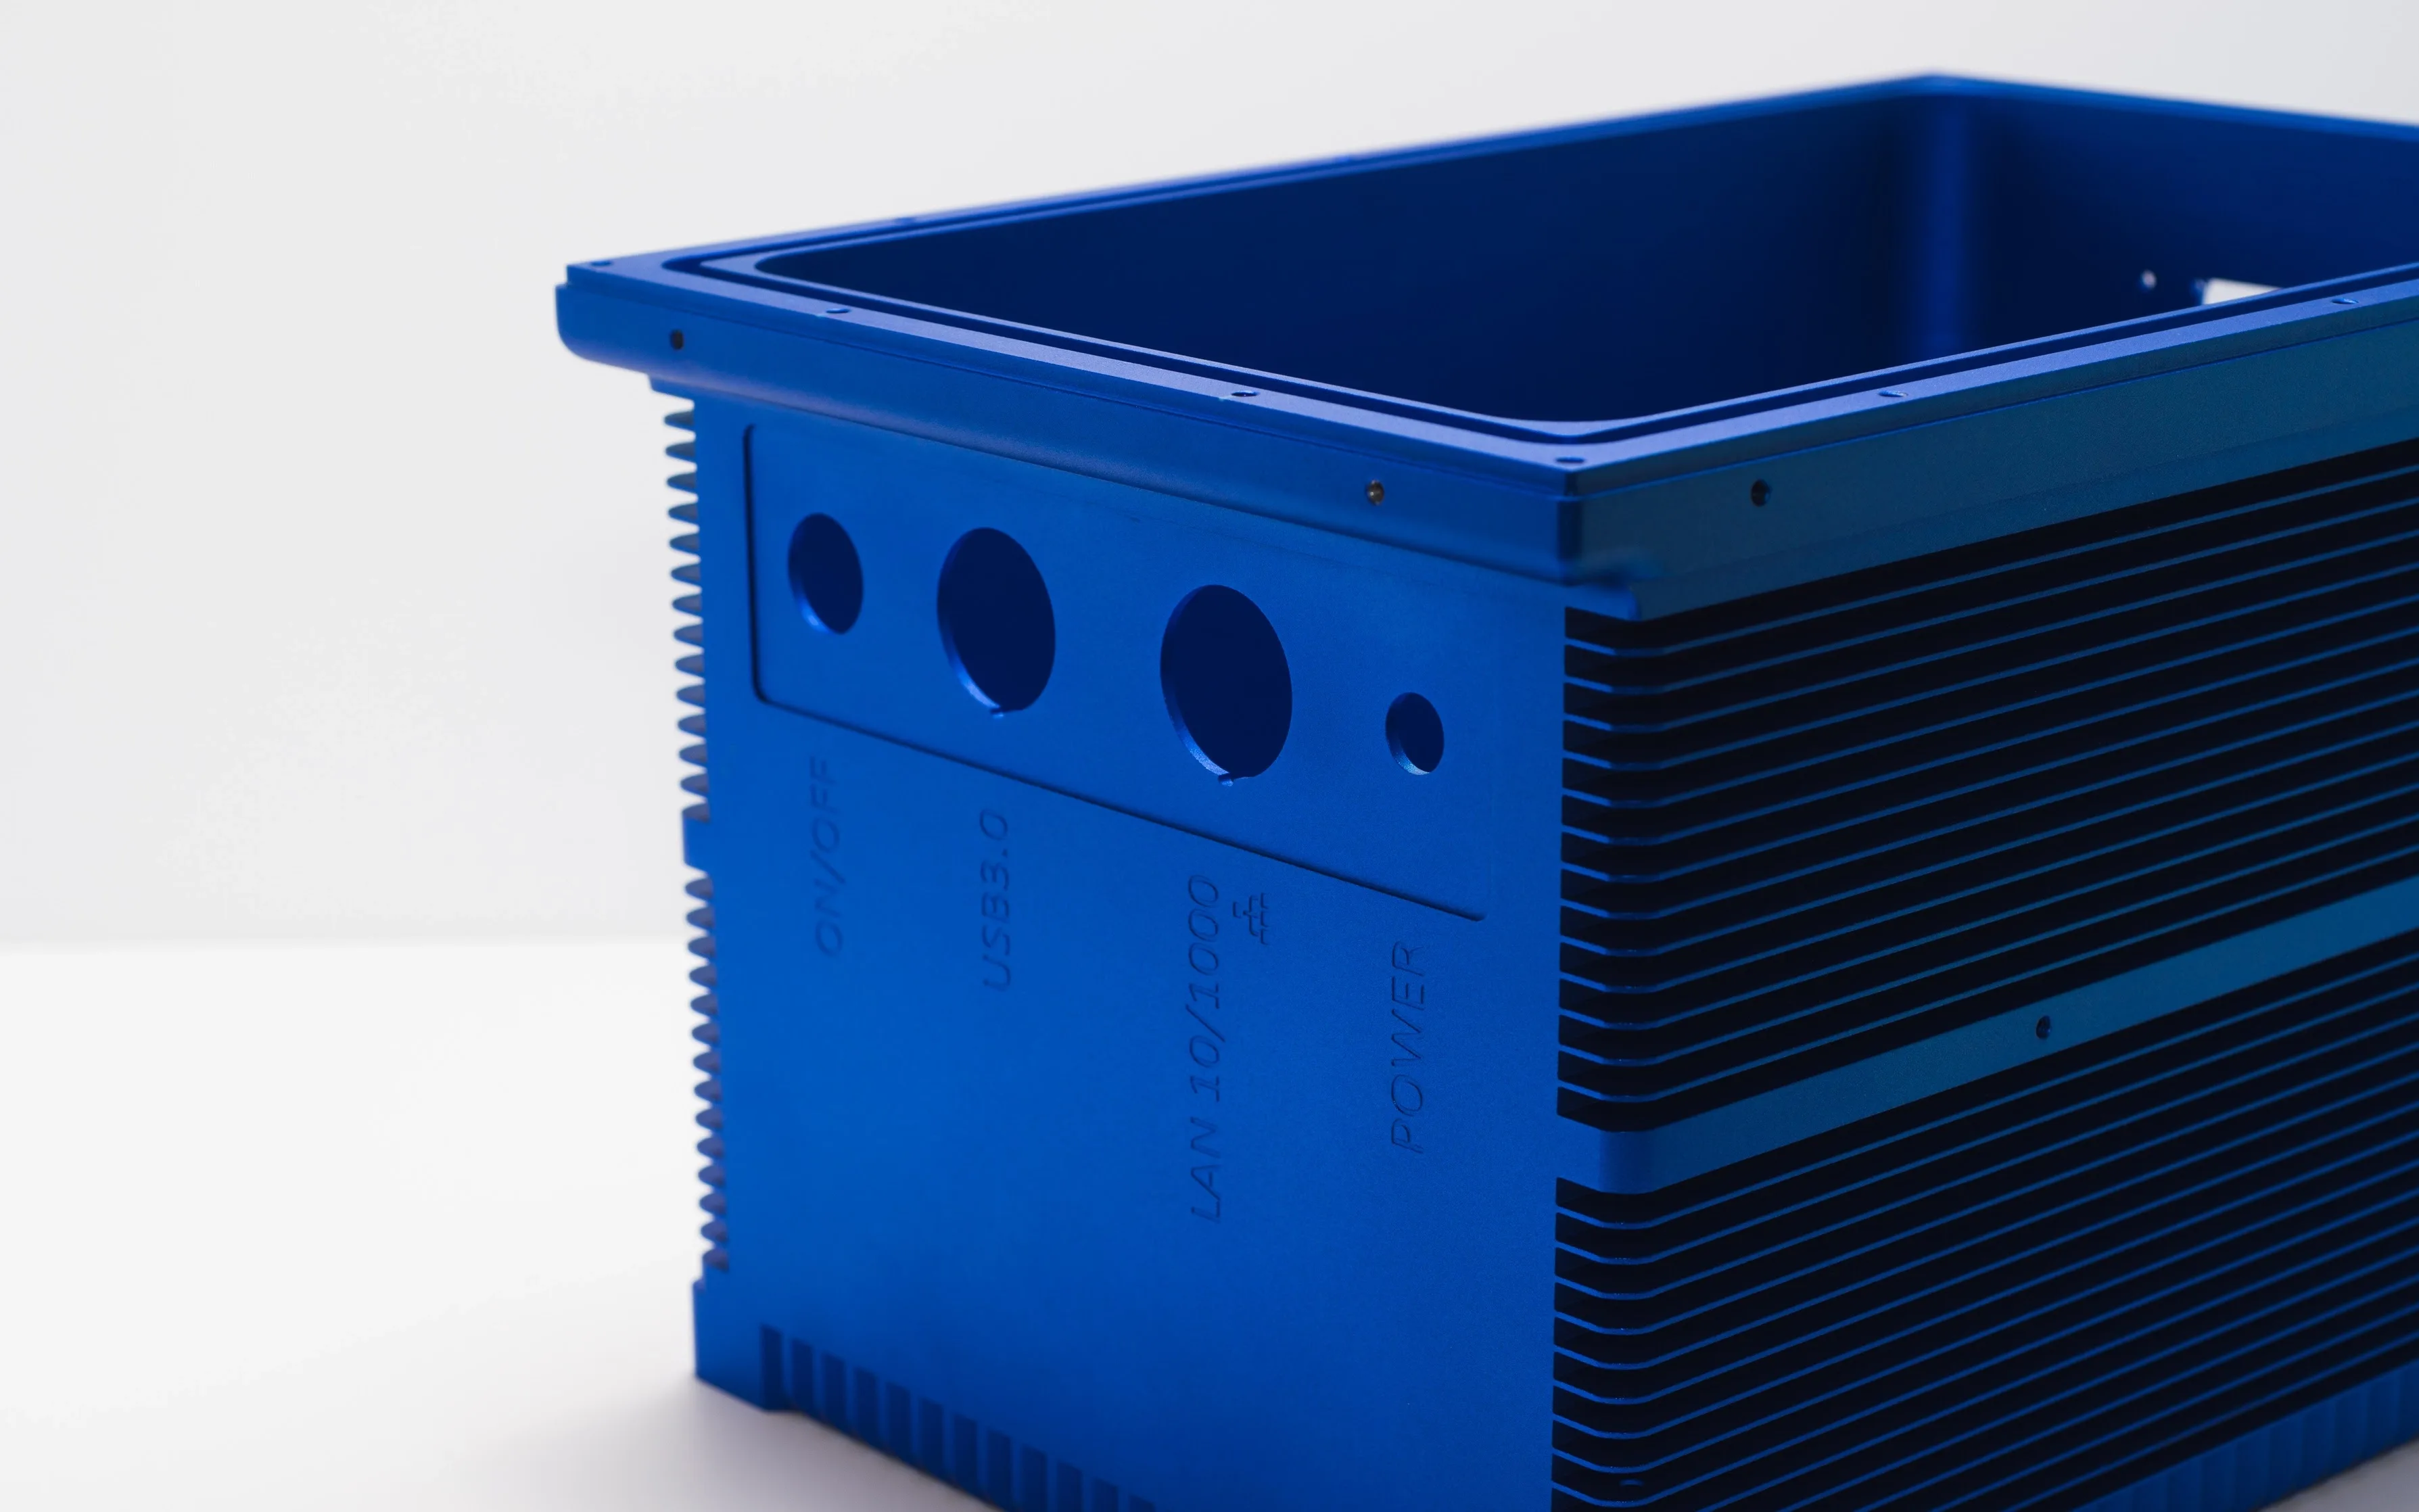
Anodizing is an essential process in manufacturing aluminum CNC machined parts. This electrochemical process coats a metal part with an oxide surface layer, enhancing its sturdiness and providing an attractive finish. While most commonly applied to aluminum, other metals such as magnesium and titanium can also undergo anodizing.
This process offers improved resistance to corrosion and wear, ensuring that parts retain their cosmetic appearance over time. Manufacturers often outsource anodizing to specialized third-party providers, similar to services for heat treatment, tempering, or electroplating.
There are three common types of anodizing: Type I (chromic acid anodize), Type II (sulfuric acid anodize), and Type III (hardcoat). Each type is suited for different materials and has distinct manufacturing parameters. While each type offers specific benefits and potential drawbacks, they all function in a similar manner.
In this article, we explore the anodizing process, covering common manufacturing parameters, along with the key advantages and disadvantages across various applications. If you are ready to proceed with production, visit our page to learn more about our surface finishing services.
Did you know we offer local sourcing for CNC machining?
How does anodizing work?
The term "anodizing" stems from the process itself. To anodize a part, it is connected to the positive terminal of an electrical circuit, known as the anode. The part is then submerged in an acidic electrolyte bath containing chemical compounds like sodium phosphate, creating an environment rich with positive and negative ions.
Once submerged and secured to prevent movement, a metal electrode connected to the negative terminal (the cathode) is introduced into the bath. Applying voltage causes the negative electrode to attract positive ions (cations) from the part, while negative oxygen ions (anions) from the solution are drawn to the aluminum part.
This results in the following steps:
-
The part is turned into an anode with a positive charge.
-
Metal plates are converted into the cathode with a negative charge.
-
Both are submerged in the acidic bath.
-
Voltage is applied across the circuit.
-
Aluminum ions are extracted from the part, forming pores.
-
Oxygen ions are drawn to the part’s surface.
-
A hard, corrosion-resistant aluminum oxide layer is formed through this reaction.
This process creates a durable oxide layer on the part, enhancing its resistance to corrosion and wear.
How do you anodize aluminum?
Here is an introduction to anodizing and why it is an ideal finishing process, especially essential for custom aluminum parts. The process includes steps such as correct racking, cleaning and etching, desmutting, coloring, sealing, curing, and wrapping.
What are the parameters and properties of anodizing?
Here are the parameters to consider with anodizing:
-
Time
-
Voltage
-
Electrolyte composition
-
Current density
-
Temperature
-
Anodizing regime
-
Pre-treatment
Adjusting these parameters can modify several material properties, including:
-
Hardness
-
Color
-
Porosity
-
Thickness
-
Corrosion resistance
-
Biocompatibility (useful for medical implants)
Regarding thickness, the duration spent in the acidic solution influences the depth of pores and the thickness of the aluminum oxide layer. Anodized coatings typically range from 8-16 μm, with hardcoating reaching 35-50 μm.
For more detailed guidance on selecting the appropriate anodizing process, visit our Surface Finish Service page or explore our Help Center.
What’s the difference between anodizing and electroplating?
If you're familiar with electroplating, you might notice that anodizing shares some similarities. Comparing these two processes can help highlight anodizing as a distinct and crucial step in fabricating CNC aluminum parts.
Like anodizing, electroplating involves placing the part in an electrolyte bath and applying an electrical charge. However, the key difference is that in electroplating, the part is charged negatively, making it the cathode, rather than the anode as in anodizing.
In electroplating, the anode is made of the material to be plated onto the part, such as gold. The circuit allows positively charged ions to move toward the cathode (the part), coating it with a thin, even layer of the plating material.
How does anodizing work in practice?
Anodizing follows similar steps to many other finishing processes. In practice, this involves the following steps:
-
Prepare the surface
-
Anodize
-
Clean the parts
-
Add color
-
Seal the pores
Prepare the surface
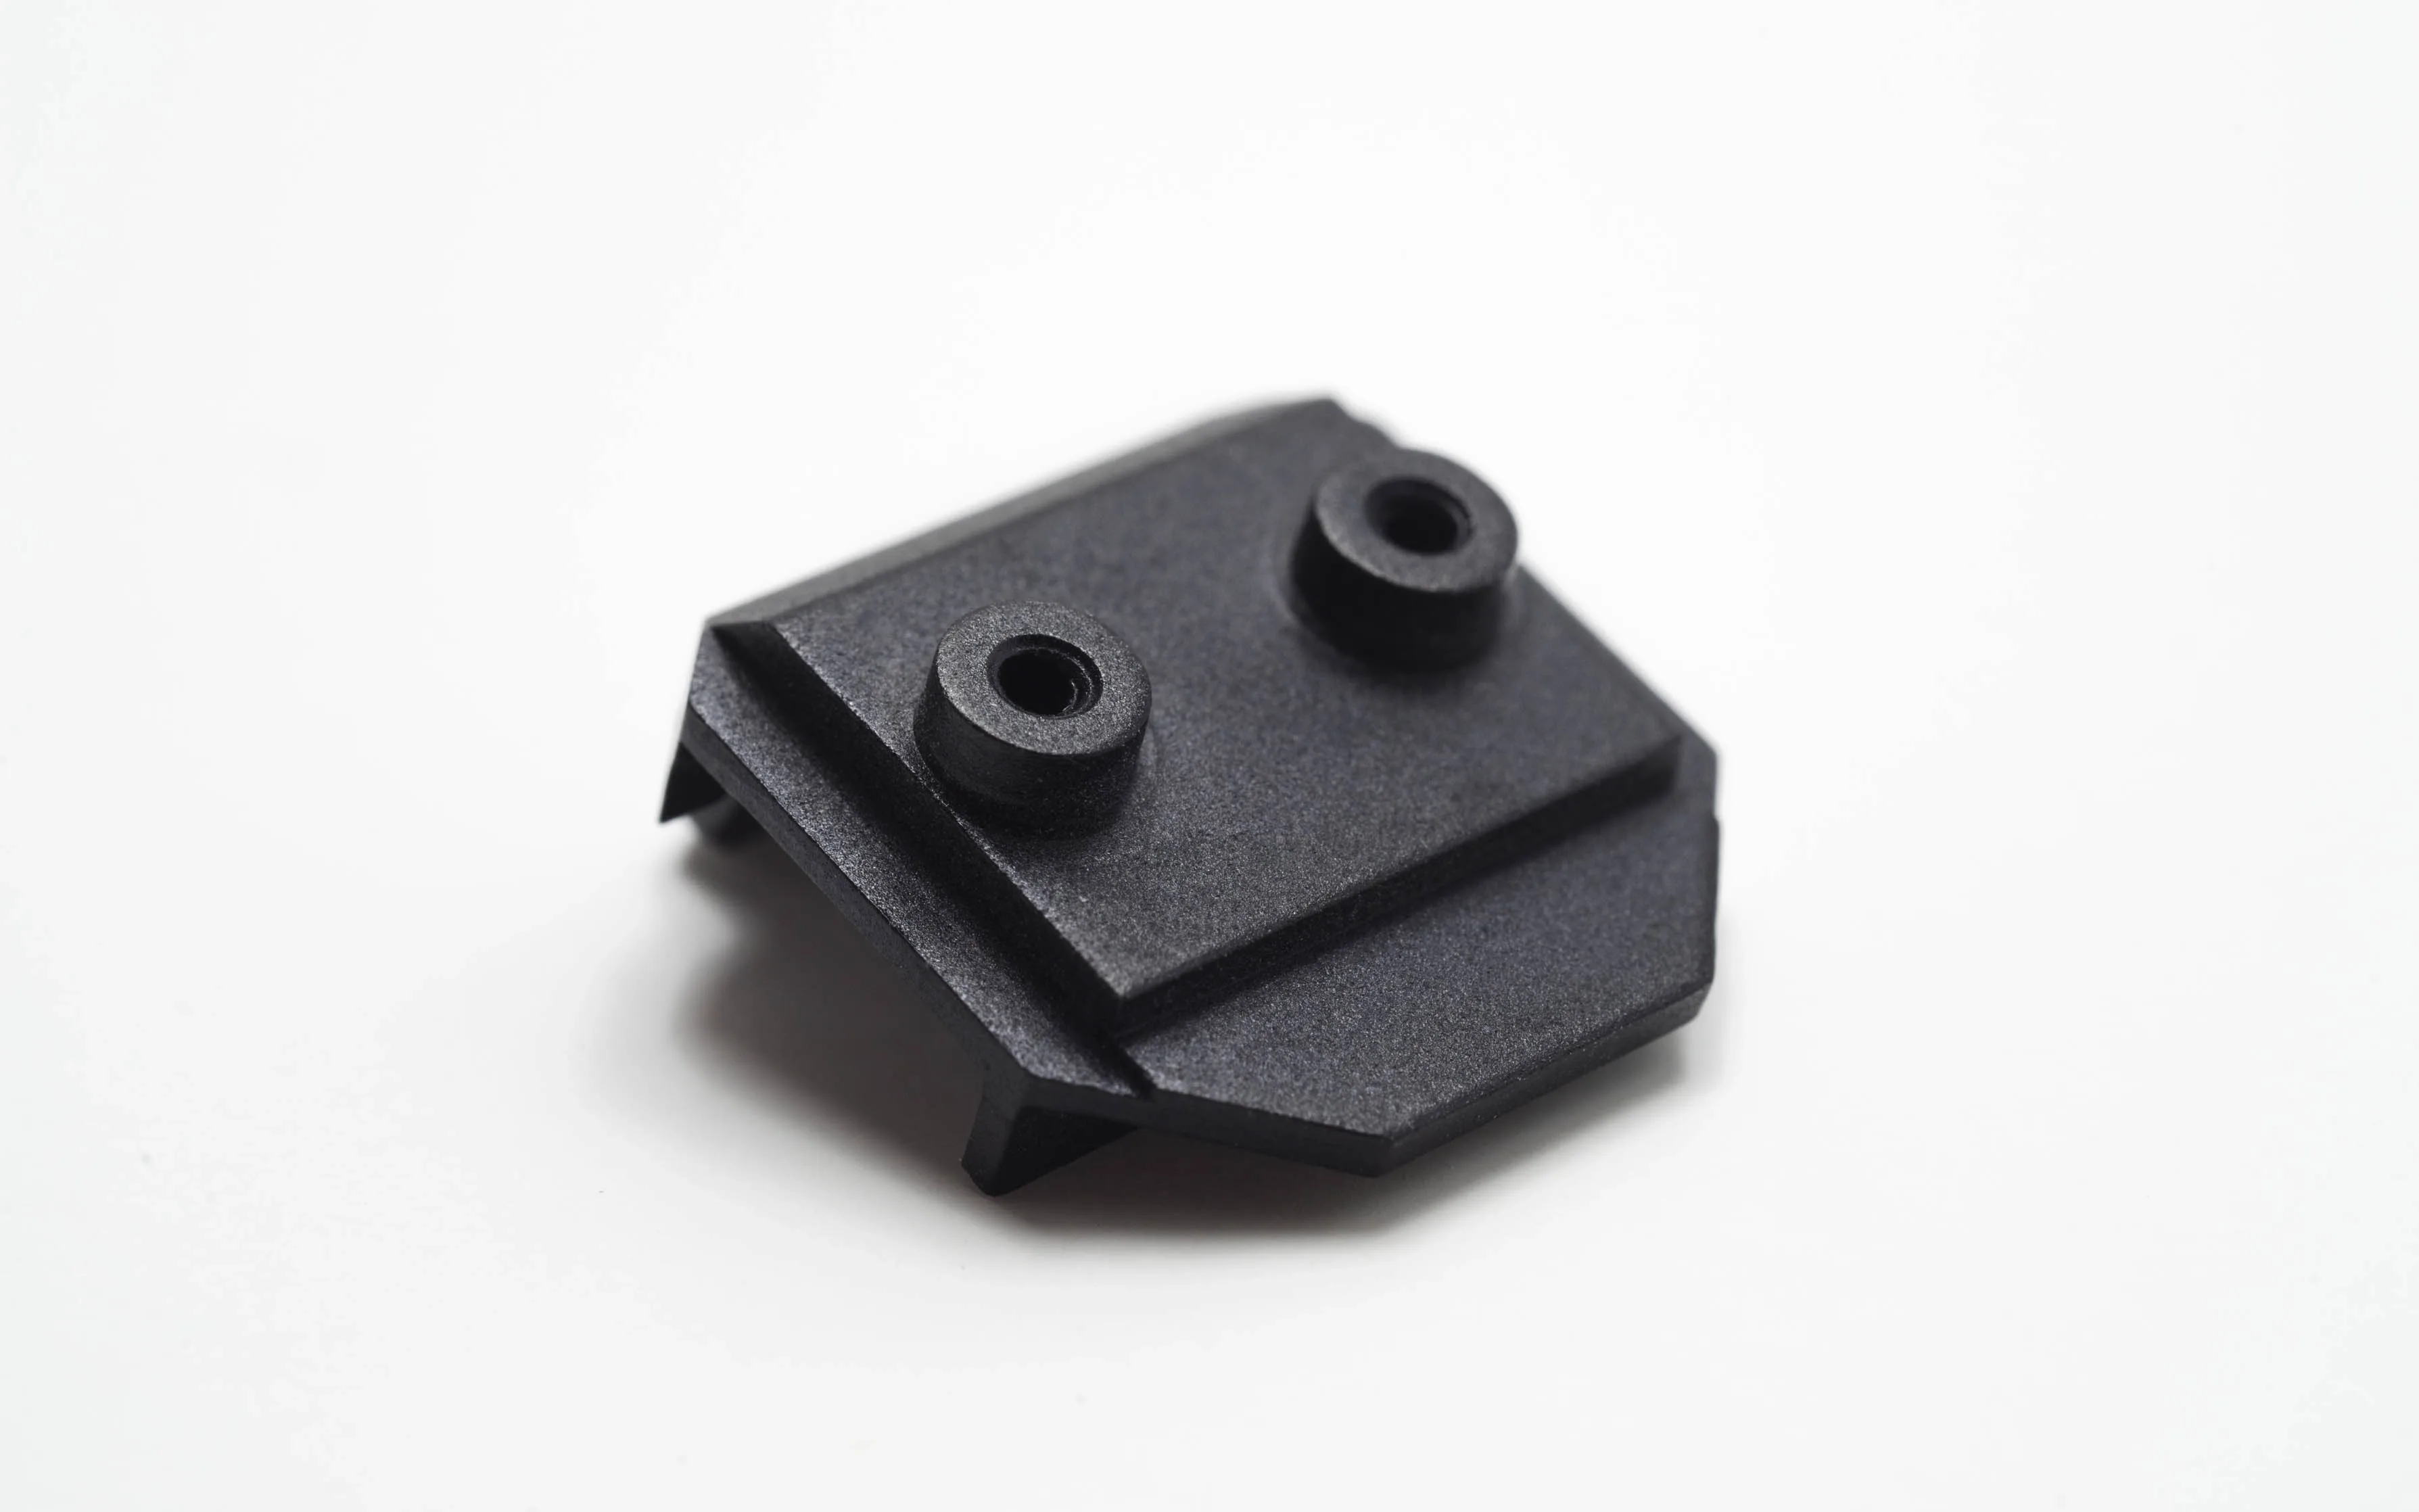
Before anodizing a part, it is important to prepare its surface using both mechanical and chemical methods. The process starts with polishing or bead blasting to achieve the desired visual appearance. Bead blasting provides a natural matte finish, while brushing results in a brushed appearance.
The chemicals used prior to anodizing can affect glossiness. For a smooth satin finish, etching is recommended, whereas bright dipping or chemical polishing is preferred for a glossy finish.
Rinsing the part with deionized water and other solvents removes impurities such as machining residues, oils, and coolants. Rinsed parts may then be placed in a chemical bath containing sodium hydroxide (NaOH) and nitric acid (HNO3) to scour the top metal layer. If the part has already undergone mechanical treatment, this step might not be necessary.
Additionally, specific areas of a part can be masked to prevent an anodized surface from forming there.
Anodize
In the anodization process, parts are submerged in an anodization bath while remaining connected to the electrical circuit. Various parameters such as solution composition, temperature, current density, voltage, and time can be adjusted based on desired properties.
Clean the parts
After anodization, the parts are cleaned using deionized water and solvents. Thorough drying ensures the removal of excess solution and prepares the part for the chromatic finish.
Add color
During anodizing, the color of the part can be controlled through the thickness of the oxide coating, which affects the reflection of visible light wavelengths, measured in nanometers, and allows for a variety of colors.
To achieve a bronze or black finish, the part is immersed in a solution of metallic salts, causing a reaction with the surface that fills the pores with the corresponding compound in a process known as electrolytic coloring.
For other colors, dip coloring is used, where the pores are filled with a dye solution. After dipping the part, it is placed in heated deionized water to stop further reactions. While dip coloring offers diverse color options, it is less durable, with potential color degradation over time due to UV light exposure.

Seal the pores
Following anodizing, it is essential to seal the microscopic pores on the part's surface. This step prevents further corrosion and enhances performance. Unsealed pores can make anodized parts feel sticky and may collect dirt, contaminants, and stains.
There are three common processes for sealing pores:
Hot DI sealing:
This method involves immersing the part in deionized water heated to near boiling. The water reacts with the surface to form hydrated aluminum oxide, or boehmite, which occupies more space than aluminum oxide and effectively fills the pores.
This process is straightforward and easy to standardize, although it can be energy-intensive and may cause dye bleed and color leaching on dyed parts.
Mid-temperature sealing
This process is less energy-intensive than hot sealing and involves using a solution of metal salts, such as nickel, magnesium, or cobalt, to react with the surface and fill the pores.
Mid-temperature sealing is well-suited for dyed parts and helps reduce sealing smut and surface mineral deposits. However, it can be more challenging to control and replicate with consistent accuracy
Cold or room-temperature sealing
Cold sealing uses nickel-fluoride formulations that react with the porous aluminum oxide layer, forming a sealed layer of fluoro-aluminate on the surface.
This process etches the surface to improve adhesion and performance and meets certain military and automotive specifications. It can be slow and may require a hot water bath to accelerate curing, which can make control more challenging.
What does anodizing do and why should you do it?
Anodizing offers significant benefits if the goal is high-quality, durable aluminum parts. The oxide layer is integrated with the material surface, ensuring it won't chip, peel, or crack over time, unlike paint or powder coatings. This results in anodized finishes having a very long lifespan due to superior bonding and adhesion.
The anodizing process also hardens the surface, reaching up to Rockwell 70C, enhancing durability and allowing the part to withstand extensive use. Due to this durability, anodized parts typically do not require frequent oiling, conditioning, or repainting. Additionally, hard-anodized aluminum acts as an electrical insulator, making it a viable insulating material when others are insufficient.
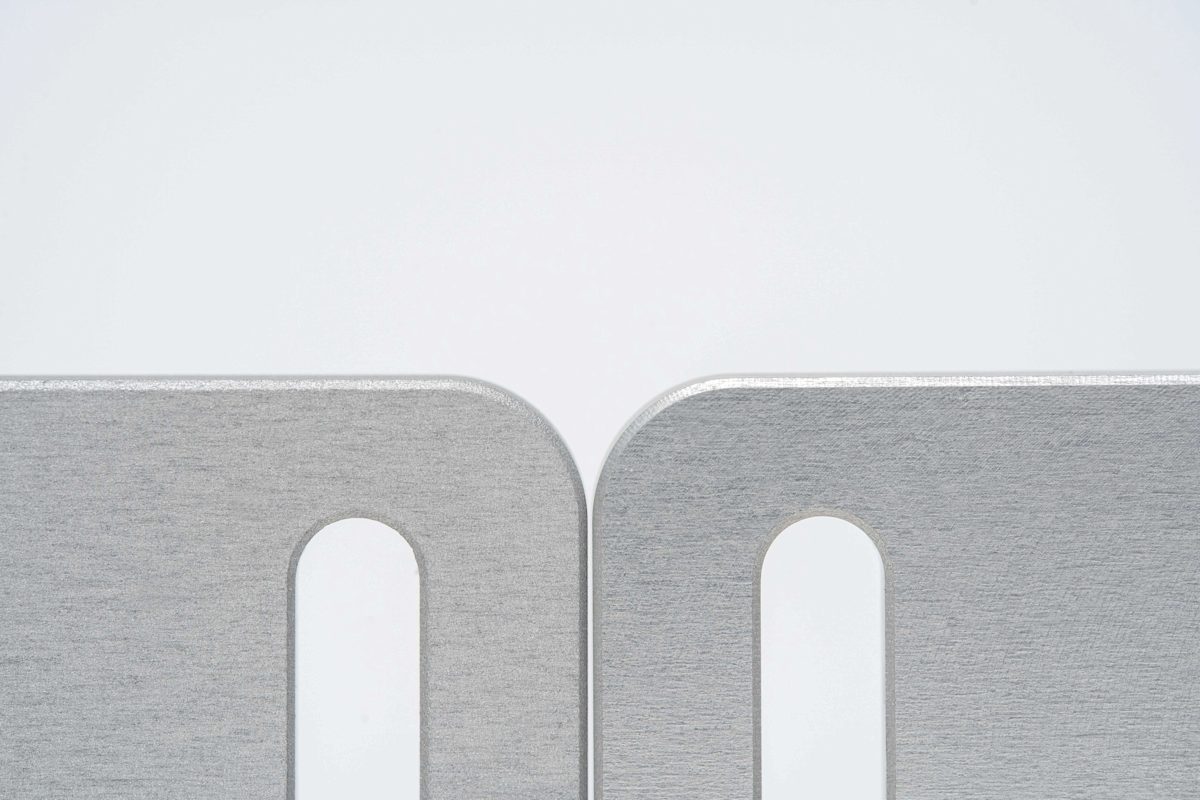
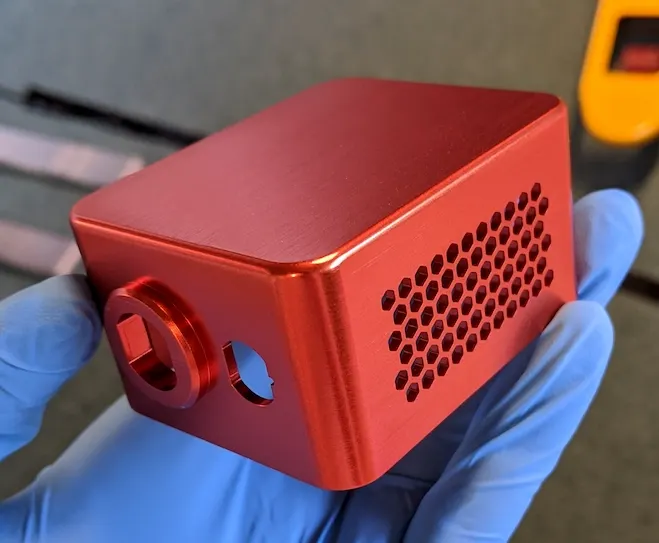
When anodizing is used to add color to parts, the colorants and dyes do not merely rest on the surface. Instead, they infiltrate the hollow pores created by the anodizing process. This deep integration ensures that the part retains its color even under abrasion, wear, UV exposure, and other forms of damage. Depending on the type of anodizing used, there is a wide array of color finishes available.
Beyond these benefits, anodizing is a cost-efficient process, both in terms of initial expenses and long-term maintenance. Furthermore, it is relatively safe, generating fewer harmful or environmentally damaging by-products compared to other finishing methods.

What should I know before anodizing parts?
While anodizing is essential for producing high-quality aluminum parts, there are key considerations to keep in mind before proceeding. Not all materials are suitable for anodizing; aluminum is the primary candidate, but materials like titanium, zinc, tantalum, and niobium may also undergo anodizing.
For anodizing to occur, the part must be fully submerged in the solution, typically mounted on hangers. This means certain design features may not contact the solution, leaving portions of the surface unanodized. Consequently, achieving complete coverage on 100% of the surface is not possible.
Additionally, anodizing can alter the geometric dimensions and tolerances of your part due to the layer it builds up. It is important to factor this in during the design process. Anodizing also impacts the surface roughness of the part.
Frequently asked questions
Why do you anodize parts?
Anodizing is a crucial step in manufacturing aluminum parts, as it enhances both mechanical and aesthetic properties. The process increases the part’s resistance to wear and damage while providing an attractive finish. Additionally, anodizing significantly improves corrosion resistance, offering optimal protection for aluminum parts against corrosive elements.
How does anodizing work?
Anodizing involves immersing a metal part in an acid electrolyte bath while applying an electrical current to both the part and the solution. This electrochemical process transforms the metal surface into a durable and appealing anodic oxide finish.
How do I assess the quality of anodized parts?
To evaluate the quality of anodization, you can test the part's resistance to abrasion and corrosion. If the finish bleeds when subjected to alcohol or specialized sandpaper, it likely does not meet the desired quality standards.
Why should I include jig marks in my design?
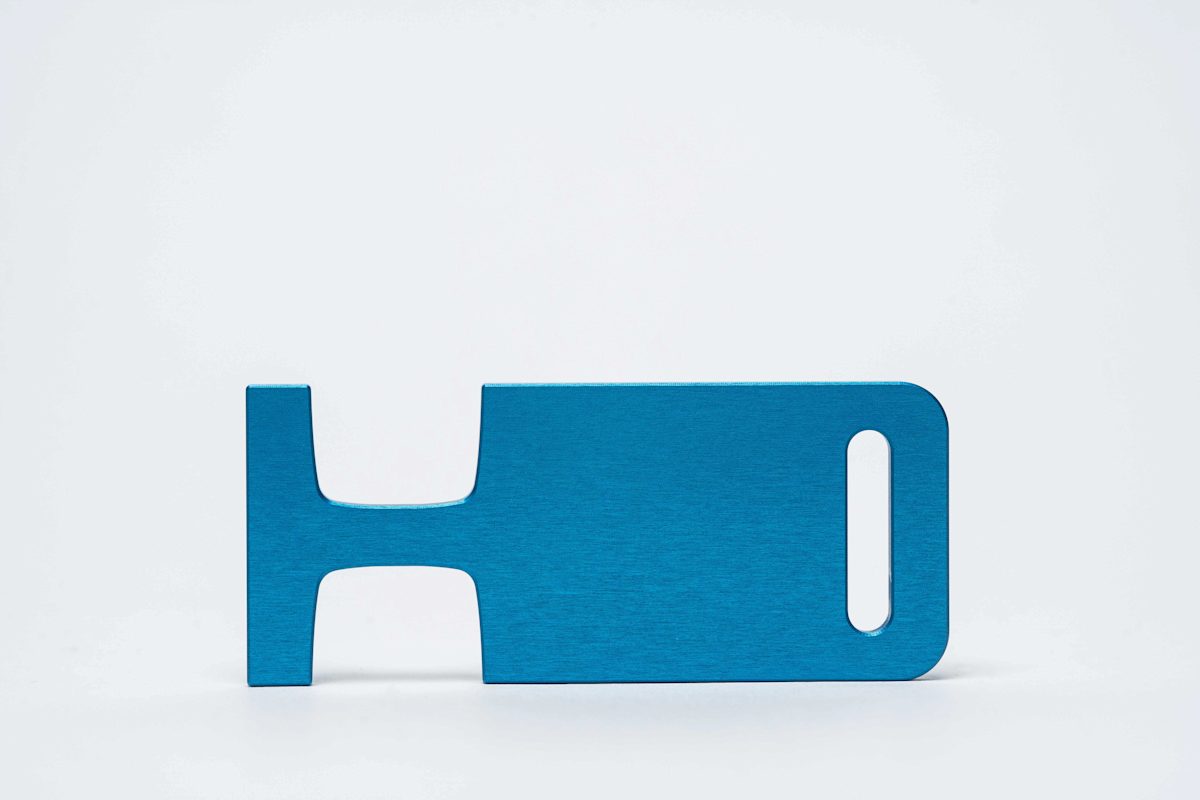
When designing a part for anodizing, it is important to distinguish clearly between the A and B sides. One side will bear jig marks from where the part is fixed in the solution. Indicating which side should have these unfinished areas, typically the B side, ensures that the most appealing surface is displayed.
Is anodizing conductive?
Anodizing is not conductive. If your part requires conductive features, a clear chemical conversion coating may be needed. It is important to mask the areas intended to remain conductive during the anodization process.
What materials can I anodize?
Anodization is essential for all grades of aluminum and can also be applied to other metals, such as titanium, zinc, tantalum, and niobium.
Is anodizing expensive?
The cost of anodizing varies based on factors such as quantity, dimensions, color, shape of your part, and the type of anodizing used. While anodizing can be expensive, it offers significant value due to its durability and enhanced part performance.
Will anodization wear off?
Anodizing creates a highly durable surface finish, but over time, factors such as acid washes or general use can eventually cause it to wear off.
What chemicals does anodizing use?
In anodizing aluminum parts, common acids include chromic acid, oxalic acid, and sulfuric acid. Additionally, phosphoric acid and a boric sulfuric acid mix are used in anodizing processes for the aerospace industry.
What’s the difference between Type II and Type III anodizing?
Type II anodizing is the standard process that uses sulfuric acid to create a durable finish. In contrast, Type III anodizing, also known as hardcoat, requires more demanding conditions to produce a thicker and harder coating that offers enhanced abrasion resistance. Type III coatings are applied directly to machined surfaces and are more suitable for functional applications. For more information, refer to our article on types of anodizing.
