What is surface roughness?
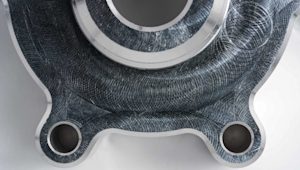
In manufacturing, surface roughness refers to the deviation in the texture of a part’s surface from its ideal surface. Surface roughness is often affected by the following factors.
-
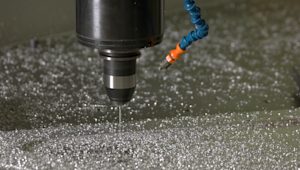
Cutting parameters. Such as cutting speed, feed rate, and the depth of the cut
-
Tooling. Especially the design and condition of the cutting tool, with sharper tools producing smoother surfaces than dull ones
-
Material properties. With harder materials often producing rougher surfaces
You can quantify surface roughness with several parameters, including Ra (Roughness Average) and Rz (Ten-point Height). Let’s take a look in the following sections.
What is Ra (Average Roughness)?
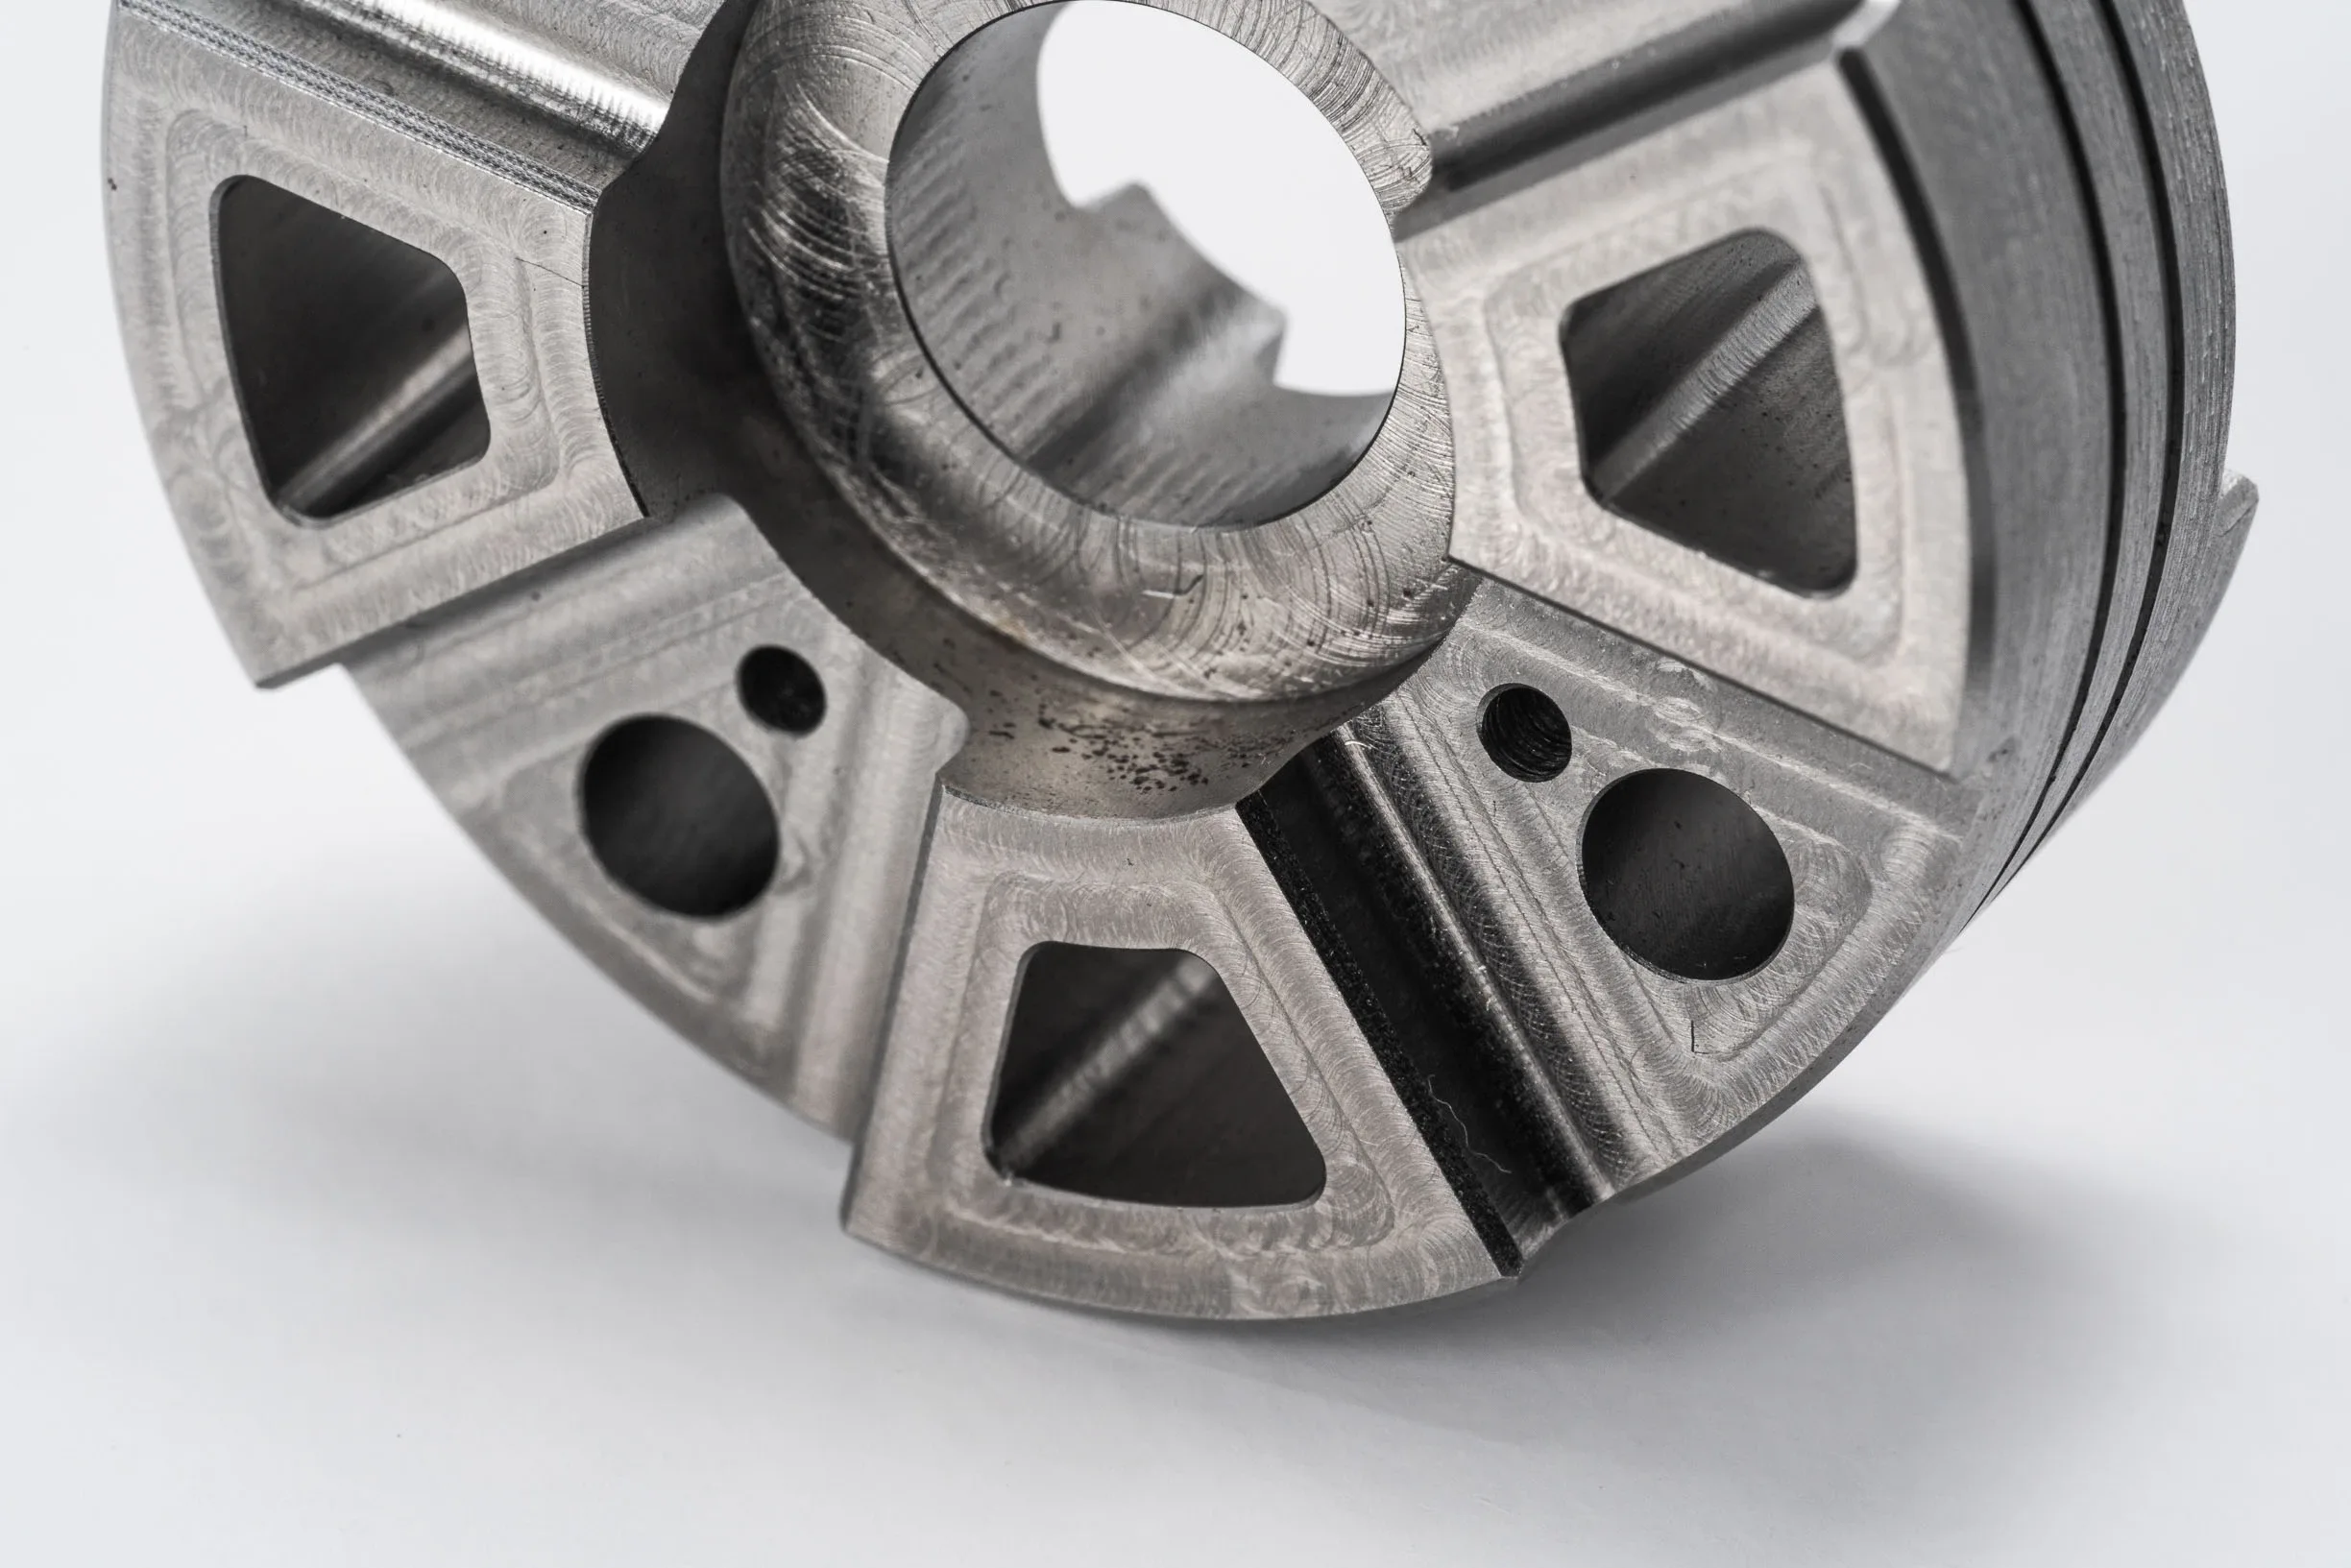
Ra, also known as “average roughness,” is the average height of the texture of a part’s surface. Essentially, Ra tells you how bumpy or smooth a surface is by calculating the average height of the peaks and valleys of a surface’s texture. Ra allows manufacturers to quickly discern whether a part is rough or smooth enough for a given application.
What is Rz (Ten-point Height of Irregularities)?
Rz, also known as “Ten-point Height of Irregularities,” is the average difference between the five highest peaks and the five deepest valleys of a surface’s texture. Compared to Ra, Rz provides a better view of the outlier peaks and valleys on a surface. This is especially beneficial for applications in which these outliers could affect functionality, such as seals or sliding parts.

The benefits of using Ra and Rz together
While Ra provides you with an overall average roughness of a part’s surface, Rz delves into specific irregularities. Calculating both and using them together helps ensure that you fully understand your part’s surface.
For one, it allows manufacturers to set precise specifications for average roughness and peak-to-valley height, which can greatly benefit your quality control efforts. Additionally, you can better optimize a part’s performance by more easily achieving a balanced surface texture that can improve functionality or durability.
Industrial applications of Rz and Ra
You can use Rz and Ra to help you create parts for a variety of industrial applications. Here are a few that our customers use.
-
Sealing applications. Components designed to provide a seal require precise surface characteristics. Ra helps ensure a good sealing surface, while Rz identifies potential leak paths due to surface irregularities.
-
Sliding parts and bearings. For machinery components like bearings or sliding parts, it is important to design parts that exhibit a balance between smoothness and surface peaks. Here, Ra shows a part’s tendency to create friction, while Rz highlights areas prone to wear.
-
Coating and finishing quality. When applying coatings or finishes, achieving the right surface roughness is very important for adhesion and longevity. Ra can help you ensure a smooth base, while Rz helps identify areas where coatings might not adhere due to surface irregularities.

Why do you need to convert Ra to Rz?
Ra and Rz are not comparable with another, as they are distinct measurements for different parameters. Whereas Ra is useful for understanding the overall roughness of a surface, Rz is useful for identifying extreme irregularities.
Select the right machining finish for your project
When parts require a particular level of surface roughness, you can select from our wide variety of post-machining processes that each enhance your parts’ aesthetics and performance in various ways. From smooth machining to fine machining and brushing to polishing, add a surface finish, or a combination of them, as you build your quote.
Order CNC machined parts
Read more about the various types of finishes for CNC machined parts. You can also explore our articles on post-machining processes that smooth surface roughness.
When you’re ready to compare prices and lead times for your part design, upload a CAD file for an instant quote.
Frequently asked questions
What degree of roughness do parts left “as machined” have?
Ra 3.2μm / Ra 126μin. Find out more.
What degree of roughness do “smooth machined” parts have?
Ra 1.6μm/Ra 64μin. Find out more.
What surface roughness should parts have prior to processes such as anodizing?
Parts can be anodized “as machined”, or pre-treated with a process such as brushing or bead blasting. Find out about anodizing and these processes and their surface roughness.


