Every 3D printing technology comes with a distinct set of capabilities and its own design freedoms and restrictions. Whether you are a seasoned engineer who’s well-versed in designing for 3D printing or you are new to the field, it’s always a good idea to go over the most essential factors that make or break a design.
This article covers the key design considerations that apply to 3D printing in general, regardless of the printer you choose for manufacturing your custom parts.
Quick design reference for 3D printing
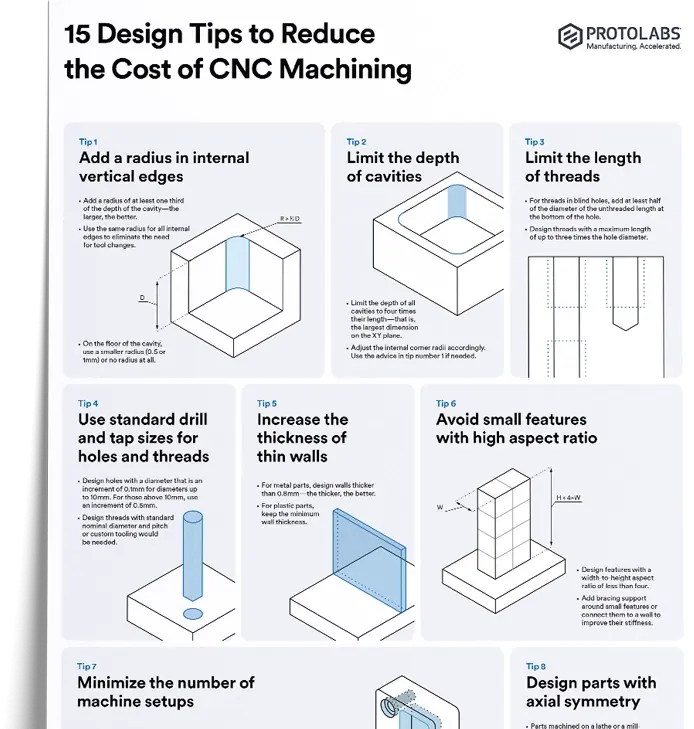
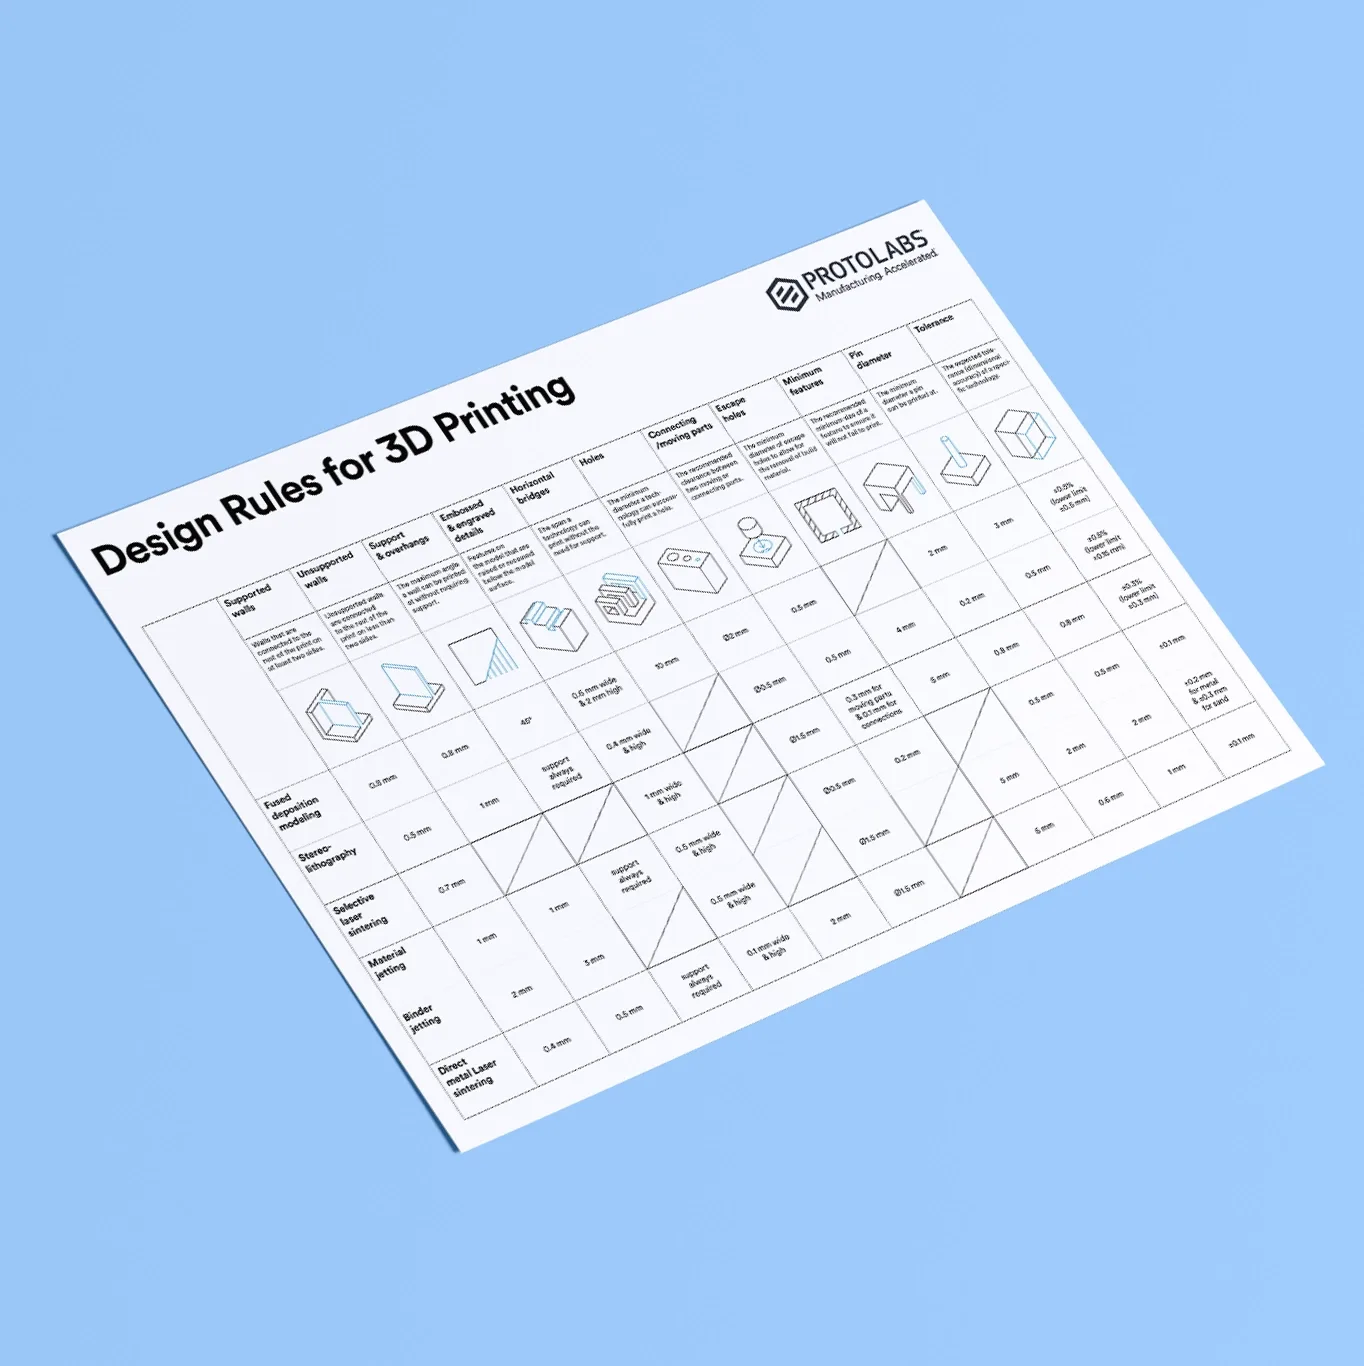
Check out this handy infographic for quick access to every essential design element you may need while creating digital models to 3D print.
How to design parts for 3D printing
Each
3D printing process has its own design advantages as well as some limitations. Let’s break down the key design considerations that apply to every 3D printing technology to keep in mind when designing your next custom parts.
Designing 3D models with overhangs
All 3D printing processes build parts layer-by-layer. New layers can’t be deposited onto thin air, so every layer must be printed over some underlining material.
Overhangs are areas of a model that are either partially supported by the layer below or not supported at all. There is a limit on the angle every printer can produce without the need for support material. For example, if you’re printing with an FDM and SLA machine, this angle is approximately 45 degrees.
We recommend limiting your model’s overhangs, as layers printed over support structures usually come out with a rougher surface finish.
Wall thickness for 3D printing
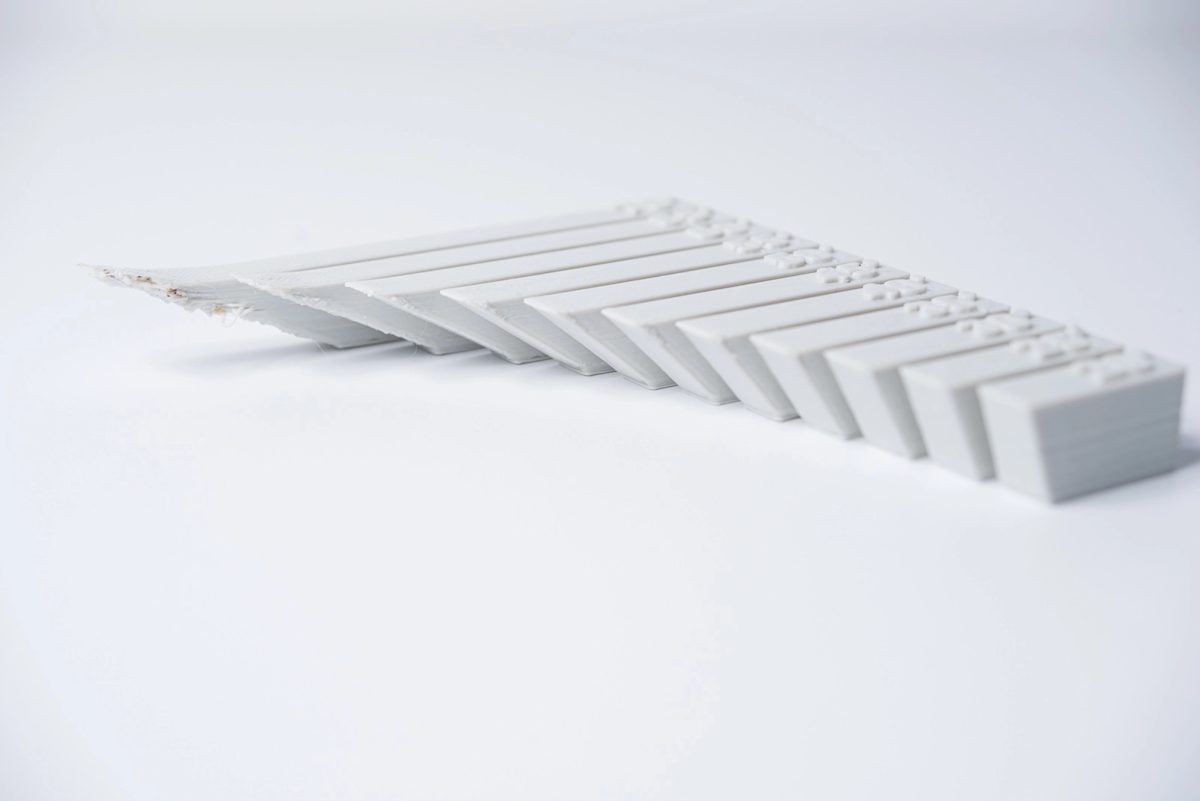
The second thing to keep in mind when designing a part to be 3D printed is wall thickness. Every 3D printing process has its own level of precision. FDM, for instance, is the least accurate, while SLA has the tightest tolerances. In terms of part stability, every 3D printing process has a lower limit regarding wall thickness and feature size.
For example, imagine you are an engineer designing a new generation of hang gliders. You’ve chosen to 3D print a scaled-down version of the product to test its efficacy. 3D modeling programs allow you to model the sailcloth of the wing, for instance, but you then encounter problems when you would try to 3D print it. This is because the model’s wall thickness is less than the minimum required for successful printing.
It’s essential to make sure that your 3D designs have walls that meet the minimum required thickness for the printing process you choose. All 3D printers can successfully print components with wall thicknesses greater than 0.8 mm.
What is warping and how can you avoid it?
Something that is often easily overlooked while designing a 3D model is the fact that the materials used for 3D printing undertake physical change: they are melted, sintered or scanned with a laser and solidified. The heating and cooling of material can cause the parts to warp while printing.
Large, flat surfaces can be especially prone to warping. Warping can typically be avoided by using correct machine calibration and having adequate surface adhesion between your part and the print bed. A good practice is to avoid large flat surfaces and add rounded corners to your 3D models.
Designing the right level of detail
When you are creating a 3D model with intricate details, it is important to keep in mind the minimum feature size each 3D printing process can handle. The minimum level of detail is connected to the capabilities and mechanics of each 3D printing process and to the selected layer height.
The process and materials used will have an impact on the speed and cost of your print, so determining whether smaller details are critical to your model is an important design decision.
Using digital tools to design physical components
The most important thing to remember while designing for 3D printing is the fact that your digital design will become a physical object. In the digital design environment, there are no laws of physics to adhere to, such as gravity.
Anything can be "drawn" in 3D on a digital canvas, but not everything can be 3D printed. Knowing the key factors that go into designing 3D models will ensure that you produce digital designs that can be successfully printed.
Want to learn the key design elements for every 3D printing technology?
Design parts for FDM Design parts for SLA Design parts for SLS
Start a 3D printing project
Get an instant quote for 3D printed parts by uploading a CAD file.
Frequently asked questions
What’s the best CAD software for 3D printing designs?
There is a wide range of CAD programs available for designing 3D models. The most well-known of these (and arguably the best for most applications) is Autodesks AutoCAD, first released for personal computers in 1982. Others include Fusion360, TinkerCAD and Solidworks. For a more in-depth exploration of all the major CAD programs, check out our article on design software.
Do you need additional software for 3D printing with Protolabs Network?
You don’t need to install any additional software apart from CAD to start producing custom parts with Protolabs Network. Our manufacturing partners are equipped with the best slicing software and a wide variety of machines for all your custom part requirements.
Should you avoid overhangs in my 3D models?
We recommend avoiding overhangs when possible by designing models to be 3D printed. Try not to design your parts with angles over 45 degrees.
What’s the minimal wall thickness for 3D printed parts?
All 3D printers used within the Protolabs Network manufacturing network can print parts with wall thicknesses of 0.8 mm and over.
How do you keep your parts from warping?
To ensure that your custom parts don’t warp, we recommend avoiding large flat surfaces and using rounded corners in your designs.
How do you select the right 3D printer for my design?
It can be quite challenging to choose the right 3D printing technology for your specific applications. FDM is optimal for rapid prototyping and SLS and MJF tend to be better for larger production runs of complex parts, for instance. To help you select the best 3D printing process, we produced this handy guide.
