


What materials have the best repeatability?
Seeking consistency and predictability in your parts? Check out our guide on repeatability, which highlights the materials that will perform the same way time and time again.
Read articleWhat are the ideal ways to assemble 3D-printed components? This article compares different methods for designing threads for 3D printing and provides step-by-step instructions on how to install screws and other fasteners.
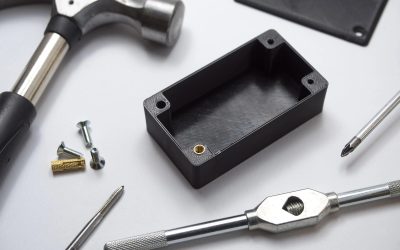
Threaded fasteners, such as screws and inserts, are a popular method for securing 3D-printed parts together. Threaded fasteners allow quick assembly and disassembly, granted the threading has been designed and printed properly, and provide robust connectivity so parts don’t come apart easily.
This article covers the optimal threaded fastening techniques to apply when dealing with 3D-printed parts and examines the methodology behind implementing each of them.
To learn more about the different types of threads, especially if you're also interested in CNC machining custom parts, read our extensive guide to threads.
As a rule of thumb the minimum wall thickness around a thread should match the diameter of the fastener (e.g. an M5 fastener requires a minimum of 5mm wall thickness around the threaded hole). If the wall thickness is too low, parts can bulge and distort due to the added stress and in some cases (particularly with FDM) delamination or fracturing can occur.
The table below introduces the threaded fastening methods that are best suited to 3D printing.
| Process | Description |
|---|---|
| Inserts | Popular method used regularly that gives a strong metal-on-metal connection but requires additional components and installation |
| __Embedded nut __ | Fast method for securing components. Accurate design and print are needed |
| Self-tapping screws | One-off method for securing parts that is not optimal for repeated disassembly |
| __Cutting threads __ | Provides design freedom however correct tapping procedure is important |
| __Printing threads __ | Not suited for small threads (less than M5) and requires high printer detail/resolution to print accurately |
| Note: Drilling the pilot or alignment hole to the desired diameter post-printing, before implementing any of the fastening methods discussed in this article, will typically give a more accurate diameter compared to a 3D-printed hole. |
The two types of inserts that are best suited for 3D printing are heat-set inserts and tap-in inserts. Inserts provide strong metal-on-metal contact and are very easy to install. An accurate pilot hole is required, so drilling is recommended before installation.
Align the insert with the pre-printed or drilled hole (for hole sizes refer to the insert manufacturer's recommendations)
Insert a soldering iron into the insert, heating it and the surrounding material up (avoid overheating and melting the surrounding material)
Slowly apply pressure, pushing the insert down into the hole to the desired depth.
Align the insert with the pre-printed or drilled hole (for hole sizes refer to the insert manufacturer's recommendations)
Using a hammer gently tap the insert down into the hole to the desired depth.
Another method of securing 3D printed components together is to embed a nut into the component via a nut-shaped cavity (often referred to as a nut boss). This method does not require any material removal. Often determining the optimal nut boss dimensions requires several iterations. Printing small test parts to determine the ideal dimensions can save on time and material costs.
Measure your nut. If you do not have access to the nut a quick internet search will reveal standard overall dimensions for both metric and imperial nuts.
Include the desired nut profile in your CAD model. An iterative process may be required to find the best nut clearance based on printer calibration. As a starting point a 0.2 mm offset around the nut (0.1 mm on each side) should give a loose fit. This also may need to be increased for nuts greater than M12.
Select the appropriate cut-out depth (typically just below flush).
Including a drop of superglue on the back side of the nut will help secure it in place.
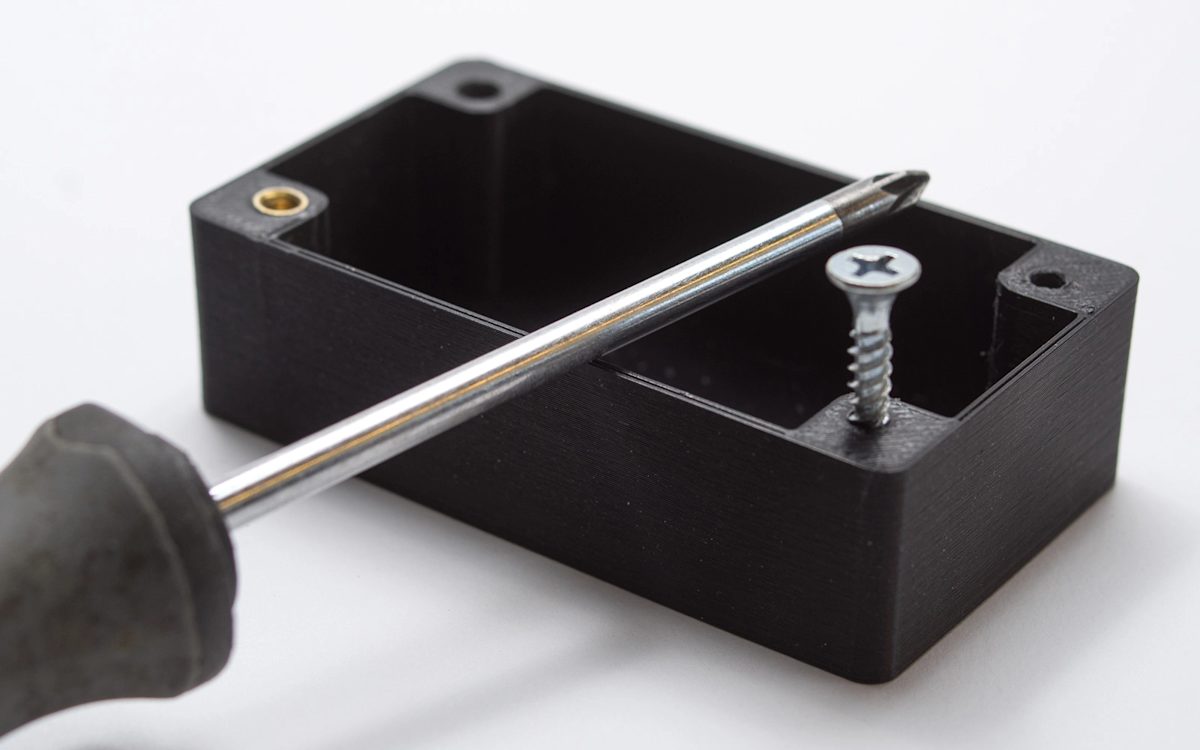
Self-tapping screws cut a thread into a pre-drilled hole as they are screwed down. This offers a quick assembly method but is not suited for applications where parts will regularly be assembled/disassembled. Special self-tapping screws for plastic can be used that limit the radial stress on 3D printed holes lowering the likelihood of bulging, delamination or fracturing occurring.
3D print or drill a hole in the desired screw location. For optimal pilot hole size consult the self-tapping screw provider. A pilot hole size that provides 75% to 80% thread engagement is a good starting point if this information is difficult to come by.
Assemble components to be secured ensuring to correctly align all holes where the self-tapping screws will be used.
Slowly screw the self-tapping screw down into the hole, ensuring it remains perpendicular to the hole during fastening.
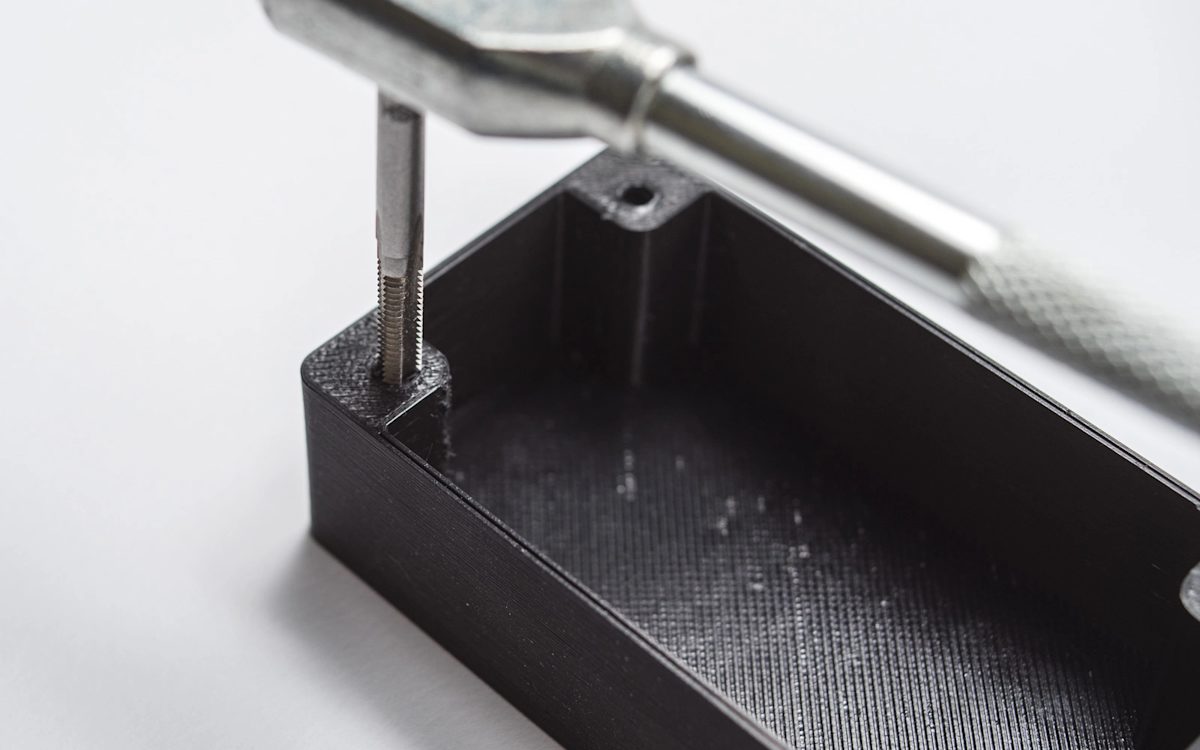
Thread cutting (more commonly known as tapping) involves using a tap wrench to cut a thread in a pre-printed or drilled hole. Threads are regularly cut in 3D printed plastics.
3D print or drill a hole in the required location of the thread. For pilot hole (tap drill) sizes that correspond to each thread size refer here
Using the correct size tap wrench and ensuring it remains perpendicular to the hole, slowly cut the thread regularly reversing or “backing off” to remove excess material to avoid binding.
Avoid forcing the tap wrench as this can lead to fractures or splitting of the 3D printed material.
Continue tapping to the desired depth.
Insert your desired threaded fastener before assembly to ensure a clean fit.
The process of 3D printing threads eliminates the need for any extra steps post printing and allows parts to quickly be assembled together. Limitations on printer accuracy and resolution will govern the success of a printed thread. Threads smaller than M5 printed via FDM should be avoided with one of the other threaded fastener methods discussed in this article implemented instead.
After printing the threaded fastener should be screwed and removed from the hole several times to clean the printed thread before final assembly.
For a more accurate fastener pilot hole consider drilling the hole after printing rather than printing it in the part.
The minimum wall thickness around a thread should match the diameter of the fastener (e.g. an M5 fastener requires a minimum of 5mm wall thickness around the threaded hole).
Heat-up or tap-in inserts and embedded nuts are the most popular methods for securing 3D printed components due to their simple installation, connection strength (metal-on-metal) and ease of repeated assembly and disassembly.
Curious about the cost of prototyping with 3D printing?
Our online 3D printing services Upload a CAD file for a free, instant quote
Seeking consistency and predictability in your parts? Check out our guide on repeatability, which highlights the materials that will perform the same way time and time again.
Read article
How can you create a part or product that’s ready to move from prototype to production? Check out our article, which offers tips and tricks for designing with scalability in mind.
Read article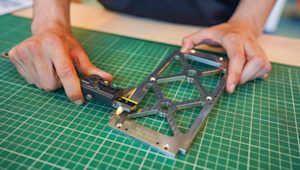
What is Geometric Dimensioning and Tolerancing (GD&T) and how is it used? This article explores the basics of how and when to use GD&T to get the best results out of custom part manufacturing.
Read article
Multi Jet Fusion (MJF) 3D printing can create highly accurate, complex industrial parts more efficiently - and potentially more cost-effectively - than other industrial 3D printing processes. This article covers how to design parts for MJF, common applications of the technology and key best practices.
Read article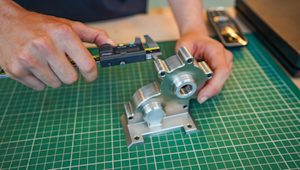
Design for manufacturing (DFM) means taking a design-first approach to manufacturing. In this article, we look at the overall DFM process, the necessary steps for a successful outcome, examples of DFM done right and how to get the most out of your own processes.
Read article
Learn how to avoid low quality 3D prints or unnecessarily large files by exporting your STL file in the correct resolution.
Read article
What are the different materials available for SLA 3D printing? This article compares the main printing resins, including standard, tough, durable, heat resistant, rubber-like, dental and castable, by material properties. Find the best material option for your application.
Read article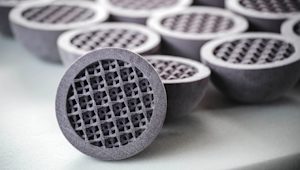
A comprehensive guide on designing parts for Binder Jetting, covering the printing process, design specifications and material options.
Read article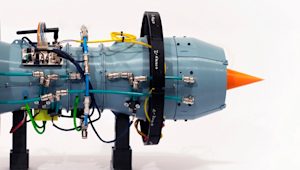
How does 3D printing accelerate innovation in the aerospace and aviation industry? In this article, we explain how 3D printing and additive manufacturing are commonly used in aerospace and how they improve prototyping and end-use part production for these industries.
Read article
What are the most common STL file errors and how will they affect your ability to export models for 3D printing? Learn to identify the errors you may encounter when working with STL files and how to fix them so they don't delay your next 3D printing run.
Read article
What is CAD modeling and why is it an essential tool for digital manufacturing? Explore the types of CAD software available for bringing ideas into the physical world via digital 3D modeling. Find the right software tools for your application.
Read article
This article explains how to design Material Jetting 3D printed parts including technical design specifications, materials, limitations and an introduction into the post-processing options available.
Read article